Blood Orange Tart!

image

You know when you see foods that’s too pretty. Like it can’t possible taste good?

I kept seeing pictures of blood orange tarts, and thinking “oh my gosh they are so beautiful, but I bet they aren’t super delicious”. I’m rarely a big fan of cooked oranges. I felt like baking them, even in a buttery crust, might not be the best idea. I mean, blood oranges are perfect as is, why do anything to them?

Well, I’m here to tell you that you should.

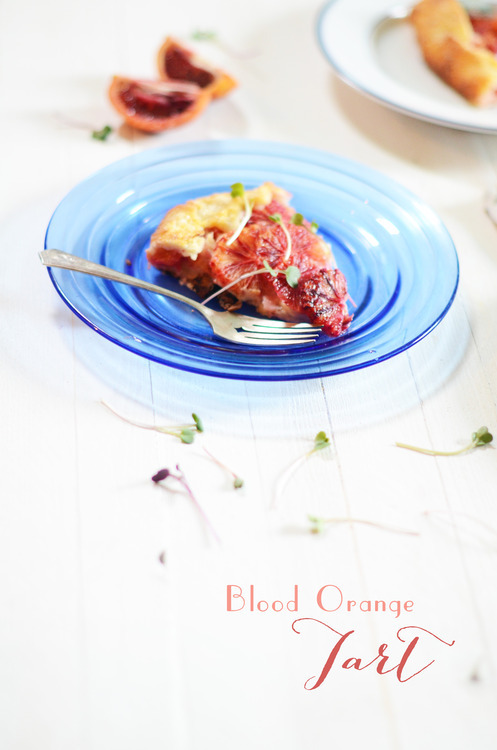
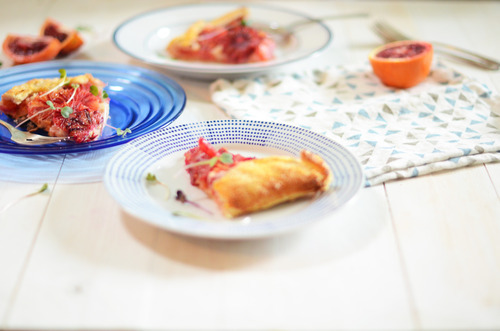
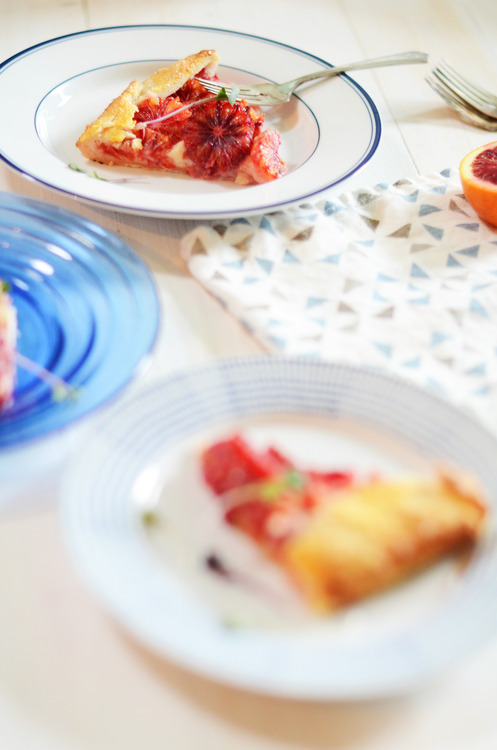
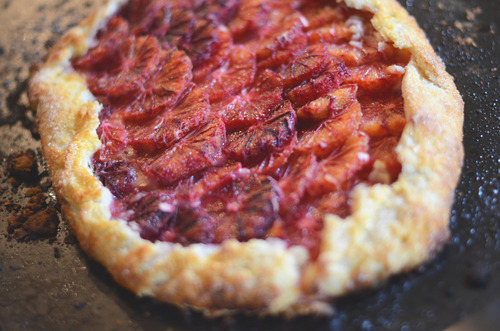
You should make a pastry cream, you should make some super flakey dough, and you should layer a whole bunch of blood oranges on top.
image

Because suddenly the butter and vanilla bring something extraordinary to the blood oranges, and the oranges themselves stay almost exactly the same. They are still juicy, and bright and crisp, they just happen to have married themselves with some sweeter things.

It’s a simple tart, but one that’s rather showy, and one that perfectly uses up the remarkable produce available right now.
 image

Blood Orange Tart

For Flakey Pastry

1 cup Butter, cut into small cubes

2 cups AP Flour

1 tsp Salt

Cold Water

For Pastry Cream

1 cup Milk

½ Vanilla Bean, or 1 tbsp Vanilla Extract

2 tbsp Cornstarch or AP Flour

¼ cup Brown Sugar

1 Egg

8 Blood Oranges

1 Egg Yolk

1 tbsp Milk

¼ cup Coarse Sugar

Bring the milk and vanilla bean up to a simmer in a small pot.

Meanwhile mix together the sugar and egg in a medium sized bowl. Add in the cornstarch or flour, depending on what you use.

Slowly add in the hot milk, whisking the whole time.  Pour the mixture back into the pot, and turn the heat down to low.

Stir constantly until the mixture thickens consistently.

Immediately strain into a bowl, cover with plastic wrap and chill.

Cut Oranges:

Cut the tops and bottoms off the oranges. Cut the skins off too, leaving no white pith.

Cut the oranges widthwise, into rounds.

Make dough:

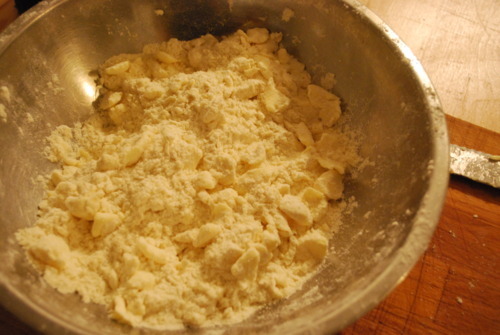
On a large clean surface mix together the butter, flour and salt.

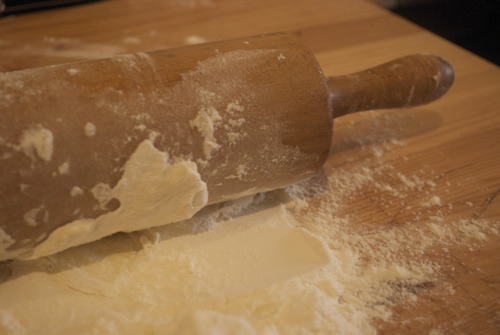
With a rolling pin roll the butter into the flour, scraping the strips of butter off the rolling pin, and the counter. Keep rolling and scraping until all of the butter is stretchd into long thin strips.

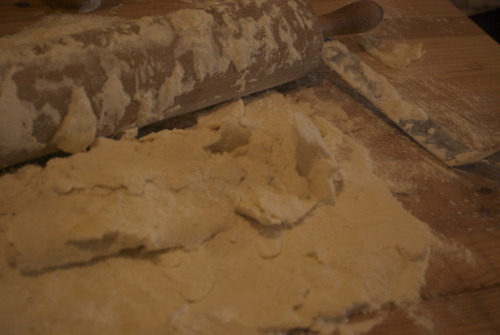
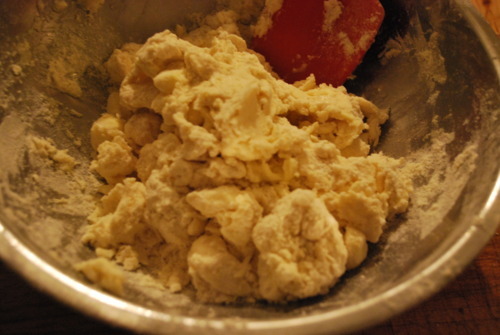
Tablespoon by tablespoon add in the cold water, with the help of a pastry scraper gently mix the flour and butter with the water. You want to keep the butter in strips as much as possible.

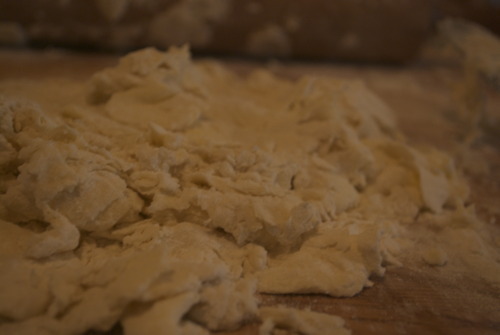
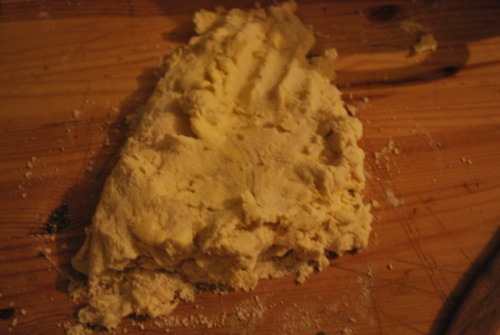
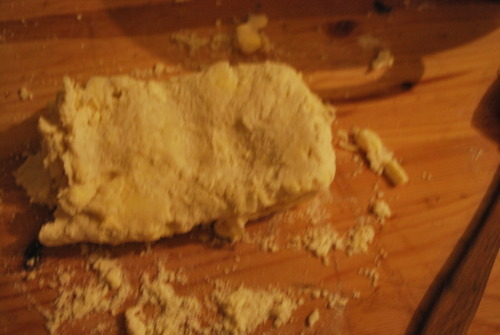
Once the dough has begun to come together flatten it with your palms, and fold the dough in half. Do this again and again until the dough has lots of layers, but before the dough begins to get tough. It’s best to stay on the side of too soft, and only fold the dough a could times.

Line a baking tray with parchment paper.

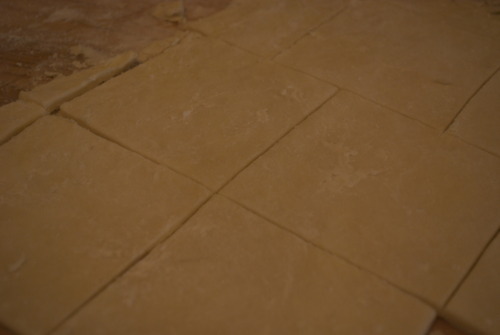
Roll the dough into a large rectangle and fold it gently into quarters. Lift the rectangle and place it onto the lined tray.

Scrape out the pastry cream into the middle of the dough. Spread it out, and cover the whole thing except for an inch and half border around the edges.

Layer the slices of oranges on top.

Fold the edges of pastry up around  the fruit, pleating as necessary.

Put the tray in your freezer for at least 25 minutes.

Preheat the oven to 375 degrees.

Take the tart out of the freezer.

Mix together the yolk and milk in a small bowl.

Brush the edges of the pastry with egg wash and sprinkle liberally with the sugar, both on the fruit and on the edges.

Bake for 35-45 minutes, until the pastry is nicely browned.

Let the tart cool for at least 30 minutes before cutting and eating!
image

Tomato Tart Tatin

Here’s the thing about tomatoes. They might be my favourite veggie (I know I know, they’re a fruit, but you know what I mean.). They’re sweet, they’re savoury, they’re juicy.

Here’s the other thing about tomatoes. If you put them in the fridge, they suck. They get grainy, they get flavourless, they loose everything special about them.

Here’s the thing about my local green grocer: they put their tomatoes in the fridge at night.

So when I got all excited about fresh tomatoes the other day and they were all warm from sitting in the sun I grabbed myself a big bag full. And then I got home to find grainy sad tomatoes, far from their peak.

image

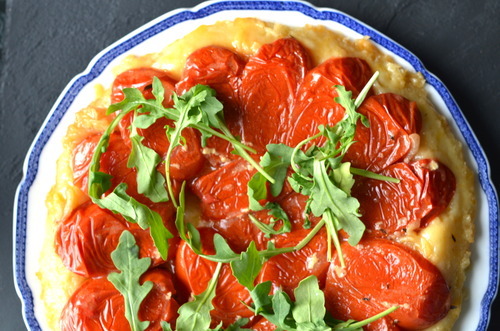
Here’s the thing about sad grainy tomatoes: they’re still pretty good when you cook them. Usually this means tomato sauce, but the other day it meant this fabulous tart tatin that was on Design*Sponge a couple weeks ago. This is a damn good tart, it’s very savoury (a lot of veggie tatins tend to be a bit sweet for my taste) the pastry is flaky and light, but just buttery enough to have enough flavour to hold it’s own with the tomatoes, and the onions and cheese help bring a depth to it that rounds the whole thing out.

I didn’t use the crust from the original recipe, because I tatins should always be made with puff in my books, and after last Tuesday’s Tutorial on quick puff we’re all pros right? Right.

image

Tomato Tart Tatin

(Adapted from Design*Sponge)

Dough:

1 cup Cold Butter, unsalted, cut into cubes

2 cups AP Flour

1/2 tsp Salt

1/2-3/4 cup Ice Water

For a full tutorial on making this dough with lots of pictures, click here!
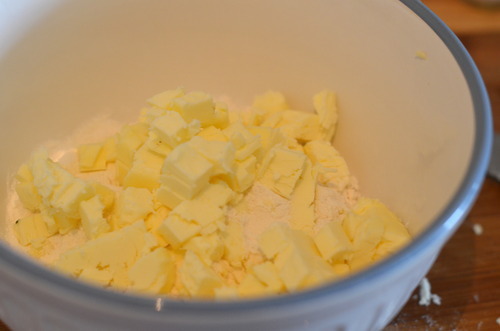
On a clean surface toss the butter cubes with the flour and salt.

With a rolling pin roll out the butter so that all of it forms into long thin strips.

Add the water, a couple tablespoons at a time and fold the dough, push it out, add more water, and fold the dough again.

Continue this until it has come together as a cohesive dough.

Wrap with plastic wrap and put in the fridge for at least an hour, or up to two days.

Tart Tatin:

1 recipe of quick puff pastry dough (aboce)

10 Roma Tomatoes

1/4 cup Grated Parmesan Cheese

1 Onion, thinly sliced

2 tbsp Olive Oil

1 tbsp Fresh Thyme Leaves

Preheat oven to 400F

In a medium pot over medium heat warm up 1 tbsp of the olive oil.

Add in the onion and cook, stirring often, for about 10 minutes, until they are soft and just starting to brown on the edges.

Grease a pie pan with the remaining olive oil. Cut a circular piece of parchment and line the bottom of the pan.

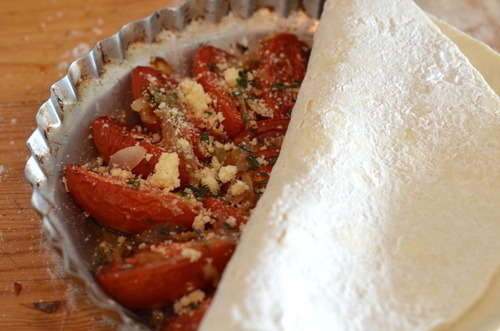
Slice the tomatoes in half and put them skin side down in the pan. They will shrink up as they cook so overlap them a bit so that when they are cooked they will still cover the bottom of the pan.

Top them with salt and pepper, the onions, parm and thyme.

On a lightly floured surface roll our the dough into a circle just larger than pie pan.

Cut the edges to clean them up and put it into the pan.

Bake for about 40 minutes, or until the pastry has turned a nice brown and the juices bubbling up the sides are browned as well.

Allow to cool for about 10 minutes before flipping it onto a plate.

Serve while warm or at room temperature.  

image

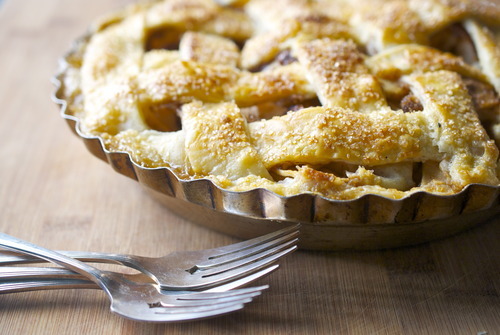
Tuesday Tutorials- Perfect Lattice Top Apple Pie

've been doing a lot of thinking about this little spot in the blogosphere lately. About what makes this little piece of the pie (no pun intended) more special, more worthy of your attention than any other, and the thing that kept coming to mind, is that I am a professional. I have not only gone to school to be a baker but I have worked for countless talented people who have shown me so many tricks along the way. Most people who write on the internet don't have that advantage, and so begins “Tuesday Tutorials” in which I share these tricks of the trade with you, my loyal readers. The idea being that once a week I will write something kind of fundamental, a basic, and show you how I make it, and the way I do that makes it so good.

And to start, pie.

There are few things better than the smell of homemade apple pie. It is so quintessentially North American, so perfectly Fall, so designed for November weather. Apple pie is darn near perfect.

My mother makes a mean apple pie. A mean pie in general really, despite her absolute failings on many a cake, my mom kills pie. Seriously.

This is a recipe for a pie that is both hers and mine, I make mine with more butter than hers, she adopted her recipe from her mother, and growing up in The Depression, shortening was easier to come by than butter, but in these modern times I have no trouble at all with the subsition.

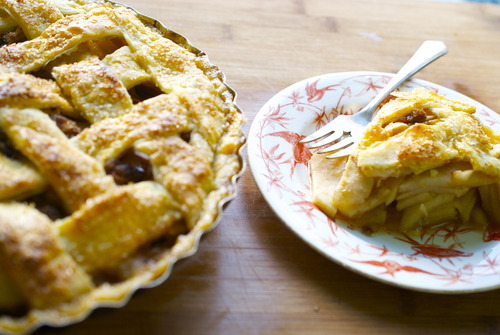
There are two ways of making pie filling though. You can cook the fruit before hand, add in corn starch or flour and thicken up the juices or you can put it all in raw. You get very different results with these methods, and in bakeries you almost always get the cooked before variety. And while I think this method is great for juicy berry pies, when I make an apple pie I put in the fruit raw, then top it all with brown sugar, cinnamon, and flour to thicken it up. It’s how my mom made it, and so it tastes like home to me. And that, good friends, is what apple pie is all about.

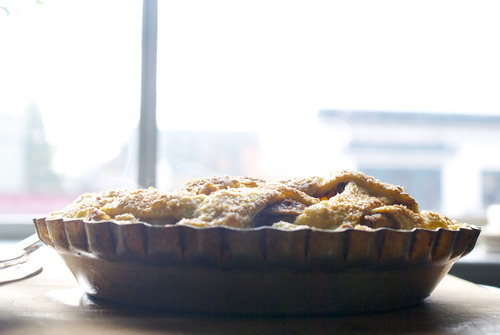
The real tutorial here though is how to make a perfect lattice top to your pie, the kind that friends will ooh and ahh over, and you can revel in self satisfaction when you sit it on the counter to cool. A lattice top pie is not something to brush off, it takes some skill, and it demands it when you put it on the counter. Unless of course, you follow this tip, which just makes it so easy.

The thing to do is freeze it. Make the lattice on a baking sheet and freeze it, it will only take about half an hour, just enough time to cut up all the apples and make yourself a cup of tea. And then slowly put the top of the pie onto the pie crust, you get a perfect crust every time, and you save the stress of making the lines perfect on an imperfect surface like a rounded pie top. And you get to schedule yourself tea making time, and that friends, is always a perk.

Lattice Top Apple Pie

2c AP Flour

1c Cold, salted Butter, cubed

Ice water

Filling:

8 cups of chopped apples, a mix, I used ambrosia, pink lady, granny smith and macintosh.

1c AP Flour

2c Brown Sugar

1tbsp Cinnamon

topping

1 egg yolk mixed with 1 tbsp cream or milk

3 tbsp Coarse Sugar

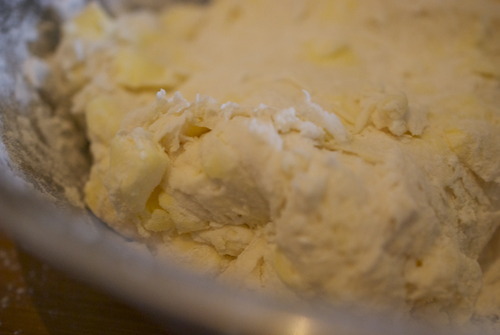
In a large bowl mix together the flour and butter. Using either a pastry cutter or, like I do, your hands, break apart the butter into lima bean sized pieces.

Slowly incorporate the water, stirring with a fork, adding just enough for the dough to follow to fork as you stir.

With your hands bring the dough together and knead it gently- squish it out with your palms and then fold it over. Repeat this 4-5 times or until the dough gets even the slightest bit tough. Wrap with plastic wrap and keep it in the fridge for at least 30 minutes.

Unwrap the dough and cut in in half.

On a lightly floured surface roll out one half of the dough in a large circle until it will fit your pie dish. Gently place your rolling pin the center of the circle, then drape one side of the dough over top. Pick up the rolling pin and place it on the pie dish and smooth out the dough.

Put this in the fridge.

Put a silpat of a piece of floured parchment paper on a baking sheet.

Roll out the other piece of dough in a long strip, making sure that it is as wide as your pie dish.

Cut this into strips widthwise.

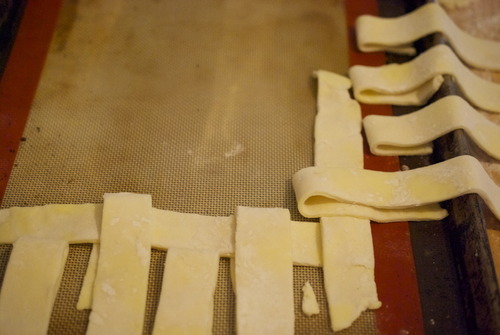
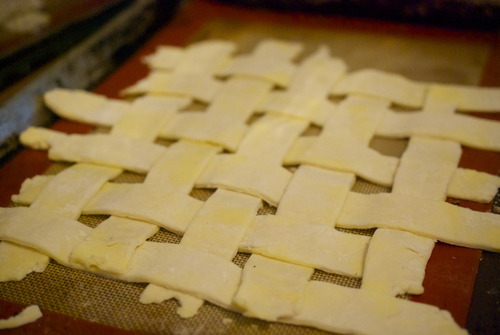
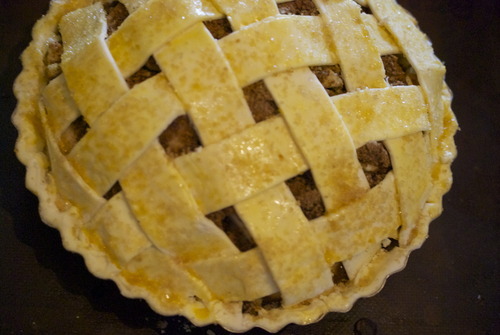
On the silpat arrange the strips as you see in the picture below, and slowly start weaving them together,

one over one under until you get a nice basket weave.

Now put this in the freezer and let it get nice and cold and hard. This is the trick- once the dough is hard you can just slide it on your pie, no finicking the edges or getting filling on the topping.

Preheat the oven to 400F

Pull out the bottom of the pie and shake half the flour onto the bottom of the crust.

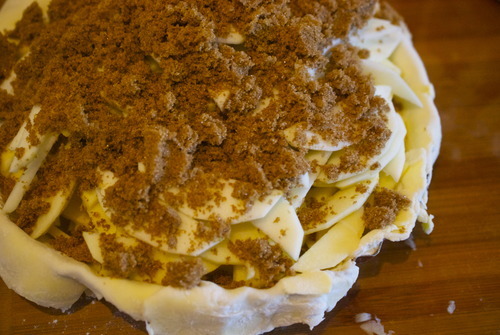
While the top is freezing start chopping your apples. Peel and core then and slice them thinly and put them into the bottom shell, layering different kinds.

Top with the rest of the flour, the brown sugar and the cinnamon.

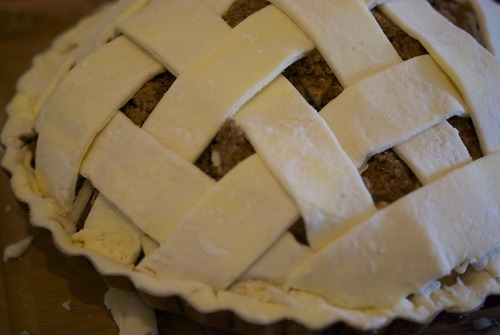
Take the lattice top out of the oven and gently put your hand underneath it and place it upon your pie.

Push the edges down into the corners and cut off any edges of your pie, or fold them over to create a a scalloped edge.

Wash with the egg wash and sprinkle with the coarse sugar.

Put in the oven and immediately bring the temperature down to 325F.

Do not open the oven door for at least the first 20 minutes or cooking.

After twenty minutes rotate the pie and cook for another half hour or until the juices start bubbling in the center an an inserted paring knife meets little resistance when pushed into the center of the pie.

And there you have it, the easiest most delicious apple pie.

Rhubarb Lavender Tart

I’ve been watching rhubarb recipes go up on blogs that I follow for several weeks now. Some of them I pinned to make later, some of them I wrote down flavour combinations for, but most of them I jsut glowered at. I’ve been glaring and frowning and giving the stink eye to every blog written by everyone outside of Vancouver because it seems that everyone else has had a month of Spring already, and we are just starting (knock on wood) to get out of the clouds. It was a slow, cold April.

So last weekend when I noticed a neighbours rhubarb patch looking healthy I started to get excited and I full blown squealed (to the great alarm of an elderly man passing by me) when I found some at my local green grocer a couple days ago. I love rhubarb I really do.

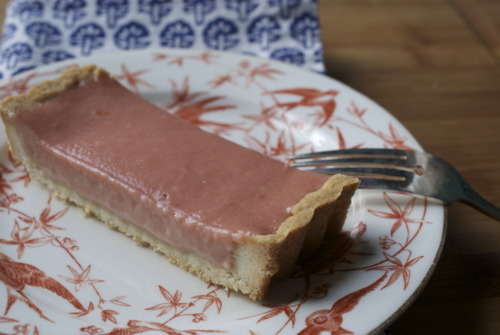
This tart is not as complicated as most tarts, it’s downright easy if you have a food processor, but still totally possible to do without. You don’t need to blind bake the shortbread the way you do with most tarts, and curd comes together in just a few minutes. The lavender is optional if you can’t find it at your local shop although it really does make this extra special. The only hard part is letting it cool before you cut into it.

Rhubarb Lavender Tart

Lavender Shortbread Crust

1/2 cup Butter, room temperature. (It really has to be soft for this so melt it slightly if you have to it should have the consistency of mayo)

1/4 cup Sugar

1 cup AP Flour

1/4 tsp Dried lavender flowers (that are edible and you bought at a grocery store)

Pinch of salt

Rhubarb Curd

400g Rhubarb (about 7 thickish stalks)

1 cup sugar

6 egg yolks

Zest of 1 lemon

2 tbsp Unsalted butter

Preheat the oven to 350

Lightly grease a 10inch-4 inch tart pan. If you don’t have one of those you can use a 6 inch round tart pan.

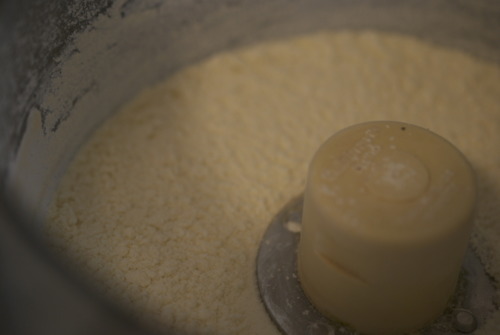
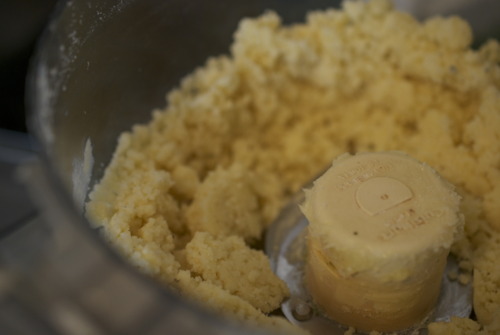
In a food processor combine the sugar, flour, lavender and salt. Pulse until you can barely see the lavender flowers. Alternately, you could crush the lavender in a morter and pestal and then add that to the dry ingredients.

Add in the butter. In a food processor you can just pulse it until it becomes a crumbly dough, or you can do this in a standing mixer or by hand. It’s not a big batch.

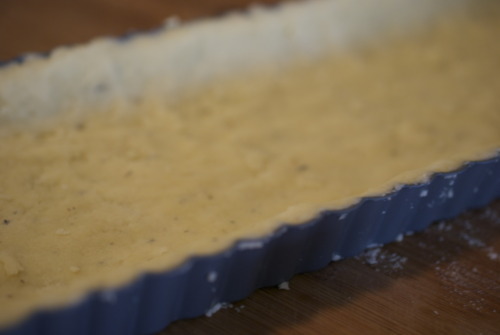
Press this into your tart pan

bake it for about 20 minutes, or until it has become a slight golden browncolor.

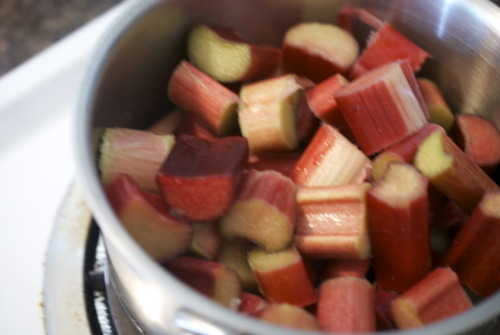
Meanwhile make the curd- Mix half the sugar, the rhubarb and 1/4 cup of water in a pot and simmer on medium heat until the rhubarb falls apart, about 10 minutes.

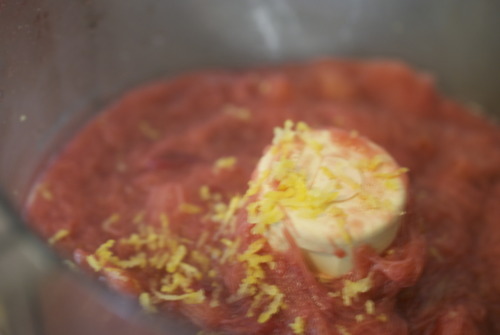
Transfer the liquid into your food processor. Blitz it until it’s quite smooth, then add the sugar. Once that’s combined add in the egg yolks and mix them right away. Next add in the butter.

It should be a smooth pale color. If you don’t have a food processor don’t worry, this will be beautiful if it’s not pureed, it will just be a little fibrous. You can whisk in the rest of the ingredients by hand easily too, not a worry.

Pour the curd into the tart shell and smooth with a spatula. Bake for about 10 minutes until the top has set. And c’est finis. 

Momofuko Crack Pie

I think I might have completely fallen in love with this if not for the name,

Crack pie. Named of course, after the highly addictive drug whos prevelance in Vancouver has led to the notorious Downtown East Side. No joking around here. It’s a big name to live up to. You’d almost feel sorry for it really, so much hype in the title, it couldn’t possibly stand up.

It is, indisputably, a very good pie. It really is, it’s sort of a glorified butter tart perhaps, (for the non-Canadians out there, it’s like a pecan pie without the pecans). It’s nuttier then the usual because of the cleverly made crust, which is filled with toasted oats, and I made mine nuttier still by adding hazelnuts, and also some chocolate which meant you really only needed a small slice. Perhaps that was it, I just didn’t really want more then one slice. The addictive neede-to-have-you just wasn’t there, but it’s hard to say. I think there is a pretty good chance that had it been called, oh, butter tart with toasted oat crust, I would have fallen helplessly for it. I think, in fact, that it’s likely. 

Crack Pie

(from the Momofuko Milk Bar Cookbook, by Christina Tosi and David Chang)

Crust
2/3 cup plus 1 tablespoon flour
Scant 1/8 teaspoon baking powder
Scant 1/8 teaspoon baking soda
1/4 teaspoon salt
1/2 cup softened butter
1/3 cup light brown sugar
3 tablespoons sugar
1 egg
Scant 1 cup rolled oats

Preheat the oven to 350F

Cream the butter and sugar together.

Add the egg and mix well.

Add in all the remaining ingredients except the oats. Stir until just combined and add oats.

Spread out with your hands (if you get them a little wet they won’t stick as much!) and bake until it becomes a golden brown and the cookie is cooked through. As you’ll be crumbling and rebaking it, ere on the side of over crisp then gooey.

Ingredients
Crumbled cookie for crust
1/4 cup butter
1 1/2 tablespoons brown sugar
1/8 teaspoon salt

Directions
Combine the crumbled cookie, butter, brown sugar and salt in a food processor and pulse until evenly combined and blended (a little of the mixture clumped between your fingers should hold together). Divide the crust between 2 (10-inch) pie tins. Press the crust into each shell to form a thin, even layer along the bottom and sides of the tins. Set the prepared crusts aside while you prepare the filling.

Ingredients
1 1/2 cups sugar
3/4 cup plus a scant 3 tablespoons light brown sugar
1/4 teaspoon salt
1/3 cup plus 1 teaspoon milk powder
1 cup butter, melted
3/4 cup plus a scant 2 tablespoons heavy cream
1 teaspoon vanilla extract
8 egg yolks
2 prepared crusts

Directions
Heat the oven to 350 degrees.

Whisk together the sugar, brown sugar, salt and milk powder. Whisk in the melted butter, then whisk in the heavy cream and vanilla.

 Gently whisk in the egg yolks, being careful not to add too much air.

Divide the filling evenly between the 2 prepared pie shells.

Bake the pies, one at a time, for 15 minutes, then reduce the heat to 325 degrees and bake until the filling is slightly jiggly and golden brown, about 10 minutes. Remove the pies and cool on a rack.

Refrigerate the cooled pies until well chilled. Serve cold, and the filling will be gooey. Dust with powdered sugar before serving.

Wunderbar Tart

While I am not a big fan of my birthdays, nearly ever, I get borderline obsessed with other peoples. I will always go overboard.

I love giving presents, I love cards (seriously, I can spend days this shop) and, not surprising to any of you I’d guess, I love making cakes. A lot.

So you can imagine that there is a serious amount of planning in making Jordan’s birthday cake.

I deliberate over flavours-it has to be chocolate, but chocolate hazelnut? Chocolate caramel? Chocolate pumpkin?

And textures, are we wanting dense and rich? Or light and whipped? Maybe with a crunchy layer somewhere, perhaps a praline?

Basically, I go on like this for a long time. I write notes, then I doodle pictures of what I want it to look like. I check online for inspiration, then later then I should, I make something and barely get it done in time, if I’m being honest here.

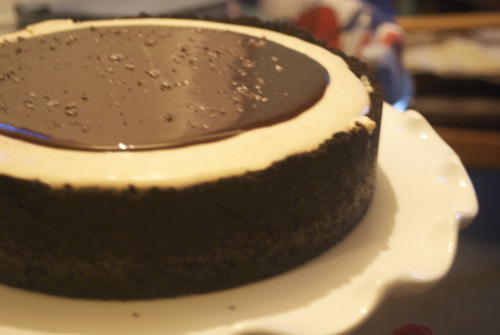
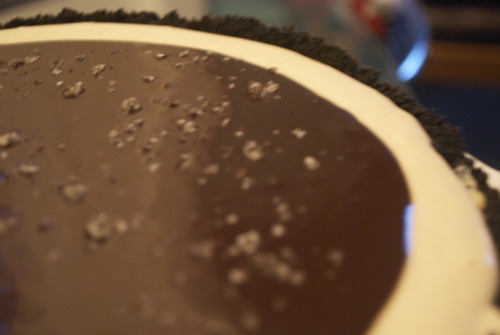
This year it wasn’t a cake per say, it was a mousse tart, a chocolate base, a thick layer of creamy caramel, a whipped mousse of peanut butter just firm enough to hold it’s shape when sliced, and topped with a layer of chocolate ganache gently sprinkled with maldon salt.

It’s an extremely grown up version of a Wunderbar, which just so happens to be Jordans favourite.

It’s also happens to be extremely good.

Wunderbar Tart/Peanut butter, Caramel Chocolate Tart

Adapted from this recipe

Crust

16 oz Chocolate wafers, or Oreo Crumbs

8tbsp Butter, melted

Caramel

1 cup Sugar

3/4 cup Whipping Cream

4 tbsp Butter

1 tbsp Vanilla Extract

Peanut Butter Mousse

1 cup Peanut Butter

3/4 cup Whipping Cream

4 tbsp Sugar

1 tbsp Vanilla Extract

Chocolate Mousse

8oz Chocolate

1/2 cup Cream

1tsp Salt-because I’m the sort of person who keeps vanilla salt around I used that and it was wonderful, but regular fleur de sel or maldon salt it lovely. Just make sure it’s a flaked salt not a chunked salt.

Caramel:

*Make sure you have everything you need for this measure out as caramel can go from light brown to black within seconds. Also, use an extremely clean pot.

Put sugar in pot with just enough cold water to give it the texture of wet sand.

On medium heat cook this mixture stirring occasionally until sugar dissolves.

Take out spoon and bring heat up to high. Shake pot occasionally and watch it carefully.

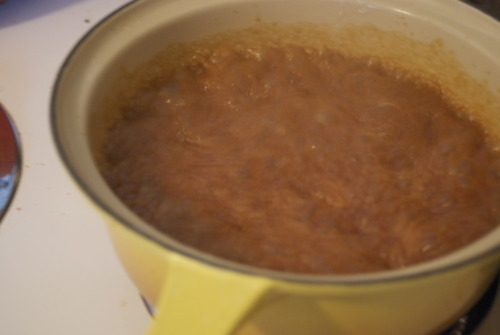
When it turns amber color immediately pour in the cream. It will bubble up and splatter so be careful!

Add in the butter and vanilla. Allow to cool completely.

Make Crust:

Preheat oven to 350F

Mix butter and crumbs together

Press into a 10inch spring form pan, or a pan with a removable bottom, or 10 small tart shells

Bake until the crust just begins to firm, about 10 minutes. Cool completely.

Make Mousse:

Bring a couple cups of water to a boil.

Slowly add the water a few tablespoons at a time to the peanut butter stirring well until it is smooth, easy to stir and forms slowly dissolving ribbons when you pick up a spoon and let the mixture fall back in. It took more water then I thought it would, don’t be alarmed!

Let cool.

Meanwhile whip the cream and sugar to stiff peaks.

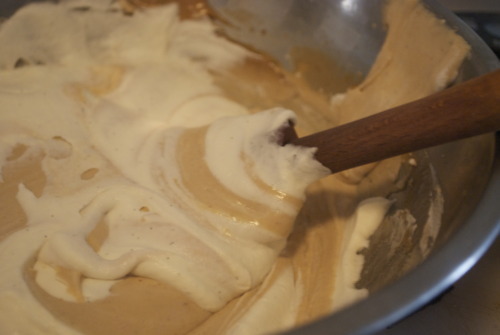
Once the peanut mixture is cooled fold in the whip cream and the vanilla.

Make Ganache:

Bring cream to a boil

Pour over the chocolate and stir until it is smooth.

Assemble:

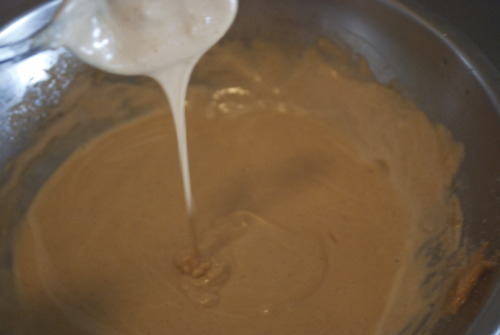
Pour the caramel into the cooled tart shell. Let it set in the fridge for at least 10 minutes.

Pour the mousse over the caramel and smooth with an offset spatula.

Pour the chocolate over the mousse and smooth.

Sprinkle with the salt.

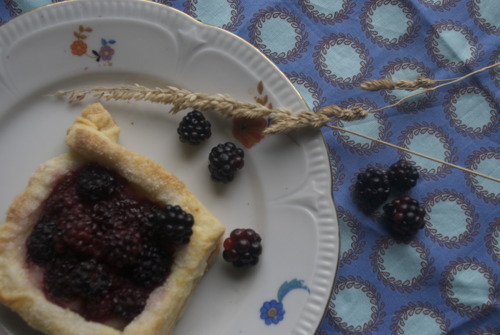
Blackberry Galettes!

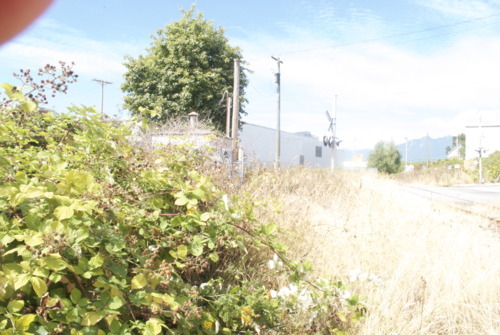
Here’s the thing, I`ve always heard about blackberry bushes in Vancouver. People say they`re at the train tracks, and I`ve seen them there in the springtime with bright red berries on them in Kitsilano around the train tracks at Granville Island.

And then I had an epiphany.

There are train tracks 10 blocks away from my house that I bike past everyday.

I know, I know, I`m a little slow on the uptake.

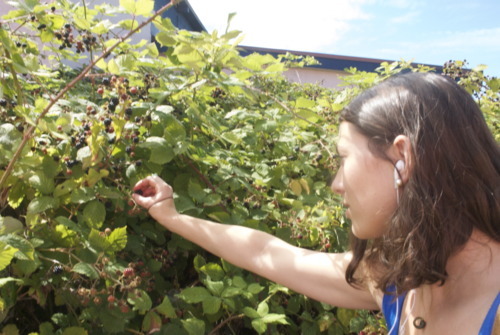
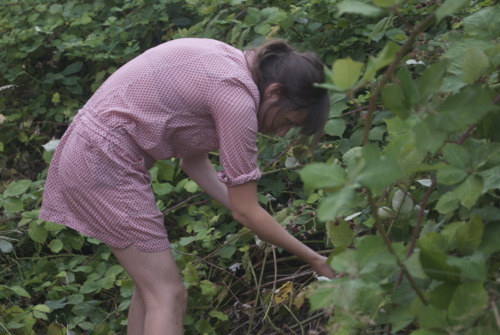
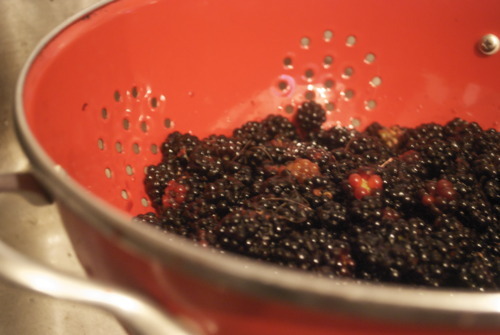
So I`ve now gone blackberry picking 3 times this week. I am a very happy girl. I love blackberries.

A lot.

So does my beautiful friend Liz, so the other day we spent the day picking berries and wildflowers and pretending we weren`t in the middle of the city, just half a block from a major road. And then we walked back with blackberry juice dripping out of our bags and staining our shoes laughing and just generally being very content in the city that we live in.

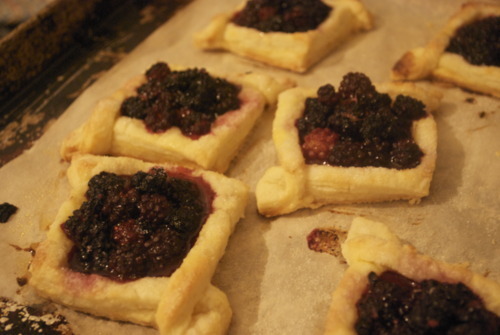
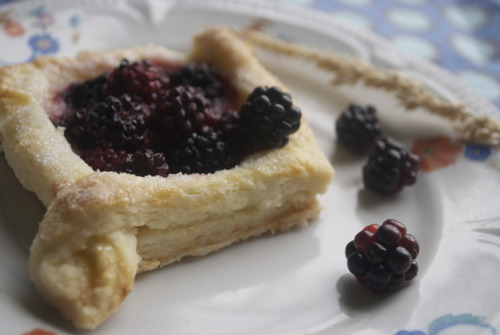
So I`ve made many many blackberry things lately that I`ll be sharing up here, but the first thing I did was make blackberry galettes, and they were so good, and so light and so fresh tasting I thought you should get this recipe first.

It`s a little showy but mostly it`s simple, elegant and very satisfying. And, while I made them for desert, I saved one for breakfast this morning, and it was the perfect start to my day!

1 cup (2 sticks, or half a pound) of Unsalted Butter, very cold

2 cups AP Flour

1 tsp Salt

1/4 cup-1/2 cup ice water

9 tbsp Coarse sugar (if you have it, otherwise regular old white sugar will do!

2 pints Blackberries

Make the dough:

Put the salt and flour onto your counter top. Put the butter in the middle and break them up and make sure they’re all covered in flour.

Using a rolling pin roll out the butter into long strips, using a spatula or bench scraper to scrape the butter off the bottom and move in the flour from the sides.

It will look like a big mess, don’t be alarmed!

Add in the water and again, using the spatula or bench scraper, fold in the water until a dough just barely starts to form. You may need to adjust the amount of water depending on the humidity.

Once it starts to come together use your hands to fold it in half, flatten it out a bit, then fold it again, continue to do this until the dough becomes something you think you could roll out without it falling apart but not so long that the dough becomes tough.

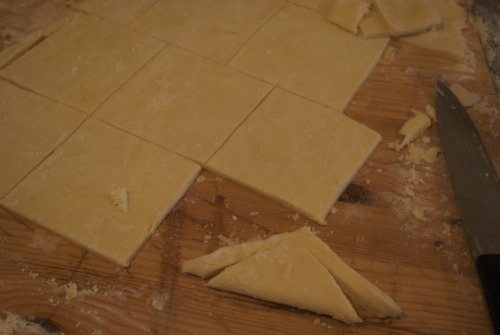
Roll out the dough to about 1/4 inch thick and cut it into squares that ate 3 inches by 3 inches.

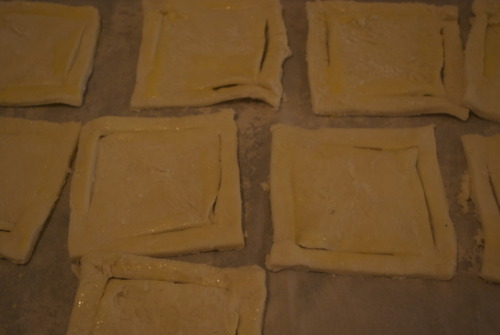
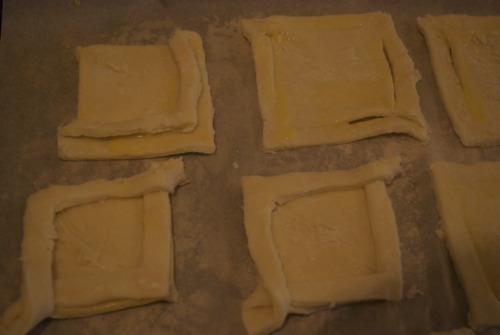
Fold each square in half on an angle to form a triangle. Cut 2 slits each triangle paralelle to each side leaving a space at the end so that it is connected at 2 ends. I know this sounds confusing but its really easy, just look at the pictures!

Then fold the sides over each other to form a pretty little diamond. Like this:

Chill the dough for 30 minutes in the fridge. You want the butter to be very cold so that when it goes into the hot oven it produces steam and the steam is what makes those lovely puffy little layers of dough, so the colder the better!

Preheat your oven to 375F

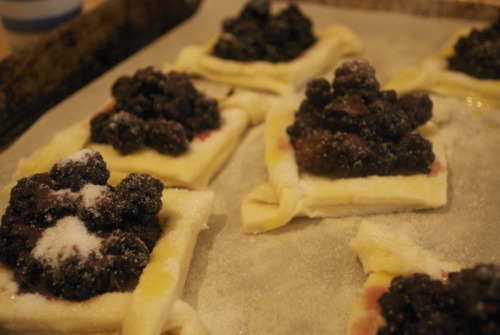
Egg wash the tops of the dough, and then fill the middle square with heaps of blackberries.

Sprinkle a tablespoon of sugar onto each tartlette making sure you get lots on the pastry. It will give it a wonderful crunch!

Bake them until they are a lovely golden brown on top and the berries are bursting and juicy.

And then eat and be very very happy!

Morning Pastries in a Pinch

Is there anything better then morning pastries hot out of the oven? The smell of brioche waiting to be dripping in butter and jam, the perfect crispiness of fresh croissants, the steam as you open a hot cinnamon bun?

The only problem with morning pasties is that you need to prep for a couple hours the night before and relinquish your sleep in to let them proof and bake. Which in my books is a big problem. I want to sleep in, read the Sunday paper for a bit and then skip over to the kitchen throw something together and have it smell like a bakery. Which may not be realistic.

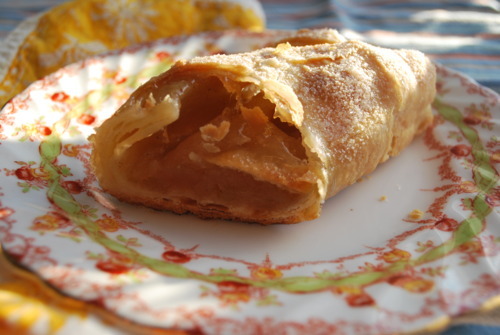
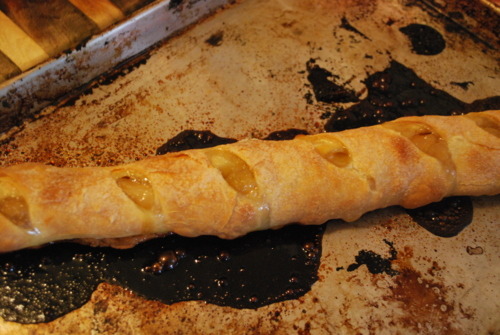
But I can sleep in, bake for 30 minutes, read the Sunday Times and half an hour later have fresh apple strudels, which is a pretty okay compromise I think.

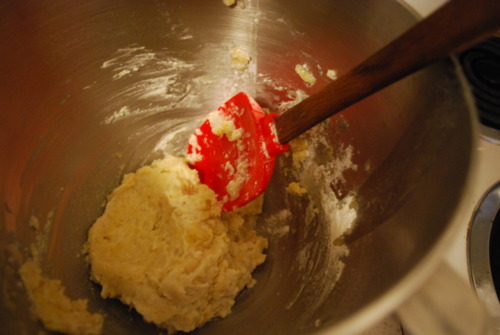
Strudels are not hard to make. You make a very easy dough and let it sit for half an hour. While its sitting you chop up a few apples and stew them in some sugar and cinnamon until they get nice and translucent. Then you roll out the dough very thin which is surprisingly easy, it’s a very easy to work dough. You top on your apples roll the whole thing up and put it in the oven.

And then the smell starts.

The cooking dough, caramelizing apple breakfast pastry smell.

And you just sit there and read your paper and drink your coffee until the smell gets almost overwhelmingly wonderful. And then you pop it out of the oven and let it cool just a little and theny ou slice it up and eat it and feel like the queen of the universe. Or maybe that’s just me.

Dough

1/4 teaspoon salt
1 1/2 cups flour
1 egg, slightly beaten
1/3 cup warm water
1/2 cup butter, melted

Mix all ingredients together with a wooden spoon or spatula.

Knead like bread until dough begins to come together, I did this in my mixer with the dough hook but you could easily do it by hand. Don’t go to crazy, just knead for a couple minutes.

Put it aside, somewhere warm, maybe near your oven.

In the meantime make your apple filling.

Apple filling

4 cooking apples, I used ambrosia but whatever kind you like best.

1/2 cup sugar

1 tsp Cinnamon

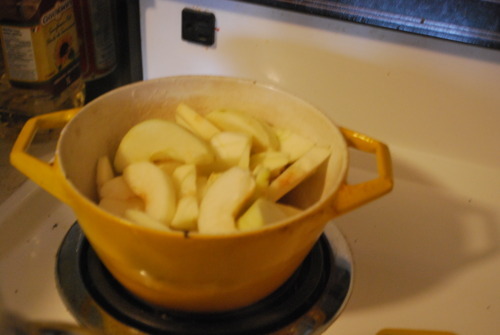
Slice up your apples put them in a pot and simmer until they start to simmer a bit.

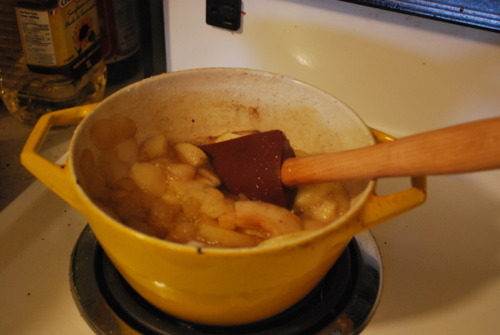
Add in the sugar and cinnamon and cook a bit longer. Don’t worry if it’s a bit soupy, you can take leave the liquid behind and just use the slices.

Preheat the oven to 400F

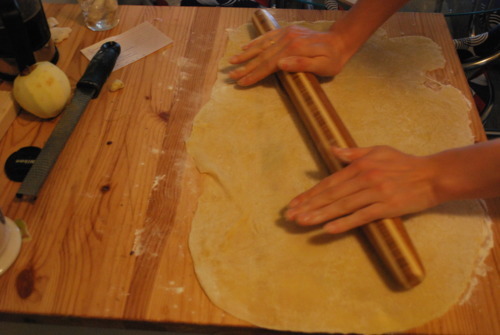
Now roll the dough into a long rectangle.

It will be very easy to roll and roll it as thin as you possibly can. I could easily see the wood grain of my counter top through the dough.

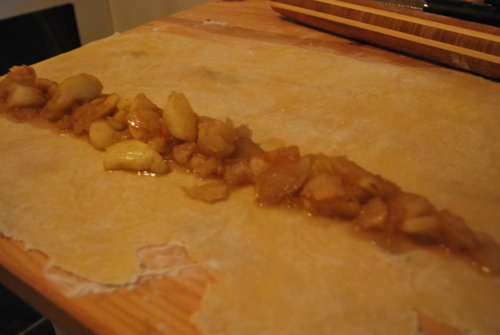
Spoon the apple mixture into a line all along the dough along one of the long ends.

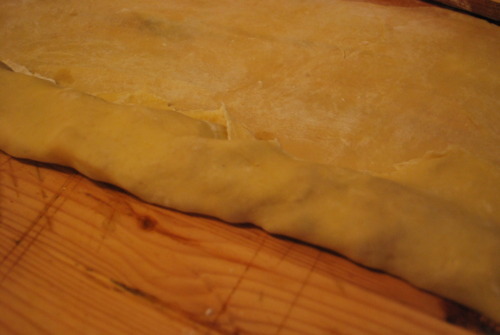
Carefully fold the dough over the apples

 and then roll the dough with the apples until all the dough is wrapped around the filling.

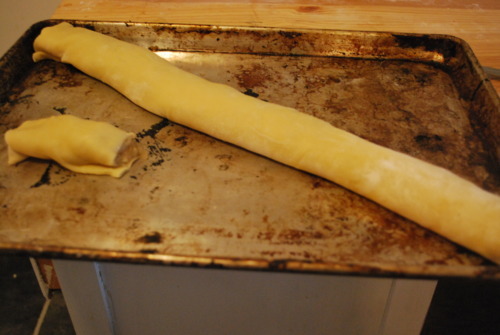
Carefully transfer to your baking sheet.

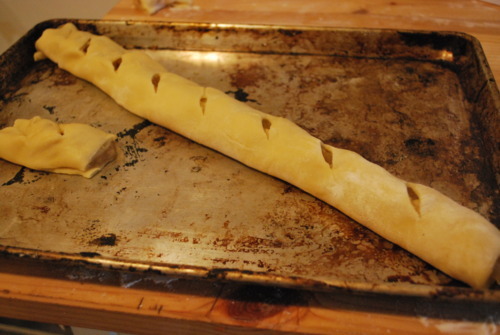
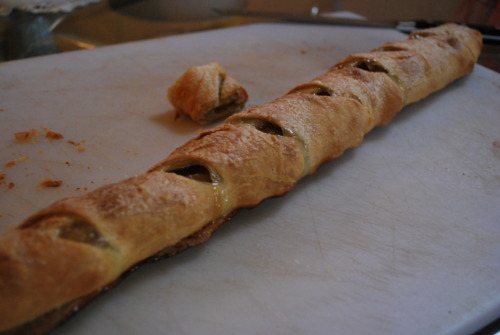
Cut the ends and score the top to allow steam to escape.

Now bake for 20 minutes, turn the oven down to 300 and bake for twenty more.

Then get it on a cuttin board, slice them up and it it while its still hot and glorious!

That wasn’t so bad was it? And seriously how good does your house smell….

More Rhubarb


Are you sick of rhubarb recipes yet friends. I’m not! I know I know, I’ve posted about it 2 times already this month but rhubarb season is so fleeting and I think it will still be a couple more weeks before we start seeing local strawberries and blueberries and other kinds of fruit that, when I first see them, make me start dancing in the aisles of my local green grocers.

Which is all to say that there are another couple weeks, if we’re​​​ being optimistic, it would probably be more realistic to say a month or so but I am nothing if not an optimist, before we have any other fruit and so I feel a huge need to make the most of rhubarb season.

This is a tart that I`ve been making for a long time. My first ever restaurant job introduced me to both brown butter, butter that`s been cooked until the milk solids turn a pretty walnut colour and it starts to smell like hazelnuts, and brown butter pastry, when you mix that wonderous stuff with eggs and sugar and vanilla and a tiny bit of flour to hold it all together .

Some of you may be intimidated by the short crust pastry, or pie dough, but I really encourage you to try it. It is way easier then you think, and I made sure to take pictures at every step so you have a visual.

​​​

Tart Dough

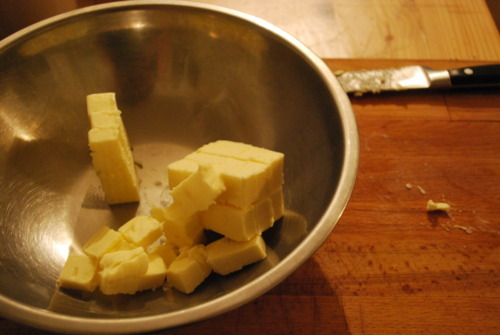
1 cup (half a pound) of Cold Unsalted Butter, cut into chunks

2 cups of AP Flour

about 1/4 cup ice cold water

Cut the butter into the flour. That means break it up into pieces. Your not trying to mix the butter and flour, your simply trying to get chunks of butter throughout. If your worried about it, err on the side of making it to big.

Add in the water, just a tablespoon at a time until it is just barely barely combined. It’s best to have it on the dry side, but if you add a little to much just add a little more flour.

Now flour your counter space and carefully press it into a rectangle. The fold it in half and do it again.

And again, and again, until it starts to feel firm. Your adding layers at this point, making your tart almost in between a pie dough and a puff pastry, which is to saw your making your dough delicious.

Now get it in the fridge for at least an hour, or until it really sets up.

In the mean time:

Roasted Rhubarb

4 cups of chopped rhubarb, about 10 stalks

1 1/2 cups sugar

Preheat the oven to 400F

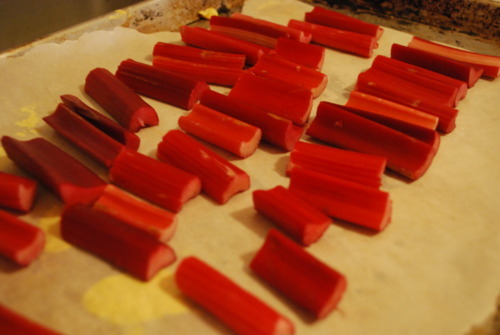
Lay the rhubarb on a parchment lined tray.

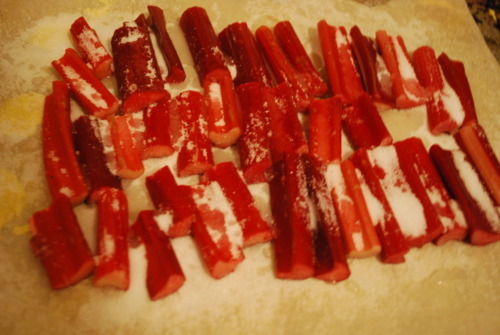
Sprinkle the sugar ontop.

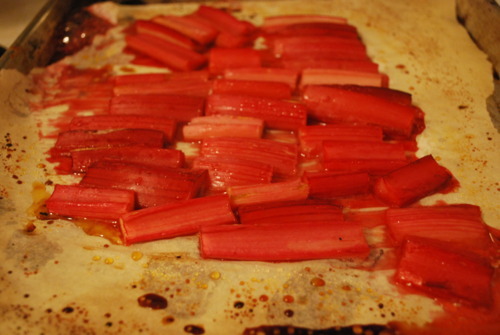
Get it in the oven! Roast it until it starts to get soft but before it breaks down, anywhere between 12-25 minutes depending on the size of your rhubarb

Now make the brown butter pastry

1/2 cup Sugar

2 Large Eggs

1/4 cup AP Flour

1/2 cup Butter

1 tbsp Vanilla

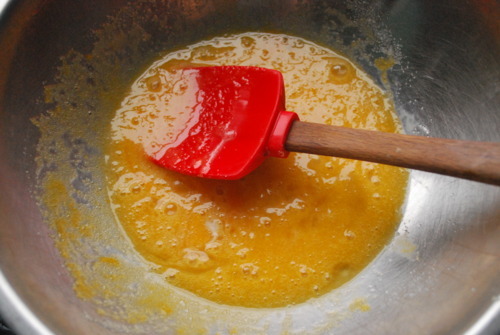
Get your butter in a pot, not a frying pan, it will sizzle up, and cook it on medium heat.

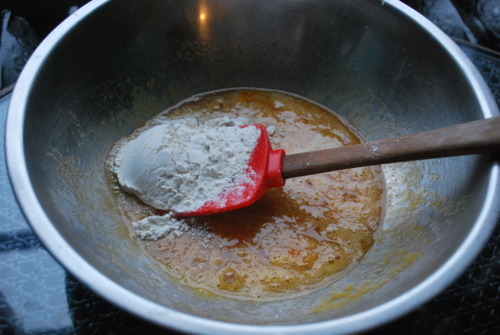
It will get all foamy, then it will get clear again. The it gets foamy again, and you won’t be able to see the bottom well but swirl the pan around and smell it lots. The smell will be like hazelnuts and the bottom will start to get a pretty brown. As soon as this happens get it out of the pot and into a bowl, or it will burn

In another bowl get the eggs and the sugar combined. Add in the vanilla.

Add in the butter and then the flour

And now your ready to assemble!

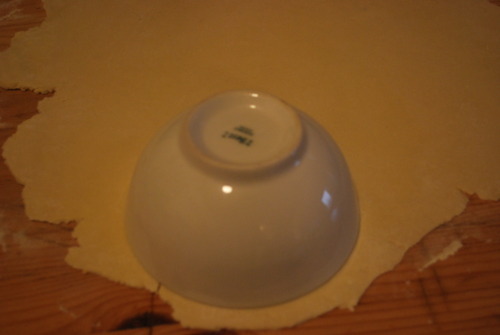
Roll out the dough and cut it out. I didn’t have a round cutter that was big enough so I used a bowl

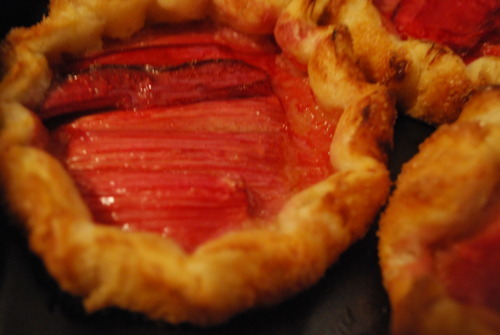
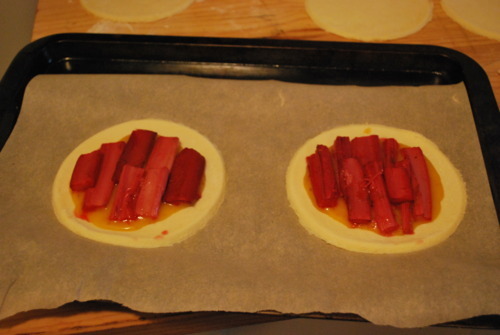
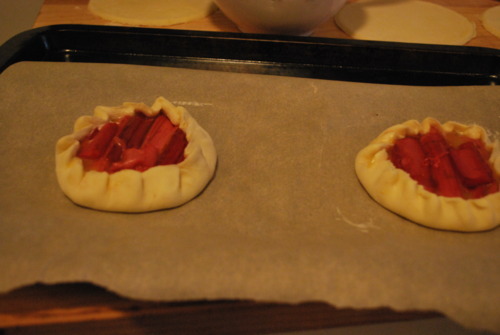
Put about a tablespoon of brown butter mix in the center of the circles. The fill up the space with rhubarb. Make sure you leave space to fold the edges over.

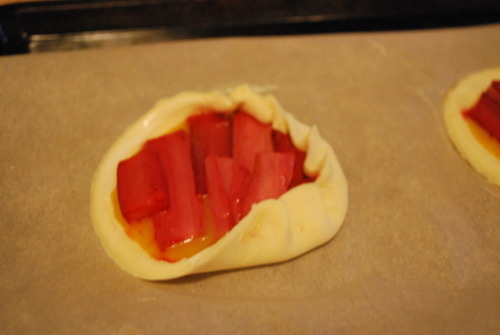
Now fold up the edges

And then finish and put them back in the fridge for another twenty minutes

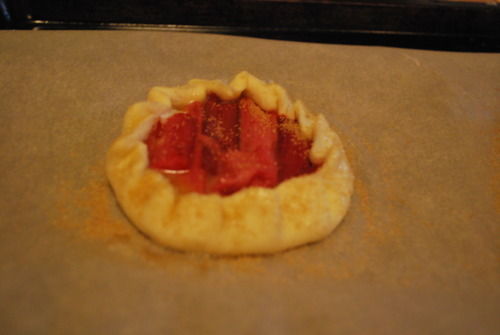
Beat an egg and brush it on the tops of the pastry, then sprinkle some sugar on top.

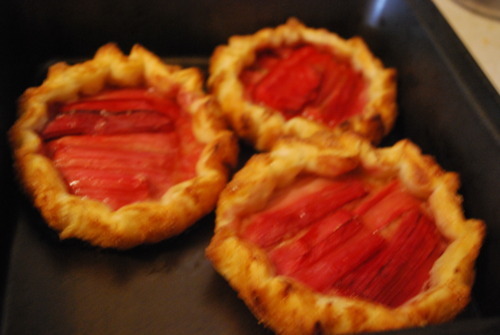
and bake it up! The pastry will get a lovely brown the rhubarb will caramelize and you will be in pastry heaven!