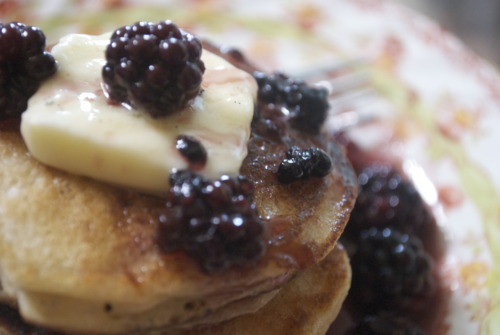
Whole Wheat Pancakes with Maple Blackberry Bourbon Compote


One of my very first kitchen memories is of making pancakes. As kids we were in charge of making our own breakfast and, while that usually meant cereal one day we decided we were grown up enough to make pancakes.

We carefully measured out each thing and and mixed it slowly and left a few bubbles in it so that it wasn’t over mixed. We poured it in little spoonfuls into the pan of bubbling butter and cooked them delicately.

We sat around the table and poured way more maple syrup than my mom would normally allow us too, and dug in. And they were terrible horrible rubbery rubbish. I know now that we forgot to add in the baking soda but at the time I just new they were wretched. They were fed to the dog so our parents wouldn’t see and we tried again.

We painstakingly measured every ingredient and fried them in butter again but this time, they cooked so quickly we almost poured the batter in, flipped them and then they were done, which was great because we were very hungry by this point.

So again, we poured much to much maple syrup on them and again excitedly tried our first bite. They, again, were god-awful-couldn’t-eat-them-terrible. The butter had burnt in the pan making them look cooked but they ran into puddles when we cut them open they were so raw inside. Again, we fed them to our dog (who miraculously had an iron clad stomach) and began to try again.

Fortunately my Dad woke up at this point and decided that enough was enough, and with surprising enthusiasm for a man who was not lying in bed reading the Sunday New York Times with a latte in his hand as was his tradition, taught us how to make pancakes.

First he showed us an old box of Aunt Jemima mix from the back of the cupboard, then he showed us to fry them in canola oil which had a higher burning temperature.

And then let us flip and fry and we brought them to him in bed with the paper.

I have moved up in the world since this disastrous first attempt, and have made many pancakes since. I gave up on mix years ago and became a devoted Joy of Baking pancake user, until I found this recipe that I posted a few months back.

But the other day when I had girlfriends over for brunch I needed a slightly moe flavourful pancake. I needed the sort of pancake that would stand up not only to maple but also to blackberries. That wouldn’t fade into the background of a syrup that had vanilla beans, and orange zest, and also the tiniest bit of bourbon. I needed a pancake with a flavour of it’s own.

These are just that, but not, as is common with whole wheat flour, stoggy, or dense, or heavy. They are wonderful light fluffy pancakes with just enough nuttiness to hold up against a wonderful summertime sauce.

Whole Wheat Pancakes with Maple Blackberry Compote.
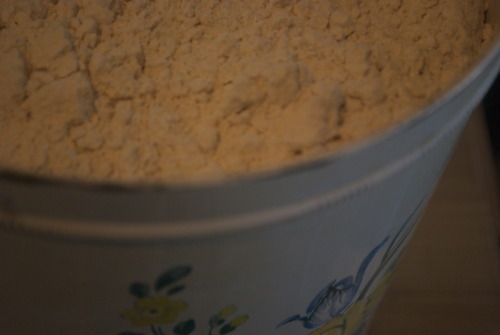
Note: This recipe uses whole wheat pastry flour, which is basically really fine sifted whole wheat flour. If you can’t find such a thing, use half whole wheat and half white and sift it to get the bits out.

Maple Blackberry Compote

3/4 cup Maple Syrup

Zest of half an Orange cut into thin strips

Half a Vanilla Bean,

1 tsp Bourbon

1 cup Blackberries

Whole Wheat Pancakes

2 cups Whole Wheat Pastry Flour (see note)

1 tsp Baking Powder

1/2 tsp Baking Soda

1/3 cup Sugar

2 1/4 cup Buttermilk

2 Eggs

2 tbsp Butter, melted plus more for frying

A little bit of canola oil for frying

In a small pot warm the maple syrup with the orange zest and the vanilla
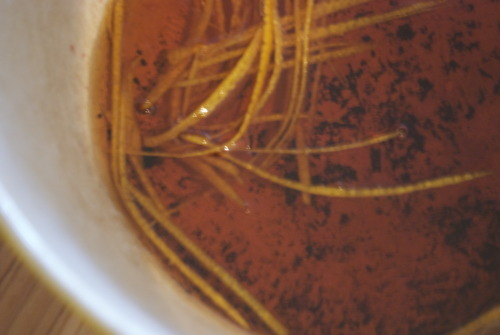
Let it sit on medium low heat for 10 minutes, then add in the blackberries and turn off the heat but leave it on the element.

Pancakes:

Mix all the dry ingredients in a large bowl

Whisk together the eggs and the milk and pour them into the bowl, with the butter and mix until just combined, a few lumps are alright.
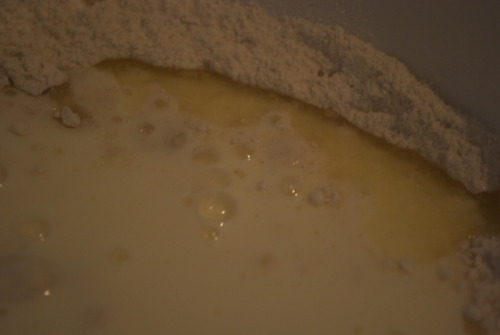
Fry them carefully in butter with a little bit of oil as well. When they start to get bubbles in the middle flip them over, and then keep them warm in the oven as you cook the rest. (sorry i forgot to take a picture of them!)
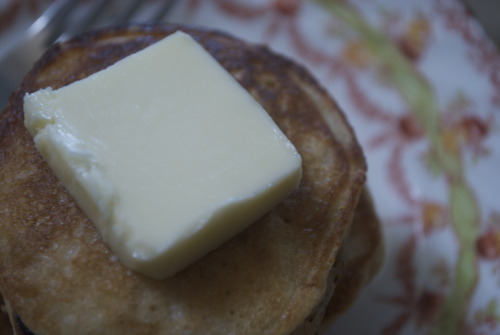
When they are cooked slather then with butter and syrup and berries!
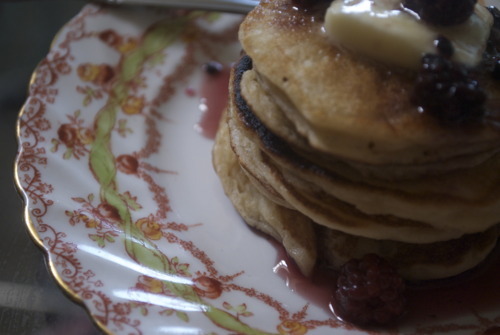
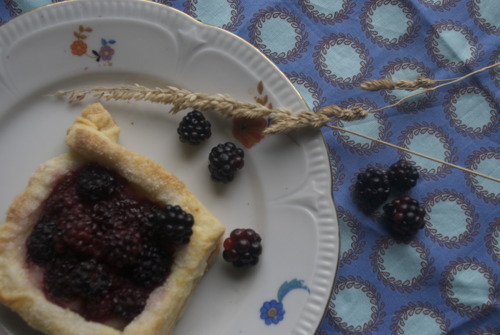
Blackberry Galettes!
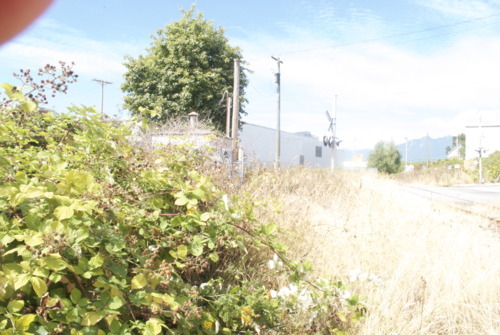
Here’s the thing, I`ve always heard about blackberry bushes in Vancouver. People say they`re at the train tracks, and I`ve seen them there in the springtime with bright red berries on them in Kitsilano around the train tracks at Granville Island.

And then I had an epiphany.

There are train tracks 10 blocks away from my house that I bike past everyday.

I know, I know, I`m a little slow on the uptake.

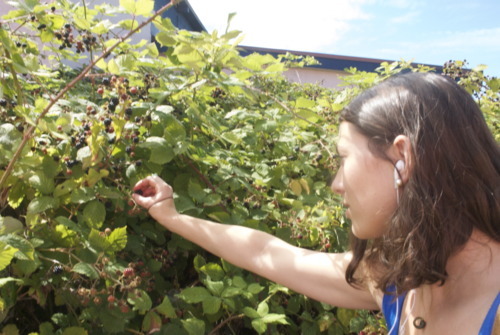
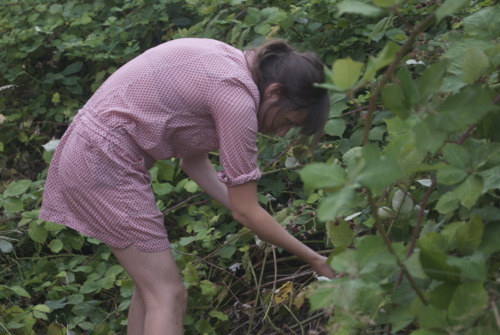
So I`ve now gone blackberry picking 3 times this week. I am a very happy girl. I love blackberries.

A lot.

So does my beautiful friend Liz, so the other day we spent the day picking berries and wildflowers and pretending we weren`t in the middle of the city, just half a block from a major road. And then we walked back with blackberry juice dripping out of our bags and staining our shoes laughing and just generally being very content in the city that we live in.

So I`ve made many many blackberry things lately that I`ll be sharing up here, but the first thing I did was make blackberry galettes, and they were so good, and so light and so fresh tasting I thought you should get this recipe first.

It`s a little showy but mostly it`s simple, elegant and very satisfying. And, while I made them for desert, I saved one for breakfast this morning, and it was the perfect start to my day!

1 cup (2 sticks, or half a pound) of Unsalted Butter, very cold

2 cups AP Flour

1 tsp Salt

1/4 cup-1/2 cup ice water

9 tbsp Coarse sugar (if you have it, otherwise regular old white sugar will do!

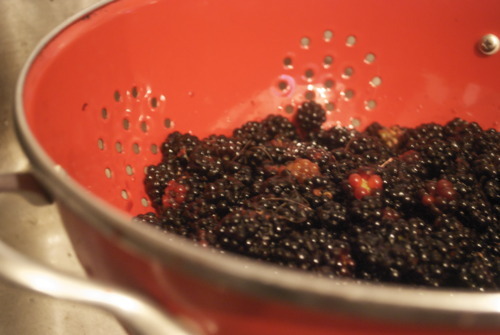
2 pints Blackberries

Make the dough:

Put the salt and flour onto your counter top. Put the butter in the middle and break them up and make sure they’re all covered in flour.

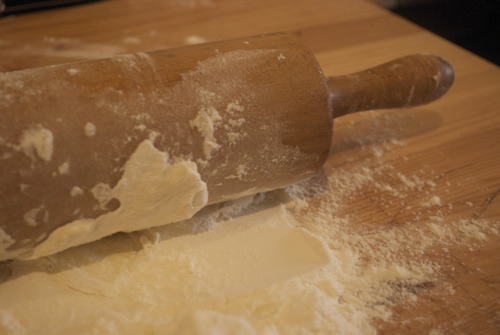
Using a rolling pin roll out the butter into long strips, using a spatula or bench scraper to scrape the butter off the bottom and move in the flour from the sides.

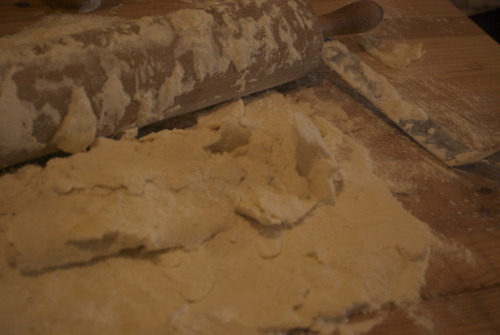
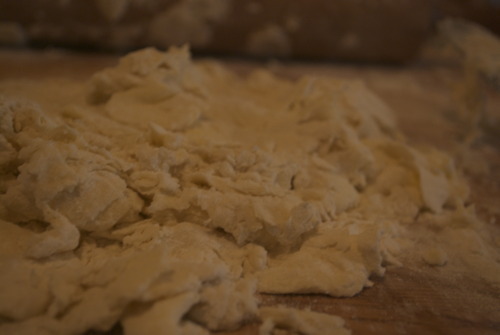
It will look like a big mess, don’t be alarmed!

Add in the water and again, using the spatula or bench scraper, fold in the water until a dough just barely starts to form. You may need to adjust the amount of water depending on the humidity.

Once it starts to come together use your hands to fold it in half, flatten it out a bit, then fold it again, continue to do this until the dough becomes something you think you could roll out without it falling apart but not so long that the dough becomes tough.

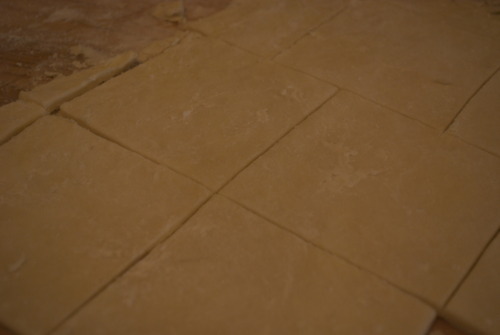
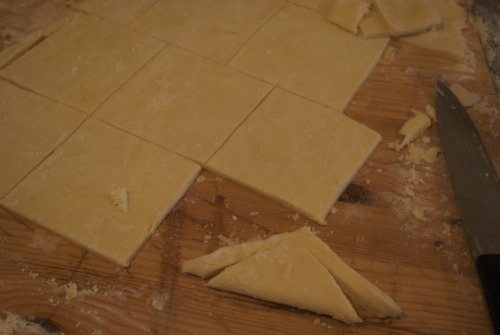
Roll out the dough to about 1/4 inch thick and cut it into squares that ate 3 inches by 3 inches.

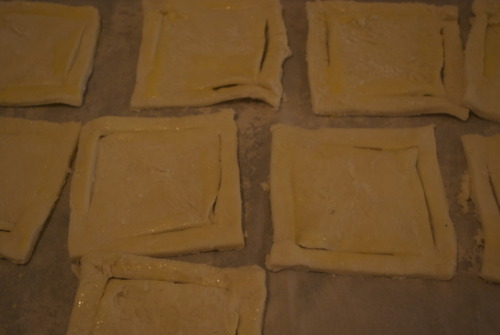
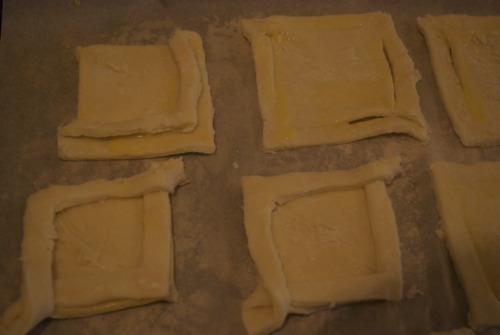
Fold each square in half on an angle to form a triangle. Cut 2 slits each triangle paralelle to each side leaving a space at the end so that it is connected at 2 ends. I know this sounds confusing but its really easy, just look at the pictures!

Then fold the sides over each other to form a pretty little diamond. Like this:

Chill the dough for 30 minutes in the fridge. You want the butter to be very cold so that when it goes into the hot oven it produces steam and the steam is what makes those lovely puffy little layers of dough, so the colder the better!

Preheat your oven to 375F

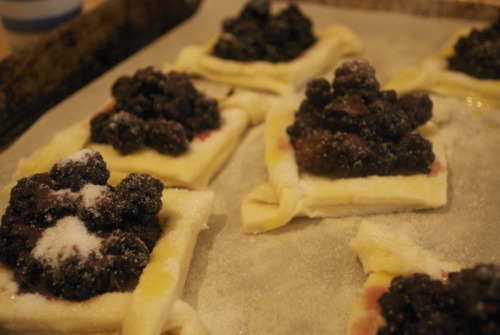
Egg wash the tops of the dough, and then fill the middle square with heaps of blackberries.

Sprinkle a tablespoon of sugar onto each tartlette making sure you get lots on the pastry. It will give it a wonderful crunch!

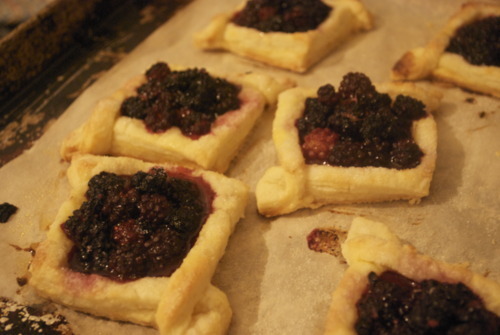
Bake them until they are a lovely golden brown on top and the berries are bursting and juicy.

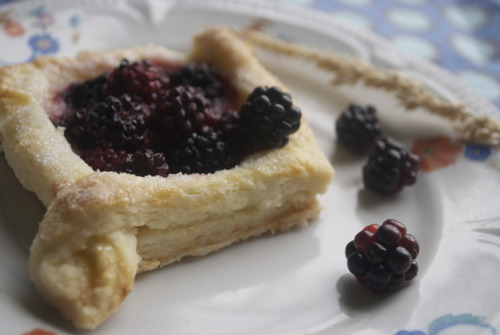
And then eat and be very very happy!

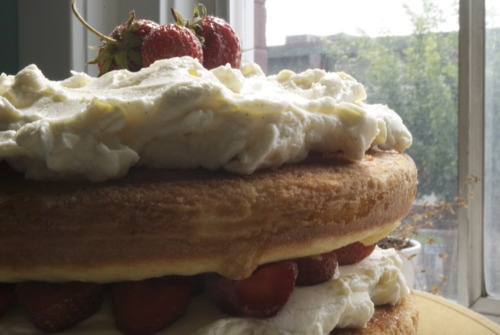
How to Bake and Ice a Cake in Under an Hour.

x

Scenario Number One:

You got stuck working late/in traffic and now you need to leave the house in 2 hours to get to a birthday celebration and you promised to bring a cake, you should bring a present, and you deffinately should shower, straighten your hair and look nicer.

Scenario Number Two:

You forgot it’s your friends birthday and only remembered after you’d phoned her to bitch about your day. You told her your running a little behind but of course you didn’t forget, you have a cake waiting for her in your fridge! Only to realize that the bakery across the street is closed for renovations.

Scenario Number Three:

Your dog has an alliance with your cats, who pushed the cake off the counter so he could eat it. I actually watched my pets do this once, so I know it happens. Now you’ve got one hour to reproduce a cake nice enough to serve for the birthday your throwing your friend, who used to date your husband and you want to show up, just a little bit.

I have an answer to all your problems! Well, not world peace, or a million dollars, but cake problems I have you sorted on.

The answer is, cake mix.

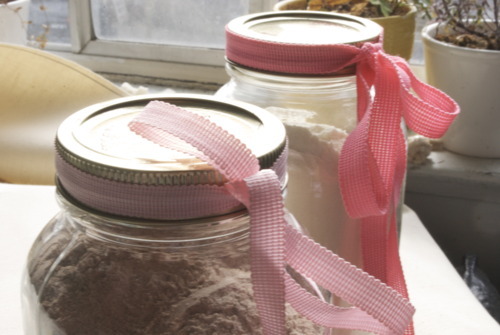
No no, not Betty Crocker just add water cake mix. Home made cake mix. Mix that you just throw together in a bowl with things you already have in your pantry. Your going to use half of it in the cake that your going to produce in seconds flat and the other half you’ll put in that mason jar that you got pickles or over priced jam in, tie a ribbon around it and then you have a present too.

Preheat your oven to 350F

flour and butter 3 8 inch cake pans.

Make this lovely cake mix,

Cake Mix:

5 cups sugar

7 cups Flour

3 tbsp Baking Powder

*optional, you can add in 1 cup of cocoa powder to make it a chocolate cake mix.

Save out 3 1/2 cups of the mix and package the rest up however you like.

Add to the reserved mix

4 eggs

1 cup milk

1 cup veg oil

*if you’ve added the cocoa powder to the mix make it 1 1/2 cups milk.

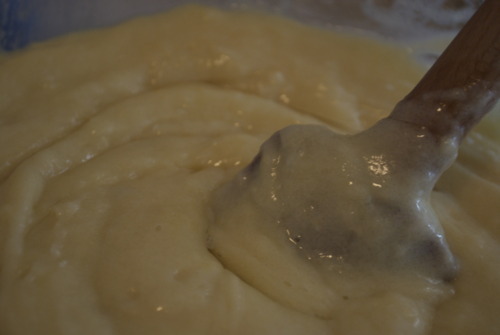
Mix that together and there’s your batter.

Pour it into the pans and bake for about 25 minutes or until an inserted skewer comes out with only a few moist crumbs.

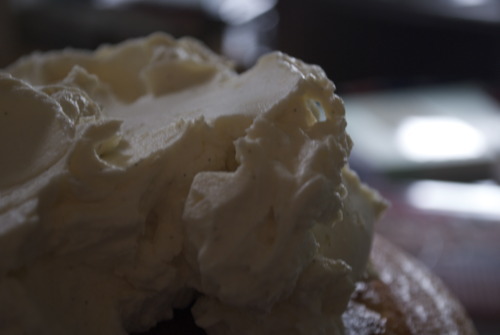
While your cake is in the oven your going to take a quick shower, wash your face, and moisturize. Then, you take the cake out of the oven and while its cooling you’ll pick and outfit, dry your hair, and whip together this until it holds stiff peaks:

2 cups of whipping cream

2 tbsp Icing sugar

1 tsp Vanilla extract

*optional, if you have a cup of creme fraiche, mascarpone, cream cheese or even sour cream you can add that in too. Lemon zest is also a nice addition if you have a lemon kicking around.

Now you’ll slice up

2 cups of fruit,

maybe it’s berries, maybe it’s pears, maybe it’s grapefuit segments. Canned peaches would be excellent. What ever you have on hand will be delicious.

Now for the cake.

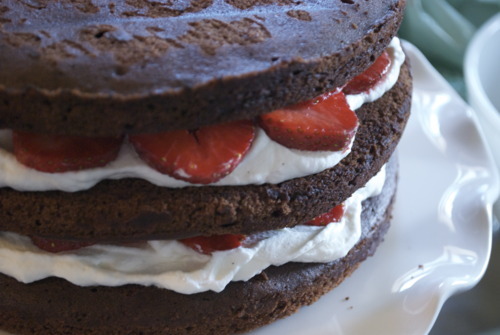
Unmold it and put the bottom layer on the plate or cake stand.

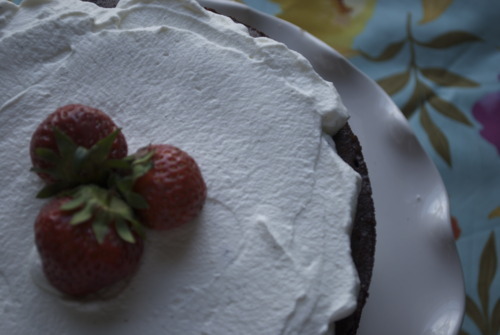
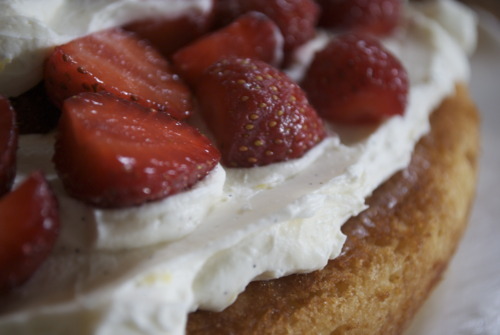
Then you can blob some of the cream on it and push it to the edges without having it drip over.

Now add some fruit placing it in a single layer. Put the next layer of cake on top and repeat. Don’t fuss to much, this is a rustic cake, don’t break hairs over it.

Instead, pop it in the fridge and go make your hair look nice, throw some make up on, and then take your cake in one hand, and use your other to wave down a cab while all the cute guys within a ten block radius come to check out the cute girl with the awesome looking cake who looks so effortless about it all.

Strawberry Jam

I think it’s fair to say that my friends consider me pretty domestic. I think maybe it’s fair to say that I am pretty domestic, except in the world of cleaning, although I swear I am getting way better. Honest.

Anyways.

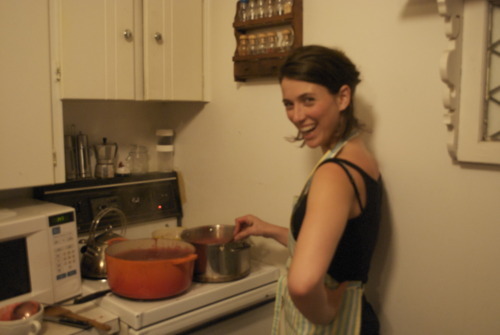
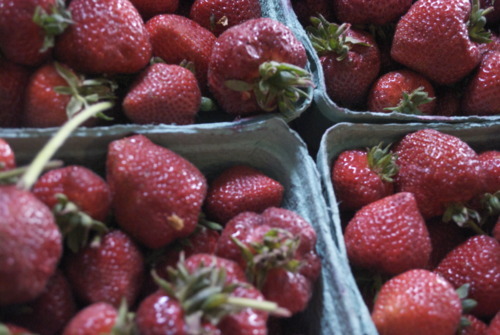
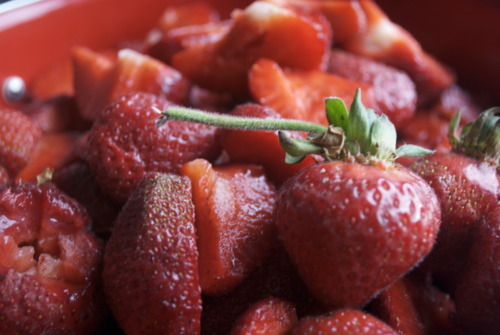
My girlfriends rarely complain when I show up at there houses with pies, or send them off to their boyfriends with scone dough to bake up in the mornings, but rarely do they come into the kitchen and help me out. So last week Jordan came home with 2 big flats of local strawberries and a few of my favourite girls came over to cook them down, sweeten them like crazy and put it all in jars to open in December when we’re jonesing for good fresh fruit. Some people know this process as jam.

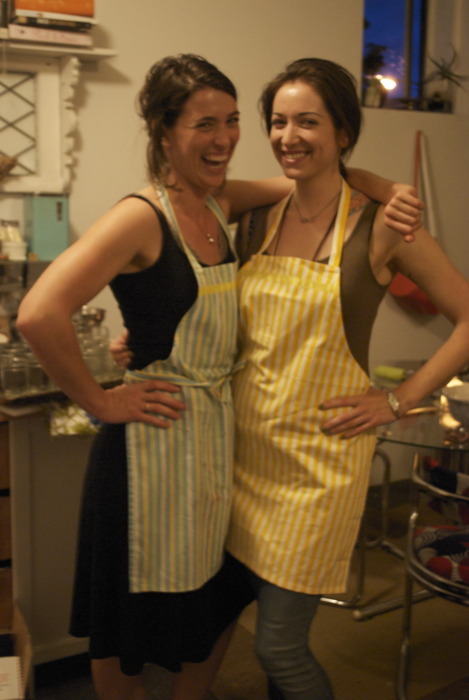
So the urban planner, the song writer and the jewelry maker came over and we listened to Lionel Ritchie, hulls strawberries, ate amazing take out Indian food (man oh man do I love Tandoori Palace) and we all walked away with a lot of jars.

I don’t have a set recipe for jam, because every strawberry is different, and while jam has to be sweet because the sugar is a preservative and that’s how it keeps, I hate jams that taste like sugar.

There are a few things that are imperative to jam making. Firstly, clean hands, clean jars, clean lids. Clean. Bacteria getting inside a jar can become botulism, and that scares the hell out of me. Seriously.

Secondly, in order to get a really fresh fruit taste, you have to do it in small batches. Just use two pots. You’ll do it in half the time, and you’ll be able to taste a huge difference.

Thirdly, I say I don’t measure the sugar. The basic formula is 2 parts sugar to 1 part fruit, by weight (so two kilos of sugar for one kilo of fruit) but I find this excessive and so I use a little less.

I also don’t boil the jars, I clean them very carefully and then I keep them hot in the oven, I find this method easier.

Strawberry Jam

2lbs Strawberries

3-4 cups Sugar

1 Vanilla Bean

Juice of half a lemon

Place a plate in the freezer.

Preheat the oven to 300F

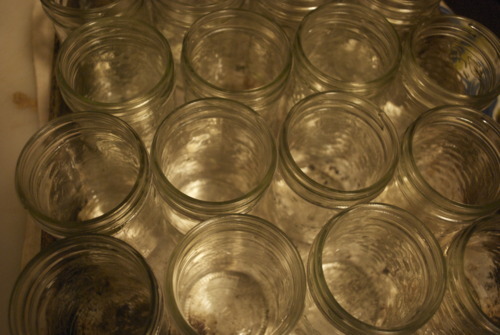
Wash your jars and lids very carefully, put them on a tray in single row and place them in the oven.

Hull the strawberries and cut them in half.

Wash them very carefully.

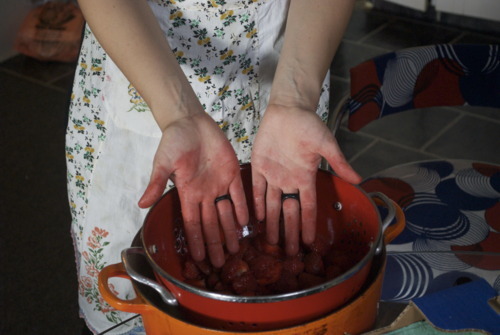
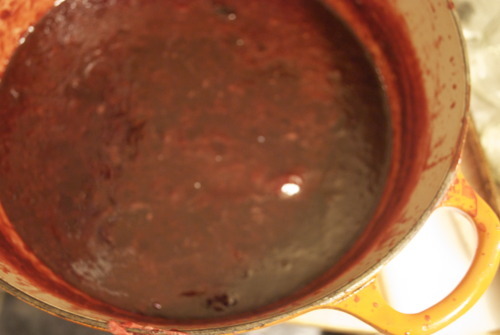
Put them all into a big pot and cook them, stirring frequently, on medium heat until most of the liquid has been dissolved, about 20 minutes.

Add in 3 cups of sugar, lemon juice and the vanilla bean and cook until that has reduced. Now taste it. If your using really good fresh local strawberries you may find that it’s sweet enough as is, or if your strawberries were a little less ripe you may need to add more.

Be careful at this point, the sugar is likely to burn if your not watchful and stirring pretty regularly.

Now check the consistency- take the plate out of the freezer and spoon a little jam on top. Let it sit for a minute and then push it around. If it’s done it won’t spread thin and if you spread your finger through it it will hold it’s shape and not spread out again. If your there jam is done! If not keep it on for another 5 minutes or so and then try again.

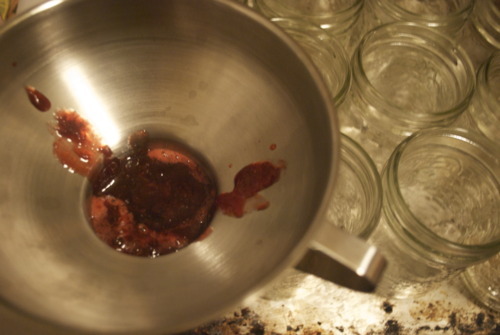
When your ready take out the jars and fill them up with about a quarter inch left from the top. You can do this wth a ladle or, if you have one, a canning funnel is very helpful!

Put the lids on and just barely screw them on.

Put them back in the oven for 5 minutes.

Take them out and let them cool at room temperature. You should hear popping noises as the jars seal.

And your done, strawberry jam!