Nutella Marshmallows, and some very fun times

image

I am a very lucky person. I am lucky for a whole lot of reasons, for my family, for my friends, for my job. But everyday I wake up and think, how did I get so lucky not only to find such a tremendous person to spent my days with, but also for him to have come from such a terrific family.

The horror stories about mothers-in-law do not apply. Mean sisters are not a concern, and grumpy fathers do not exist. Jordan’s family is a small miracle to me, because not only are they such great people, but they also have welcomed me in with reckless abandon, which is so appreciated when my own family is so far away. (which is my fault, I know.)

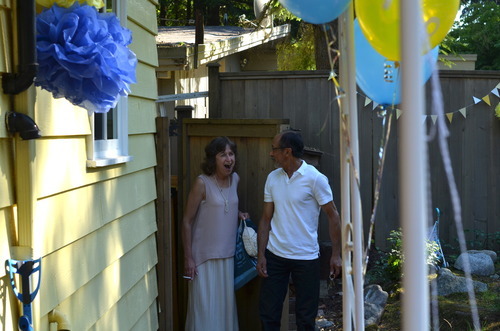
So when it was decided that we would throw Jordan’s parents a surprise party for their 40th wedding anniversary, I got excited.
image

(They were very very surprised!)

Here is something you should know about me- I love throwing parties. Like, a lot.

image

(Jordan’s Dad, Steve, looking very pleased with a stiff drink and a cigar)

It was held at his older sisters house, because she has an incredible back yard, and as a group we made some pretty fabulous food (halibut sliders on brioche buns anyone?) made some great drinks (last weeks post on cherry bourbon for starters!) and I spent several weeks cutting out triangles of yards and yards of bunting, and spent hours deliberating what to do for dessert.

There was a lot of pressure on this.

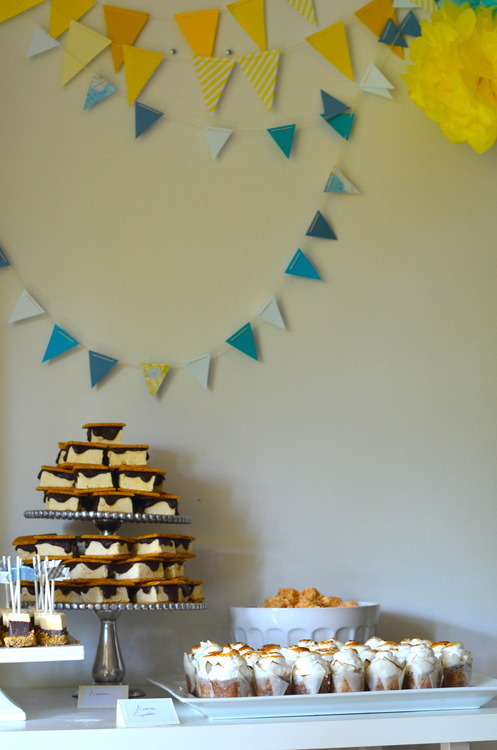
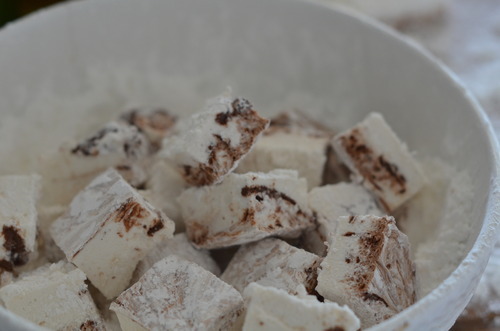
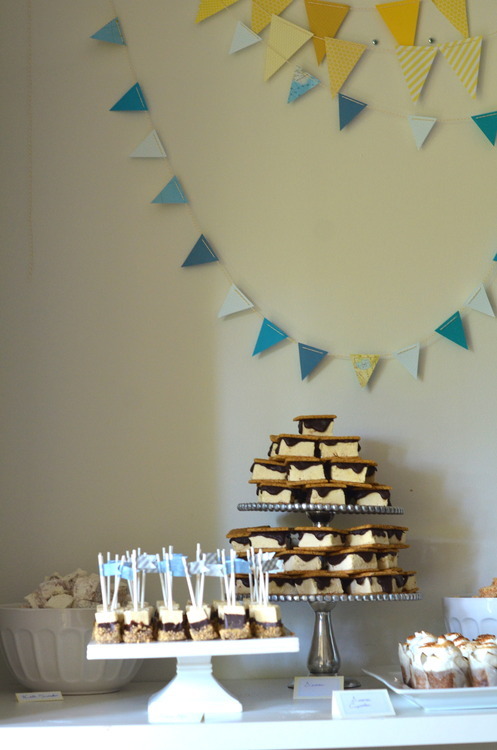
In the end, I went with a s’mores theme. It was a backyard party after all. I made s’mores pops, s’mores cupcakes, straight up s’mores (with my caramel marshmallows to get that burnt sugar taste, and smothered in ganache) and laid out bowls of coconut marshmallows and Nutella marshmallows.

Guys, I’m not going to lie, I thought it looked pretty spectacular.

And while there wasn’t a lot left over, the biggest hit might have been the Nutella marshmallows. They were killer.
image

Actually, everthing was killer, it was a terrific party. His parents were so surprised (and as they’re anniversary is actually in a couple weeks they took several minutes just to figure out what we were yelling “Surprise!” about.) His dad was ecstatic, and his mom was thrilled, we drank, we danced, we played bocci, and we had a really really great time. With a really great family.

Nutella Marshmallows

2 tbsp + 1/2 tsp Unflavoured Powdered Gelatin

2 cups Sugar

1/2 cup Corn Syrup

2 Egg Whites

1 tbsp Vanilla

1 tsp Salt

1 1/2 cups Nutella

Icing sugar for coating.

Line an 8 inch square pan with parchment paper and oil it generously.

Sprinkle gelatin over 1/2 cup of cold water.

Put your egg whites in a standing mixer fitted with the whisk attachment.

In a medium pot mix together the sugar, corn syrup, and just enough water to give it the texture of wet sand (about 1/2 cup)

Put a lid on it, and put it on a burner with medium heat.

In a couple minutes give it a quick stir and then put the lid back on- this build up of steam in the pot will prevent crystals from forming.

Once the sugar has COMPLETELY dissolved, remove the lid.

Bring the heat up to high and put in your candy thermometer.

When the thermometer reads 230F start your mixer.

When the thermometer reads 240F mix the gelatin into the sugar mixture, and start carefully pouring the sugar into the mixer with the whisk running. It is important not to pour into the middle of the bowl- or all the sugar will splash to the edges. Instead pour the mixture down the side of the bowl, it’s okay if it sticks to one spot, as the marshmallows whip up in size they will pull any left over sugar in.

Keep the motor running for about 10 minutes or until the marshmallows have become big, white, fluffy, and marshmallow-y looking. The bowl should be nearly cool by now.

While you’re waiting for that to happen, warm up the Nutella either in a microwave or in a double boiler, until it is fairly thin.

When your marshmallows are ready, pour them into your prepared mold- move quickly! They will firm up quickly now!- and spread them out with an offset spatula.

Now pour the nutella on top and swirl in with toothpick, or chopstick. It’s important to mix them in really well.

Allow for them to firm up completely, about 4 hours, or overnight.

When they are ready to cut use ample icing sugar on every surface! Cut into the desired shape, roll in icing sugar, and eat!
image

Tuesday Tutorials- Danishes!

When I was little my parents had it all figured out. They decided when we were very young, that we could make our own breakfast. And on Saturdays, starting when perhaps parents would decide was too young today, we walked the block and a half to Second Cup and bought breakfast. It was a tiny cafe, part of a larger franchise in Canada, but one where they did all the baking in house. And every Saturday in the summer we would get a cinnamon danish with peach drink, and every Saturday in the winter we would get a peach danish and a hot chocolate. We were creatures of habit.

The couple that owned it were endlessly sweet to us, and we adored this little tradition. Then they hired an extremely rude girl who would serve the adults instead of us and be mean to us kids, so we wrote a very stern letter and we wrote each line in a different colour marker, so you know we meant business. And we never went back. For a few months we tried different cafes that were close to us, but it was never the same. Not long after we started making our own elaborate breakfasts which was, in fact, the beginning of a whole other exciting era. BUT there was a very sweet couple of years in which my sister, my next door neighbour and I ate danishes every Saturday. And it was a wonderful time.

Which is all a long way of saying that I love danishes. An awful lot.

Danish dough is what’s called a laminated dough, because you roll out the dough with a big block of butter in the middle. And then you fold the dough, and roll and fold and roll and fold, and as you do this the butter laminates the layers of dough. This is the same premise behind puff pastry, but here the dough is also yeasted so it rises even more, and has more flavour. The dough is similar to a croissant dough, which I might do a tutorial for soon -let me know if you’d like that in the comments!

Danishes

Makes 32 danishes

3 1/2 tsp Dry yeast

1/2 cup Sugar

1 cup +2 tbsp Milk, warmed

7-8 cups AP Flour

1 tbsp Salt

1/2 cup Butter, soft

2 Eggs

1 1/2 lb (3 cups) Butter

Egg wash (1 egg yolk and 2 tbsp milk/cream)

And your filling! I used raspberry jam- about 2 cups of it.

*This makes a very large batch, which I like because then I freeze half of it, but you can half this easily as well.

Make sure the milk is not to warm, it should just be body temperature. If it’s too hot it will kill the yeast.

Mix the milk, yeast and sugar together. Let it sit until it gets foamy on the top, about 5 minutes. If it doesn’t get foamy it means the yeast is dead, start over!

In the bowl of a standing mixer or in a large bowl if you’re planning on doing it by hand, combine the dry ingredients, only 6 cups.

Add in the yeast-milk mixture in and combine until it starts to come together. If it is still very wet add in a bit more of the flour until the mixture is still soft but not sticky.

Add in the 1/2 cup soft butter bit by bit until it is fully combined, and keep mixing until the dough does the window test- when you take a small bit of dough and stretch it slowly in your hands, it gets so thin you can see through it. If it doesn’t keep mixing!

Now form the dough into the a ball and put it in a clean bowl, cover it with a clean tea towel and let it rise until it has doubled in size, about an hour.

In between two sheets of parchment roll out the butter into a square about 1 1/2 inches thick, put it in the fridge.

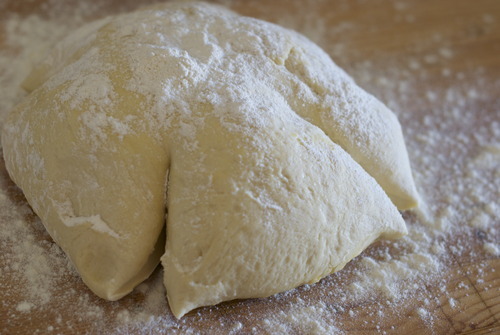
On a well floured surface place the ball of dough. Cut 4 slits into the dough at 12-3-6-9 o clocks, about half way in.

Now roll it out- so that you form a large x shape.

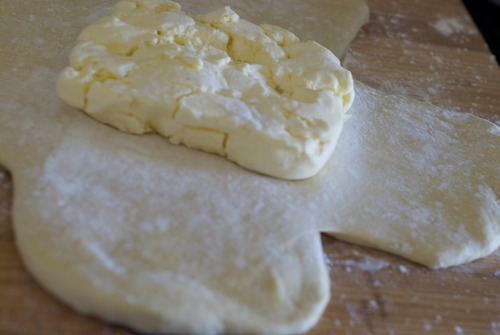
Put the block of butter into the middle

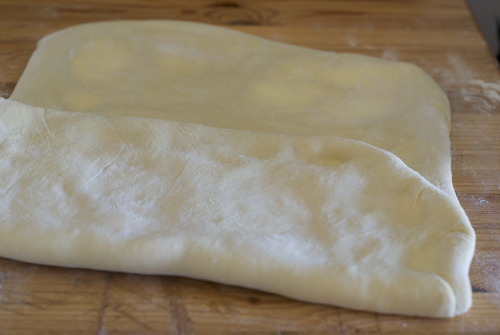
and fold the other pieces on top of it to seal it in.
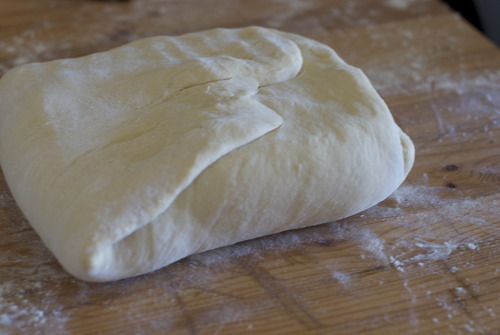
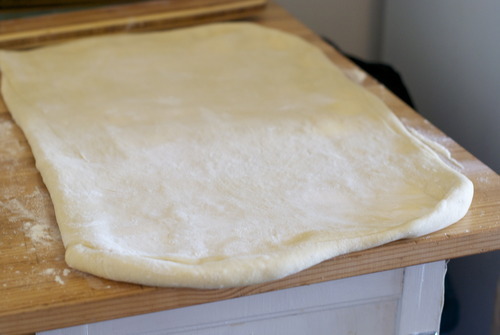
Flour your surface again and place the folded side down.

Roll out the dough to a large rectangle, being careful to make sure the dough is rolled evenly and keeps it’s rectangular shape.

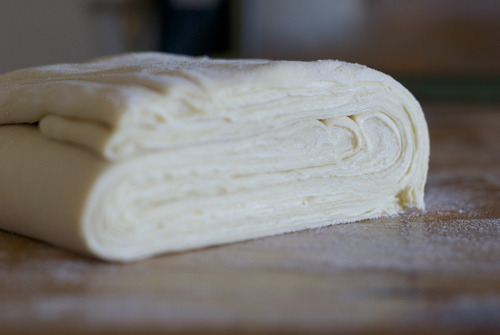
Now fold the dough in thirds like you were folding a letter.

Wrap up this piece of dough, put it on a baking sheet and put it in the fridge for twenty minutes.

After it has chilled repeat this twice more, rolling, folding, and chilling.

Let the dough chill for another 40 minutes.

At this point I cut the dough in half and put half of it in the freezer, but if you are making a large batch you can use it all!

Now roll out the dough! Roll it until it’s about 1/3 inch thick into a large rectangle. You can make any number of shapes with this dough now. Here is how I like to do it best.

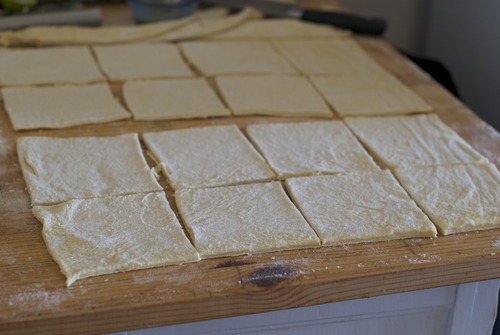
Cut it into squares- half a batch of this dough will make 16 danishes.

IMPORTANT! The way you cut the dough will make or break your danishes. You must cut straight down. DO NOT twist a cutter or slice through. Cut straight down. Otherwise your layers will be sealed together.

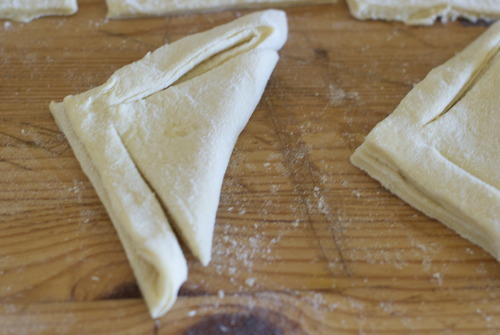
SO I cut them into squares, then fold them diagonally.

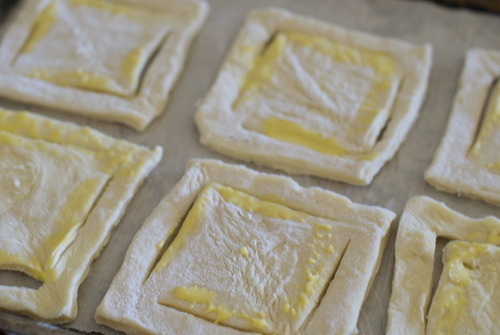
Cut slits in them so that the outsides are disconnected from the middles except on two opposing corners. Unfold them and put them on a parchment lined baking sheet.

Brush with egg wash like I’ve shown here

And fold the pieces over.

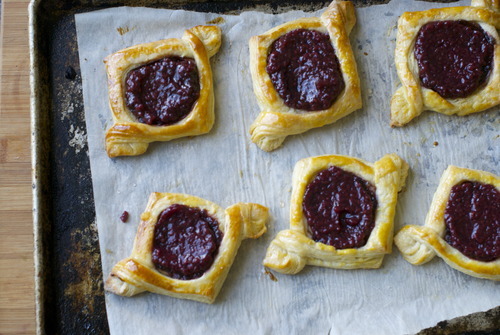
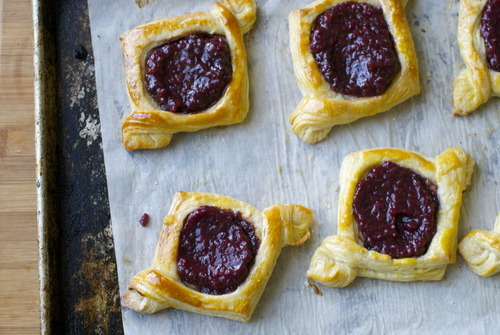
Now fill them up with whatever filling you have. I used raspberry jam.

Let them sit until they have puffed up nicely, about another 45 minutes.

If there are some scrappy bits of dough from the edges, I recommend sprinkling some cinnamon and sugar on them and rolling them up into straws. You can proof and cook them along with the others no problem.

Meanwhile, preheat the oven to 375F

Use your egg wash once again to brush the tops of the danishes.

Bake until the dough is nicely browned, about 20-30 minutes.

Allow to cool a bit before eating- and I like to top up the middle with some more jam!

And that’s that!

Spiced Honey Cake with Fresh Figs

Oh. Finally.

You know that feeling when everything might just be going a little too well? Something has to mess up and stress you out just to restore the balance of the world?

I have a had a great few weeks. Really, truly, great few weeks. My boss at the restaurant I serve at said he would like me to start doing the pastries at both his restaurants! Yes! My editor at Edible Vancouver promoted me to associate editor! Yes! It was Jordan’s birthday, we had a super fun party! Yes!

So of course my site had to go down. It had to go down when my graphic designer was hiking the volcanos of Iceland, largely out of internet range.

If you could see the emails I was writing to the tech support at all the different places that might be able to help, you would be amazed, and also surprised at how polite I was given how completely pushed around I was. I am Canadian I suppose.

So thanks friends, who came and checked even though there was nothing to look at for weeks, and thanks for your patience. I am so very very grateful for it.

I am also grateful for this fig cake. Because when one is mostly happy, but also deeply frusterated, the only thing I know that works, is cake.

Fresh Fig Honeyed Jewel Cake.

1 3/4 cup AP Flour

3/4 tsp Baking Powder

1/2 tsp Baking Soda

1/2 tsp Ground Cinnamon

1/2 tsp Ground Ginger

2 Eggs

1/2 cup Sugar

1/4 cup Brown Sugar

1/2 cup Honey

1/2 cup Milk

1/2 cup Vegetable Oil

1/4 cup Coarse Sugar, for sprinkling on top.

10-13 Plump Fresh Figs, cut in half

Preheat oven to 350F

Butter and flour a 9 inch Cake or tart pan.

In a standing mixer fitted with the paddle attachment cream together the oil, sugars, and honey

Add in the eggs one at a time beating well between each addition and wiping down the sides of the bowls with a spatula to make sure it is all evenly combined.

In a separate bowl sift together the dry ingredients.

Add in one third of the dry ingredients and mix until barely combined. Add in half the milk. Keep repeating until all the ingredients are incorporated being careful not to mix too much as that will make your cake tough.

Pour cake evenly into pan and smooth out with an inverted spatula.

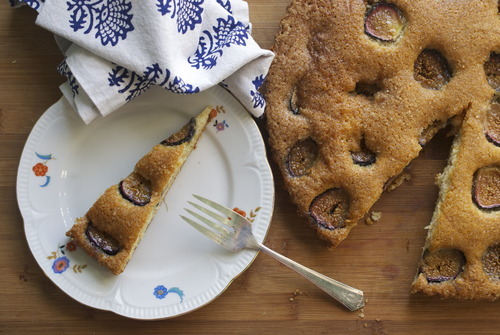
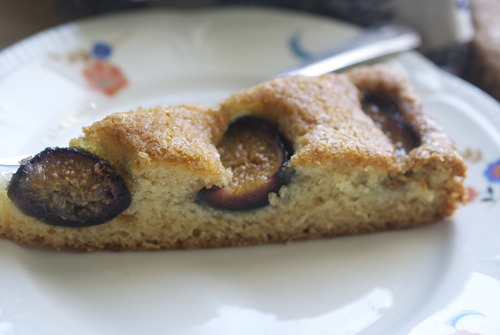
Place figs in a concentric circle starting from the outside and moving in.

Sprinkle with coarse sugar and bake until an inserted skewer comes out with only a few moist crumbs, about 25-30 minutes.  

Blackberry Galettes!

Here’s the thing, I`ve always heard about blackberry bushes in Vancouver. People say they`re at the train tracks, and I`ve seen them there in the springtime with bright red berries on them in Kitsilano around the train tracks at Granville Island.

And then I had an epiphany.

There are train tracks 10 blocks away from my house that I bike past everyday.

I know, I know, I`m a little slow on the uptake.

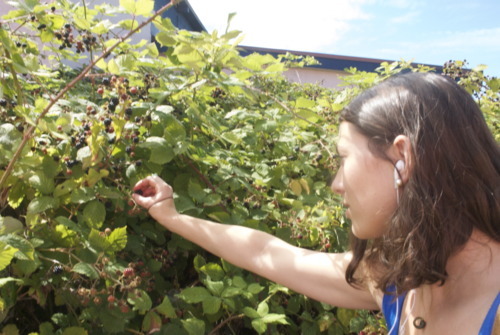
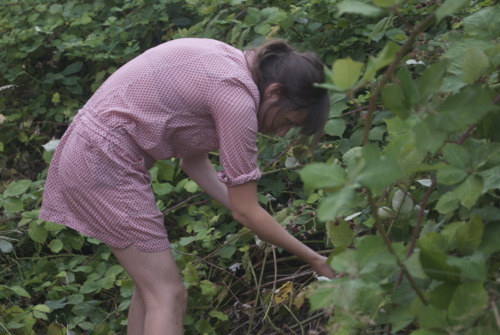
So I`ve now gone blackberry picking 3 times this week. I am a very happy girl. I love blackberries.

A lot.

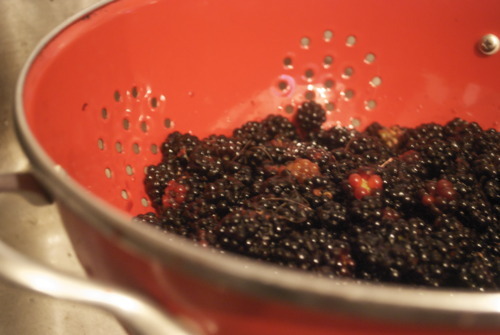
So does my beautiful friend Liz, so the other day we spent the day picking berries and wildflowers and pretending we weren`t in the middle of the city, just half a block from a major road. And then we walked back with blackberry juice dripping out of our bags and staining our shoes laughing and just generally being very content in the city that we live in.

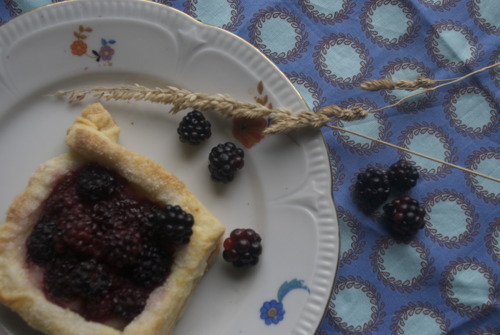
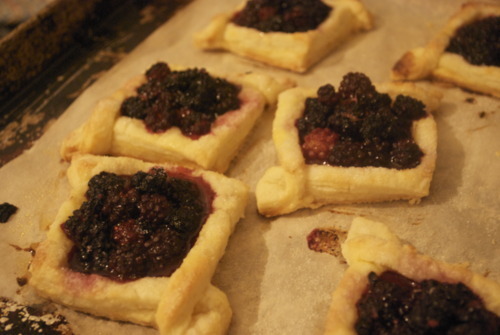
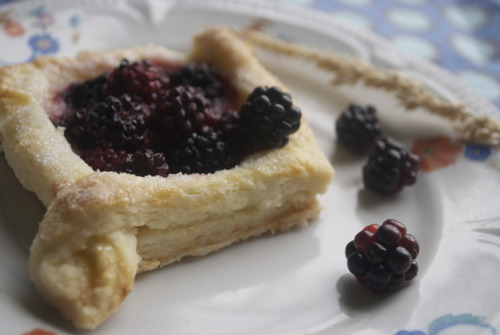
So I`ve made many many blackberry things lately that I`ll be sharing up here, but the first thing I did was make blackberry galettes, and they were so good, and so light and so fresh tasting I thought you should get this recipe first.

It`s a little showy but mostly it`s simple, elegant and very satisfying. And, while I made them for desert, I saved one for breakfast this morning, and it was the perfect start to my day!

1 cup (2 sticks, or half a pound) of Unsalted Butter, very cold

2 cups AP Flour

1 tsp Salt

1/4 cup-1/2 cup ice water

9 tbsp Coarse sugar (if you have it, otherwise regular old white sugar will do!

2 pints Blackberries

Make the dough:

Put the salt and flour onto your counter top. Put the butter in the middle and break them up and make sure they’re all covered in flour.

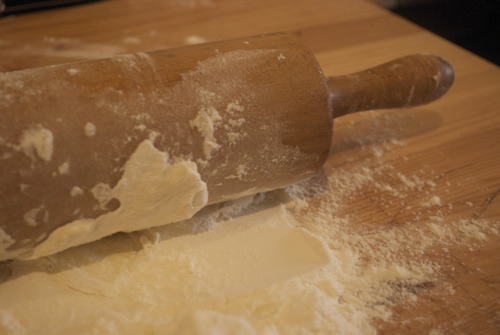
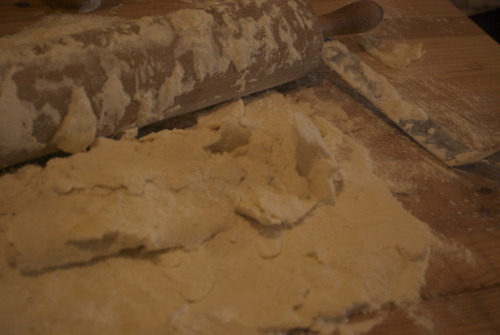
Using a rolling pin roll out the butter into long strips, using a spatula or bench scraper to scrape the butter off the bottom and move in the flour from the sides.

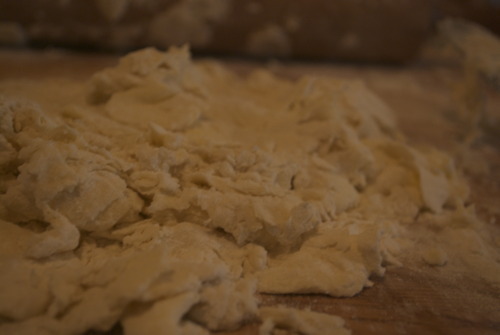
It will look like a big mess, don’t be alarmed!

Add in the water and again, using the spatula or bench scraper, fold in the water until a dough just barely starts to form. You may need to adjust the amount of water depending on the humidity.

Once it starts to come together use your hands to fold it in half, flatten it out a bit, then fold it again, continue to do this until the dough becomes something you think you could roll out without it falling apart but not so long that the dough becomes tough.

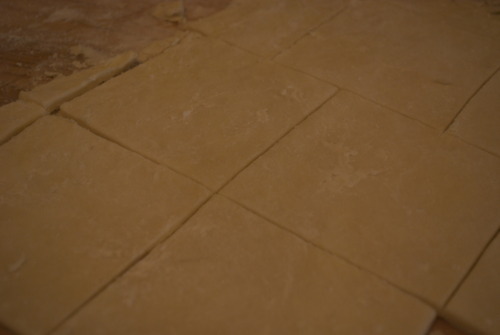
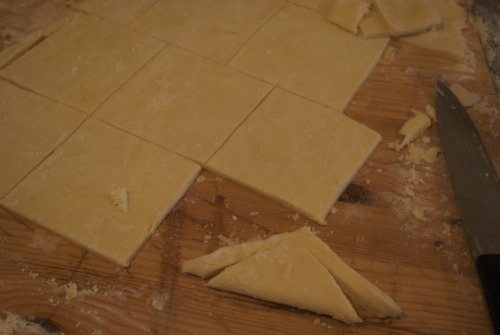
Roll out the dough to about 1/4 inch thick and cut it into squares that ate 3 inches by 3 inches.

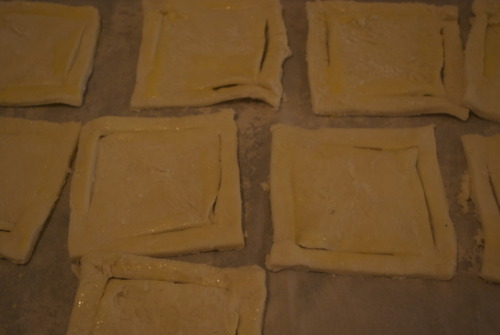
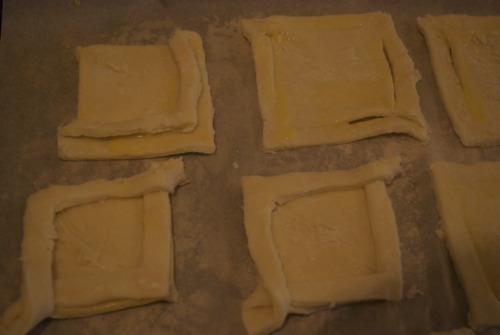
Fold each square in half on an angle to form a triangle. Cut 2 slits each triangle paralelle to each side leaving a space at the end so that it is connected at 2 ends. I know this sounds confusing but its really easy, just look at the pictures!

Then fold the sides over each other to form a pretty little diamond. Like this:

Chill the dough for 30 minutes in the fridge. You want the butter to be very cold so that when it goes into the hot oven it produces steam and the steam is what makes those lovely puffy little layers of dough, so the colder the better!

Preheat your oven to 375F

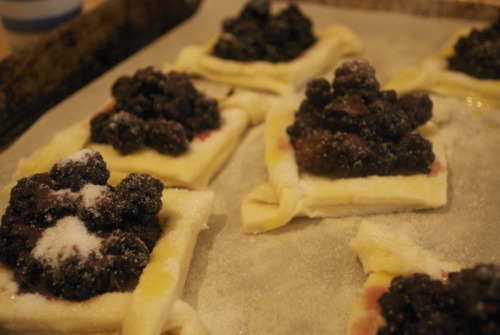
Egg wash the tops of the dough, and then fill the middle square with heaps of blackberries.

Sprinkle a tablespoon of sugar onto each tartlette making sure you get lots on the pastry. It will give it a wonderful crunch!

Bake them until they are a lovely golden brown on top and the berries are bursting and juicy.

And then eat and be very very happy!