Nutella Marshmallows, and some very fun times

image

I am a very lucky person. I am lucky for a whole lot of reasons, for my family, for my friends, for my job. But everyday I wake up and think, how did I get so lucky not only to find such a tremendous person to spent my days with, but also for him to have come from such a terrific family.

The horror stories about mothers-in-law do not apply. Mean sisters are not a concern, and grumpy fathers do not exist. Jordan’s family is a small miracle to me, because not only are they such great people, but they also have welcomed me in with reckless abandon, which is so appreciated when my own family is so far away. (which is my fault, I know.)

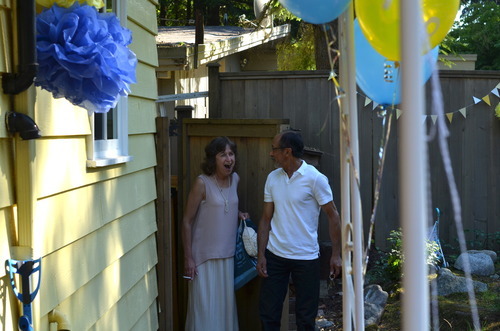
So when it was decided that we would throw Jordan’s parents a surprise party for their 40th wedding anniversary, I got excited.
image

(They were very very surprised!)

Here is something you should know about me- I love throwing parties. Like, a lot.

image

(Jordan’s Dad, Steve, looking very pleased with a stiff drink and a cigar)

It was held at his older sisters house, because she has an incredible back yard, and as a group we made some pretty fabulous food (halibut sliders on brioche buns anyone?) made some great drinks (last weeks post on cherry bourbon for starters!) and I spent several weeks cutting out triangles of yards and yards of bunting, and spent hours deliberating what to do for dessert.

There was a lot of pressure on this.

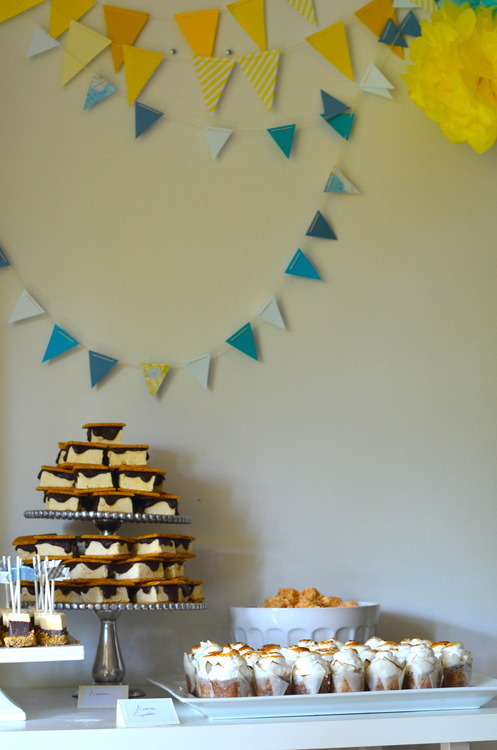
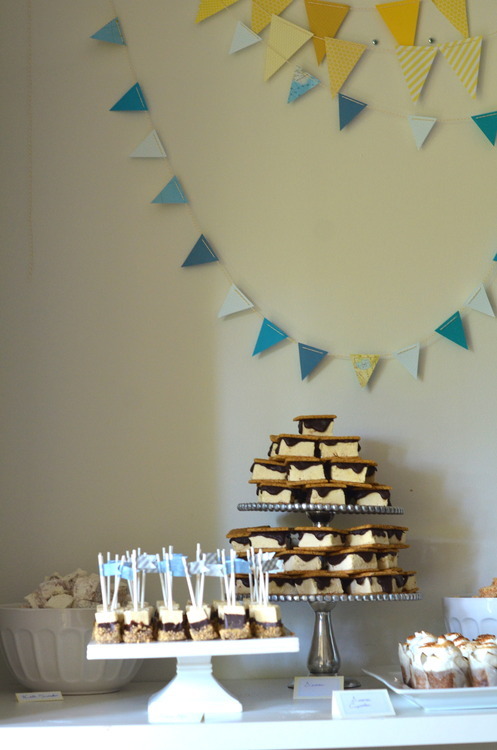
In the end, I went with a s’mores theme. It was a backyard party after all. I made s’mores pops, s’mores cupcakes, straight up s’mores (with my caramel marshmallows to get that burnt sugar taste, and smothered in ganache) and laid out bowls of coconut marshmallows and Nutella marshmallows.

Guys, I’m not going to lie, I thought it looked pretty spectacular.

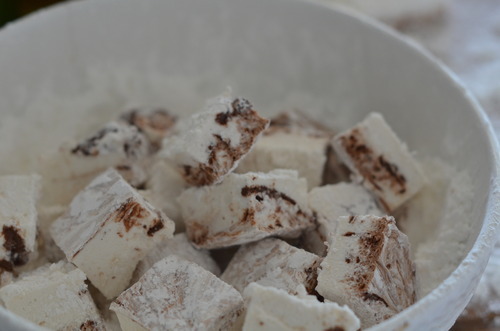
And while there wasn’t a lot left over, the biggest hit might have been the Nutella marshmallows. They were killer.
image

Actually, everthing was killer, it was a terrific party. His parents were so surprised (and as they’re anniversary is actually in a couple weeks they took several minutes just to figure out what we were yelling “Surprise!” about.) His dad was ecstatic, and his mom was thrilled, we drank, we danced, we played bocci, and we had a really really great time. With a really great family.

Nutella Marshmallows

2 tbsp + 1/2 tsp Unflavoured Powdered Gelatin

2 cups Sugar

1/2 cup Corn Syrup

2 Egg Whites

1 tbsp Vanilla

1 tsp Salt

1 1/2 cups Nutella

Icing sugar for coating.

Line an 8 inch square pan with parchment paper and oil it generously.

Sprinkle gelatin over 1/2 cup of cold water.

Put your egg whites in a standing mixer fitted with the whisk attachment.

In a medium pot mix together the sugar, corn syrup, and just enough water to give it the texture of wet sand (about 1/2 cup)

Put a lid on it, and put it on a burner with medium heat.

In a couple minutes give it a quick stir and then put the lid back on- this build up of steam in the pot will prevent crystals from forming.

Once the sugar has COMPLETELY dissolved, remove the lid.

Bring the heat up to high and put in your candy thermometer.

When the thermometer reads 230F start your mixer.

When the thermometer reads 240F mix the gelatin into the sugar mixture, and start carefully pouring the sugar into the mixer with the whisk running. It is important not to pour into the middle of the bowl- or all the sugar will splash to the edges. Instead pour the mixture down the side of the bowl, it’s okay if it sticks to one spot, as the marshmallows whip up in size they will pull any left over sugar in.

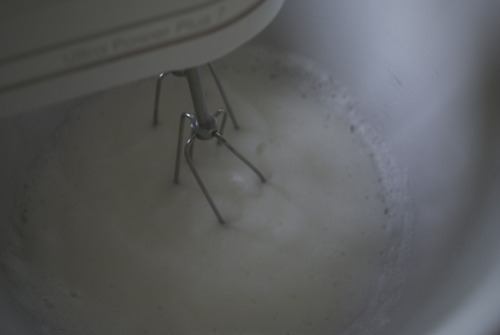
Keep the motor running for about 10 minutes or until the marshmallows have become big, white, fluffy, and marshmallow-y looking. The bowl should be nearly cool by now.

While you’re waiting for that to happen, warm up the Nutella either in a microwave or in a double boiler, until it is fairly thin.

When your marshmallows are ready, pour them into your prepared mold- move quickly! They will firm up quickly now!- and spread them out with an offset spatula.

Now pour the nutella on top and swirl in with toothpick, or chopstick. It’s important to mix them in really well.

Allow for them to firm up completely, about 4 hours, or overnight.

When they are ready to cut use ample icing sugar on every surface! Cut into the desired shape, roll in icing sugar, and eat!
image

Spring Coloured Meringues

image

When I first moved into this little apartment it was all sorts of crazy colours, there was purple, and lots of yellow and the living room was a bright Tiffany’s blue. And I hated all of them, I painted it all white, but the blue. For some reason I just needed the blue. After living here for 5 years, I think I’ve finally figured it out- it reminds me of the sky that we only get a couple months here.

See, Vancouver does this thing, this dreadful thing where it rains all the bloody time. It starts in late September, early October if we’re lucky and it keeps raining until May, or June, or sometimes, even July. I’m not joking, we sometimes only get 3 months of sunshine. Last year was one of those years, and maybe that’s why I feel like I’m struggling so much with it right now.

My saving grace in all this rain is the flower shop I live on top of. It regularly wins best florist in the city and with good reason, it has the most gorgeous blooms in every imaginable colour, all the time. And even when everything is grey and gloomy and damp when I walk out my door I see heaps and heap of fresh flowers. They even take the old roses and sprinkle their petals half way down the block, to bring a bit of colour even further. They really are the best.

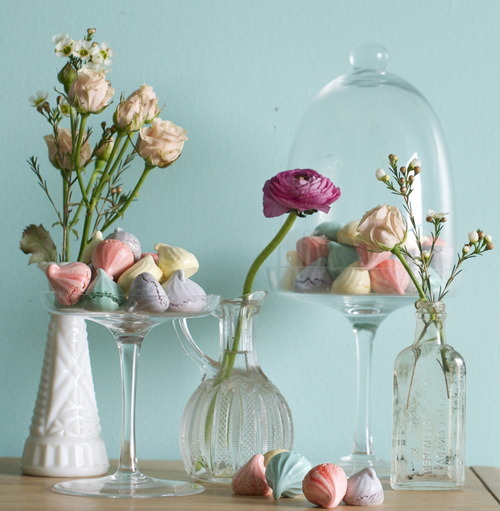
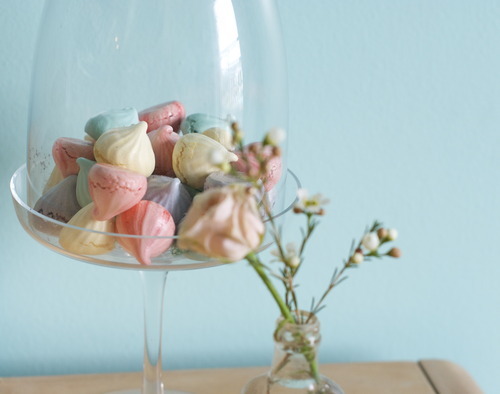
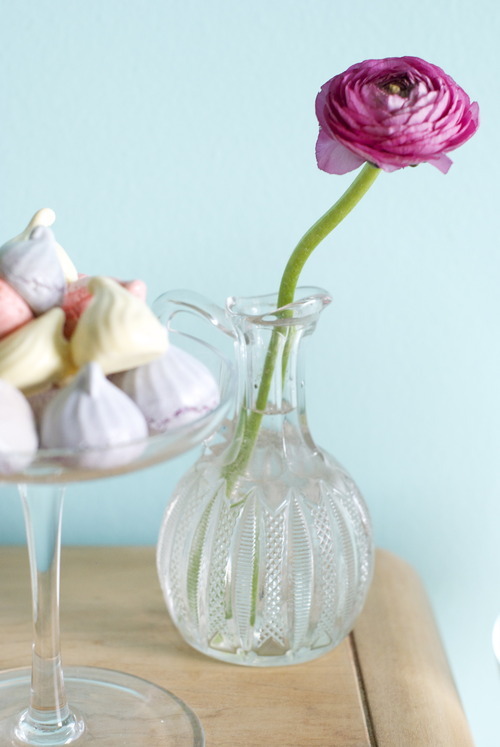
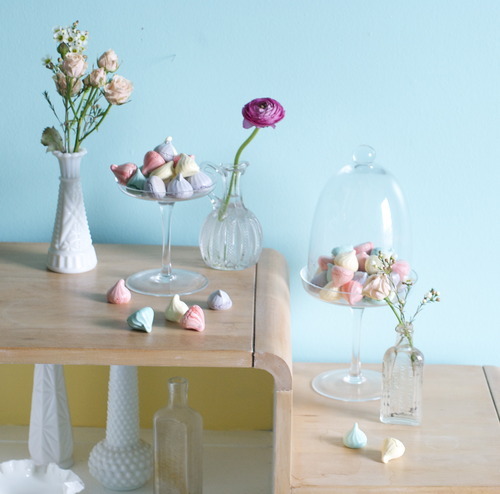
So lately I’ve become obsessed with their colours, the soft peachy ranoculous, the bright red of the tulips, and these soft yellow roses, oh those roses. They give me hope that it is sunny somewhere in the world. And so I made these meringues to bring some more of that colour in, because in this dreary grey city, sometimes you just need colour.

Spring Coloured Meringues

6 Egg Whites

1/4 tsp Salt

2/3 cup Sugar

1 cup Icing Sugar

1 Vanilla Bean, OR 1 tsp Vanilla Extract

Food colouring

Preheat your oven to 200F

In the bowl of a standing mixer fitted with the whisk attachment, whisk the egg whites and the salt until they hold soft peaks. 

Tablespoon by tablespoon add in the granulated sugar, letting the sugar you added before be mixed in completely before adding in the next. 

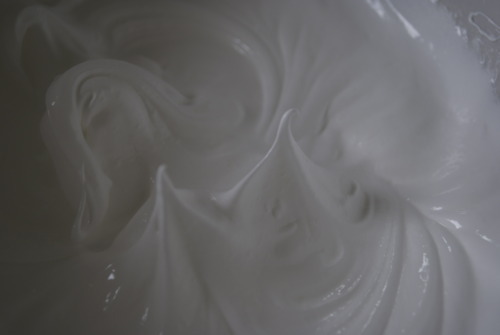
Now let it keep running until it holds very stiff peaks, if you’re unsure just keep it on for another 20 seconds or so. It’s very important that it is very stiff. 

Add in your vanilla bean or extract. 

Now dump in all the icing sugar and mix that in- bring the speed down to low so the sugar doesn’t fly everywhere. 

Divide the meringue into as many bowls as you want colours- I did 4. 

Add the colouring and mix until they are all combined, or not and let it be swirly- it’s up to you!

You can use any piping tip you want to here, star tips are popular, so are just a plain circle. It’s up to you!

Now just pipe them onto trays lined with parchment or a silpat (don’t grease the trays though!! Your meringues will ruin if you do!) and bake for about an hour and a half until they are completely dried out. Check them every 25 minutes or so to make sure they aren’t getting any colour. If they are browning turn down the heat and rotate the trays. 

Allow to cool completely then eat, decorate, or put in baggies for gifts- these will store for up to a month in an airtight container. 

Rhubarb Pavlova

I reguarly am told by friends that I am an intimidating person to cook for. That I’m picky, (only true when I’m making it, if someone else cooks for me I’m over the moon happy!) that my food is always pretty (well I’m flattered really, but honest my non blog food is pretty non pretty) and that I don’t screw things up. Well the last one is a terribly terribly misconception.

Let the records show that I, Claire Lassam, have made some terrible meals. Terrible!

A great/tragic example of this was on Valentines Day. I came home to an amazing meal. Jordan had braised lamb, and made a wild mushroom risotto, and sauteed brocollini (my favourite!) and had put an excessive amount of love into the meal.

For my part I had found fresh passionfruit at a local market that deffinately does not usually sell fresh passionfruit and thought, perfect! Passionfruit curd on a pavlova. Simple, light, perfect.

Only my pavlova was hard as a rock, and with my terrible oven starting to brown, and the curd was overwhelmingly sweet. It was, absolutely, inedible.

So last weekend, when I was at Jordan’s parents place to make them an early Father’s Day dinner, (which is to say that I was in the presence of a properly working oven) and I couldn’t find the flour (of course it was there but I found it too late) and I had loads of rhubarb (pleasantly acidic) I decided to try a round two.

This time, I had a couple tricks up my sleeve. Mostly, instead of getting it off Martha, which does normally have good recipes, I got it off Smitten Kitchen, because she said she had tried two recipes and had made a master recipe that was perfect. And also because I love Smitten Kitchen and nearly everything she makes is brilliant. Also, an Australian friend told me that, when in doubt, keep whipping, and I did and it turned out very well.

And it is brilliant. It’s a light crisp exterior that leads the way to a marshmallowy centre. Marshmallowy. I don’t think I need to say any thing else except that with whipped cream and rhoasted rhubarb, this is not only a showy and incredibly good dessert, but also a very simple dessert, and those are the best kind in my books.

Meringue:

4 large (120 grams) egg whites
Pinch of salt
1 cup (200 grams) superfine (castor) or regular sugar
1 teaspoon white vinegar
1/2 tablespoon cornstarch, potato starch or arrowroot powder

Rhubarb:

6 stalks of rhubarb

1/2 cup Sugar

1 cup whipping cream, whipped with one teaspoon of vanilla extract.

Preheat oven to 225F

Whisk together your egg whites and your salt until soft peaks, using an electric mixer, unless you have incredibly strong arms and a great amount of determination, in which case, do it by hand.

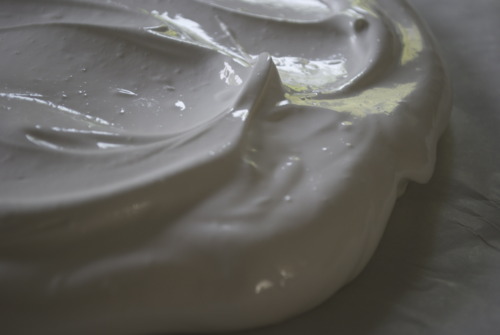
Slowly add in the sugar and cornstarch, tablespoon by tablespoon until all of it is incorporated. Then keep whipping. Aren’t sure if it’s glossy enough? Keep whipping. Does is hold stiff enough peaks? Keep whipping. Basically keep whipping and whipping for a long time, until it is very glossy, and very stiff.

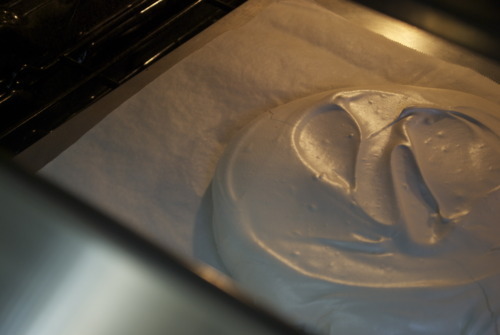
On a parchment lined pan spread the meringue out into a circle with an inverted spatula, i made mine about 10 inches wide.

Put it in the oven for about 45 minutes. If it starts to get brown turn the oven down, if it starts to crack turn the oven off. Once it feels firm to the touch but still has some give inside of it crack the oven open, turn the oven off and let it cool completely inside.

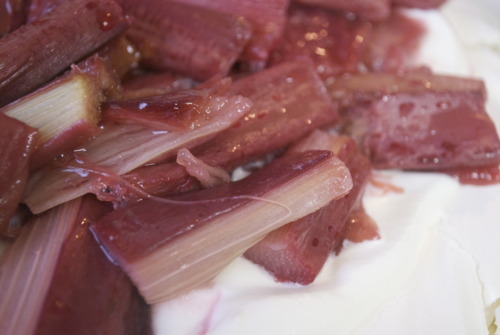
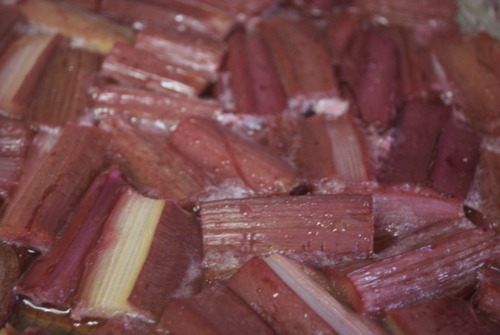
In the meantime, take your rhubarb and cut it into one inch pieces. Lay it on a parchment lined baking sheet and pour sugar over top. Once your pavlova has cooled, crank the oven up to 400F and put the rhubarb in until it is soft but still holds it’s shape, about 15-20 minutes.

To Assemble:

Transfer the meringue onto your serving tray.

Blob heaps of the whipped cream on top, and then dollop the rhubarb on top of that. Don’t be shy with the rhubarb, you need lots to balance it out.  

And if you’ve done everything right you get marshmallowy goodness.And you get happiness.

Lemon Meringue Cake

When I was about 7 or 8 and at the height of my Fimo Clay stage (before the water colour phase but after the decoupage stage, and concurrent with the make your own hair clips phase) my sister was at the height of her Martha Stewart phase.

Oh Martha.

I’m not sure an 11 year old has ever loved Martha like my sister.

So, when the Easter edition of the magazine came out that year with Peter Rabbits Garden cake on the cover, a simple carrot cake, with Oreo crumbs on top and carefully placed vegetables made out of marzipan in artful rows, we knew we had met our match.

Nina baked the cake and made the fondant white picket fence while I painstakingly dyed all the veggies (we couldn’t find paste food colouring so I would mix the colours really brightly and then let them dry out for a few hours and then go back to making them so the consistency would be better.) I painted the bottoms of cabbages a deep purple and let the edges stay a crisp green, I laboured for weeks on that cake.

When it was done we brought it over to our Aunt and Uncles house, and when it arrived to the table, my sister told them that she had done it all.

So I did what I always did in such occasions, I ran and locked myself in the bathroom crying hysterically and promising never to come out.

Which is all a long way of saying that every Easter after that my mom made a basic white cake in a cake mold shaped like a lamb and covered the whole thing with shredded coconut and called it a day.

So when I volunteered to bring desert for Easter dinner last week I had no idea what to bring. Was coconut cake traditional? There’s nothing fresh to make pies with, no fruits to fill layers of angel food cakes, no anything really. Until I realized of course that I have lemon curd in my fridge.

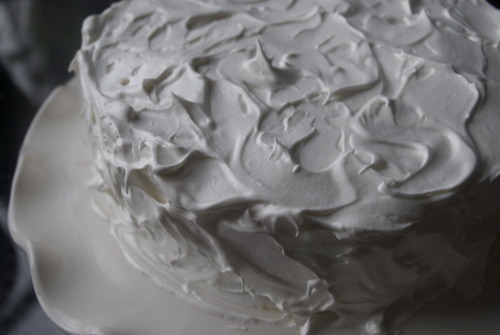
So it may not be overly festive but hot damn this cake was good.

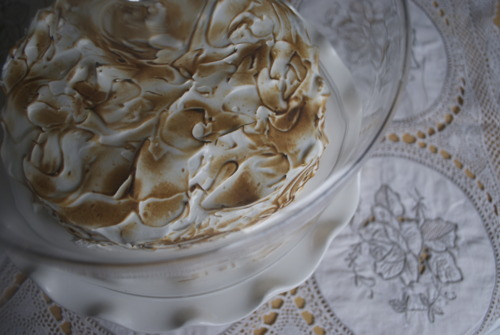
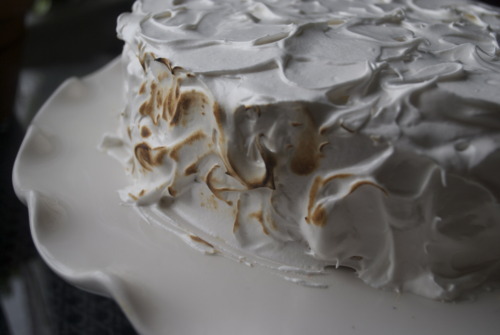
It will last a day or two in the fridge so you can make it the day before and relax about it. It’s quite showy with the burnt edges but it’s really beautiful without, if you don’t have a blow torch, or the patience to do it all with a BBQ lighter. But most importantly, it’s fresh, and light, and not to sweet and not to heavy, so it makes a wonderful end to a big meal.

Lemon Meringue Layer Cake

Angel Food Cake- recipe follows

1 cup Lemon Curd- you can half this recipe for it.

Italian Meringue- Recipe follows

Angel Food cake

10 Egg whites

1 1/2 cups Sugar

1 cup Pastry Flour

1/2 tsp Salt

1/2 tsp Cream of tartar

1 1/2 tsp Vanilla

Zest of 1 Lemon

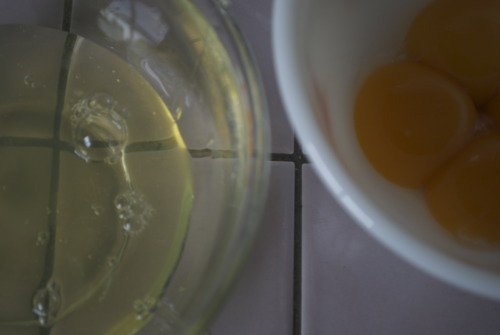
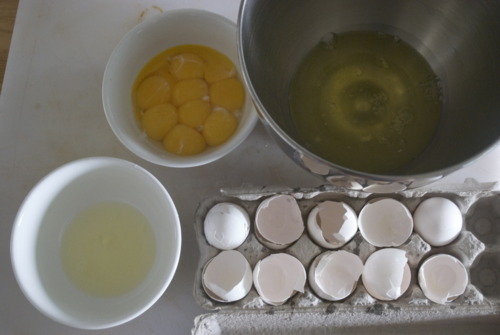
Tip: when your seperating this many eggs at once, have 2 bowls for your whites and one for your yolks. As you separate them, put the yolks in the bowl and then transfer the whites over individually. That way if one of the yolks breaks and it gets in the white, you only lose one egg instead of the whole batch.


Preheat oven to 350F

Sift 1 cup of sugar with the pastry flour and the salt.

In the bowl of a standing mixer fitted with the whisk attachment whisk the egg whites, cream of tartar, vanilla, and lemon zest until soft peaks.

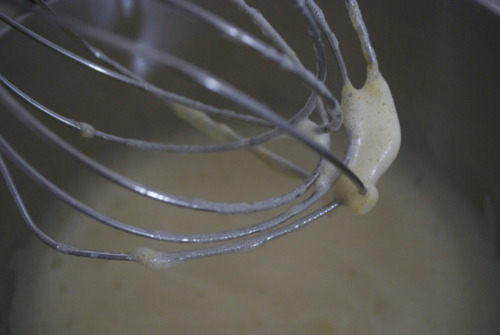
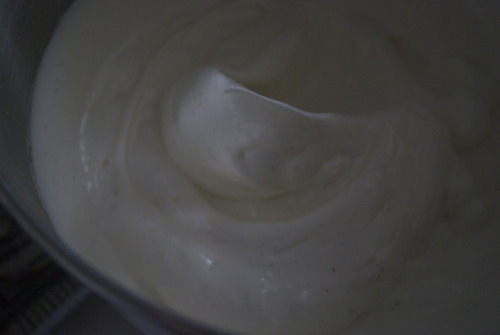
Slowly add in the sugar teaspoon by teaspoon until all the sugar is incorporated and the when you bring the whisk up the egg stands at stiff peaks.

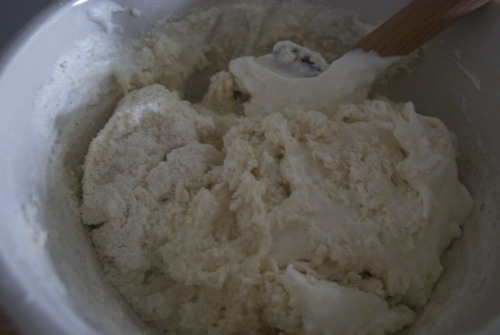
Carefully fold the flour into the meringue.

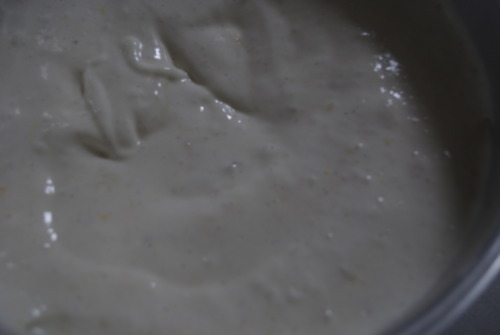
And pour it into an unlined ungreased 9 inch round pan without a detachable bottom.

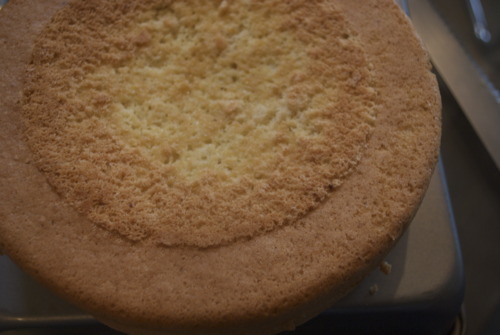
Bake for about 30 minutes or until it has risen nicely and an inserted skewer comes out with only a few moist crumbs. Immediately turn the cake upside down and let it cool completely inside the the cake pan, upside down. When cooled remove.

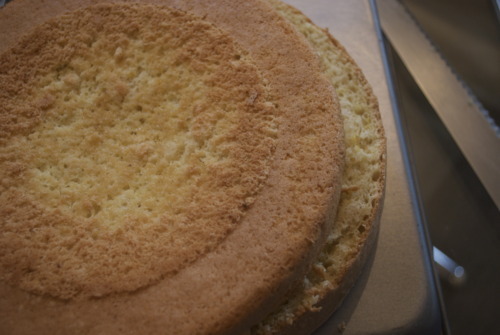
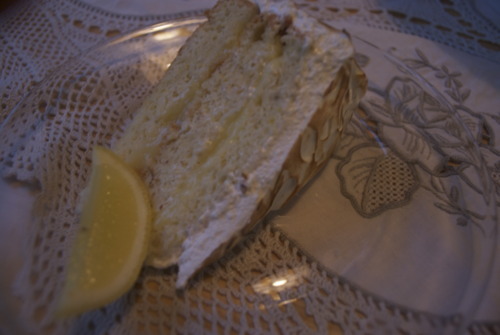
Cut the cake into 3 layers.

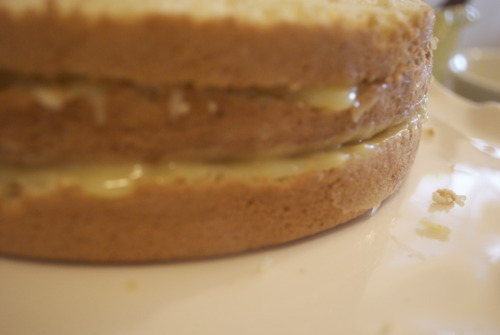
Spread a thick layer of curd in between each layer.

Italian Meringue

3 Egg Whites

1/2 cup Sugar

Over a small pot filled with an inch of simmering water whisk the egg whites and the sugar until it is quite hot to the touch. (Sorry, I forgot to take a picture of this stage.)

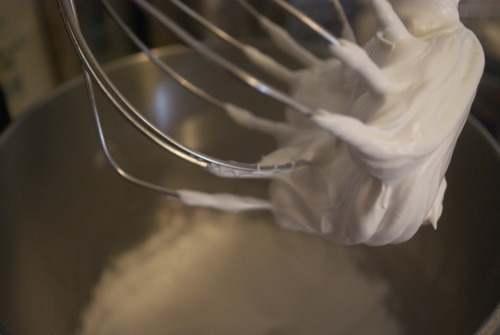
Pour the mixture into the bowl of your standing mixer fitted with the whisk attachment and whisk until nearly cooled and very light and glossy.

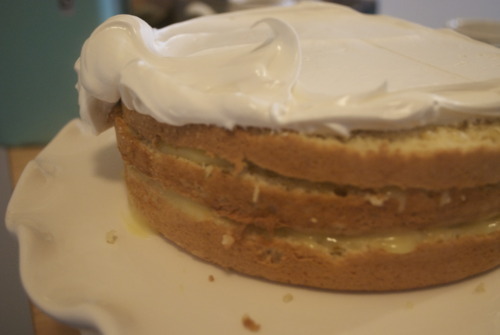
Immediately smooth over cake.

Be generous in your icing and allow for lots of artful swoops.

Then carefully with a blow torch on medium or a BBQ lighter burn the edges of the cake.

And then eat!