Maple Peach Dutch Baby Pancake

image

It has been a whirlwind. There have been parties and weddings and wedding cakes. There have been new jobs, and exciting starts and, of all things, boxing matches. There have been hiking trips and visits from friends, and long summer days.

It has been fun. It has been stressful and crazy and overwhelming but it has been fun.
I am feeling pretty lucky these days.

But it’s time to put my nose to the grindstone. It’s time to start writing here more, in this wonderful little piece of the internet that I love so much. It’s time to start really pushing myself again, and it’s something I’m surprisingly looking forward to.

It’s time.

None of that has anything to do with dutch baby pancakes. Nothing at all really.

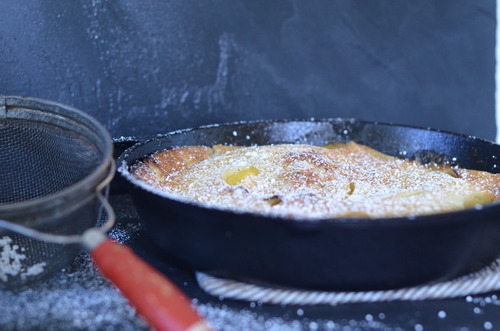
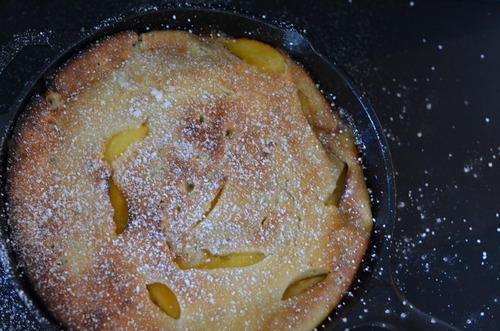
But everything I’ve said thus far has been very honest, and I’m going to stick with that theme and tell you this; this dutch baby pancake is all kinds of wonderful. It’s soft and eggy and filled with peaches, which, and I’m going to make a bold statement right now, are my favourite fruit.

You should probably make it right now. It’s happy as a dessert, but it’s equally as at home as a sweet breakfast, although I’l admit, I ate a whole lot more then I should have for lunch! 

image

Maple Peach Dutch Baby Pancakes

Adapted from a recipe from Bon Apettit

4 medium super ripe peaches

1/4 cup Maple Syrup

4 tbsp Butter

1tbsp Sugar

3/4 cup Flour

3/4 cup Milk

1 tsp Salt

1 tbsp Vanilla Extract

Preheat the oven to 400F

Bring a medium pot of water to a boil.

With a pairing knife cut an X shape into the bottom of the peaches.

Put the peaches in the water for about 15 seconds.

Immediately strain and rinse with cold water until they have cooled.

Again with the pairing knife, gently peel back the skin of the peaches. It should be very easy and have no resistance.

Cut them into 1/4 inch slices.

Melt 2 tbsp of the butter.

Scrape the butter into a blender and add the sugar, flour, vanilla extract, salt, and milk. Blend until smooth.

In a 12 inch cast iron pan over medium heat, melt the remaining butter. Add in the maple syrup stir to combine, then add in the peaches.

Cook, stirring often, for about 7 minutes, or until the peaches are cooked through.

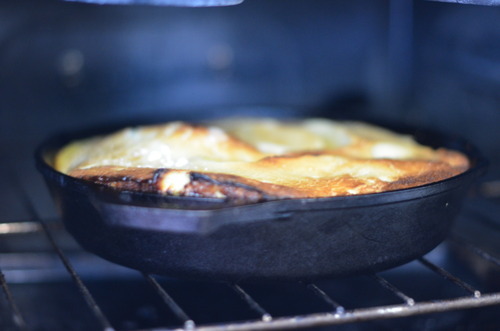
Pour in the batter and move the pan to the oven and bake for about 17 minutes until puffed and brown.

Serve immediately- but don’t worry as the pancake sinks a bit, it will happen no matter what you do!

image

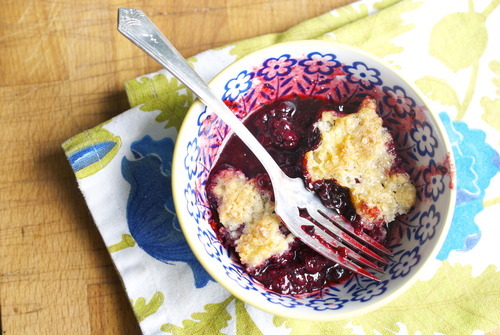
Blackberry Slump

There is something deeply nostalgic about blackberries for me. As a kid we never bought the berries they were always picked. They were grabbed along the sides of trails by my grandparents house in Nova Scotia and beside the dirt road that led to the cottage. We found them on hiking trips and they covered the sides of rivers we canoed down in Maine. Blackberries taste like summer vacation and freedom, and they taste a little bit like the fear of bears.

Blackberries might be my favourite berry but I feel pretty strongly that they shouldn’t be turned into anything fussy, blackberries should be rustic and simple and mostly just show off how perfect they are just on their own.

For me this blackberry slump is just the ticket. The berries are cooked until they just start to get soft and the pastry on the top both gets crisp and soaks up the juice and turns into something that tastes like home.

4 cups Blackberries

1 cup Sugar

2 tbsp Corn Starch

3/4 cup AP Flour

1/2 tsp Baking Powder

1/2 tsp Baking Soda

1/4 tsp Salt

4 tbsp Chilled Butter

3-4 tbsp Buttermilk

3 tbsp Coarse Sugar

Preheat the oven to 375F

In a 8 inch casserole dish mix the blackberries, sugar and corn starch.

In a separate bowl mix the remaining dry ingredients except the coarse sugar. Add in the butter and break it into pea sized pieces.

Carefully mix in the buttermilk adding more if necessary until the dough is quite soft. Do not over mix.

Place the dough on a lightly floured surface and with your fingers press the dough into the shape of the casserole dish.

Place the dough on top of the fruit and sprinkle the sugar on top.

Bake the slump for 45 minutes or until the sugar on top has started to caramelize, and the blackberries have started bubbling up around the edges.

Rhubarb Pavlova

I reguarly am told by friends that I am an intimidating person to cook for. That I’m picky, (only true when I’m making it, if someone else cooks for me I’m over the moon happy!) that my food is always pretty (well I’m flattered really, but honest my non blog food is pretty non pretty) and that I don’t screw things up. Well the last one is a terribly terribly misconception.

Let the records show that I, Claire Lassam, have made some terrible meals. Terrible!

A great/tragic example of this was on Valentines Day. I came home to an amazing meal. Jordan had braised lamb, and made a wild mushroom risotto, and sauteed brocollini (my favourite!) and had put an excessive amount of love into the meal.

For my part I had found fresh passionfruit at a local market that deffinately does not usually sell fresh passionfruit and thought, perfect! Passionfruit curd on a pavlova. Simple, light, perfect.

Only my pavlova was hard as a rock, and with my terrible oven starting to brown, and the curd was overwhelmingly sweet. It was, absolutely, inedible.

So last weekend, when I was at Jordan’s parents place to make them an early Father’s Day dinner, (which is to say that I was in the presence of a properly working oven) and I couldn’t find the flour (of course it was there but I found it too late) and I had loads of rhubarb (pleasantly acidic) I decided to try a round two.

This time, I had a couple tricks up my sleeve. Mostly, instead of getting it off Martha, which does normally have good recipes, I got it off Smitten Kitchen, because she said she had tried two recipes and had made a master recipe that was perfect. And also because I love Smitten Kitchen and nearly everything she makes is brilliant. Also, an Australian friend told me that, when in doubt, keep whipping, and I did and it turned out very well.

And it is brilliant. It’s a light crisp exterior that leads the way to a marshmallowy centre. Marshmallowy. I don’t think I need to say any thing else except that with whipped cream and rhoasted rhubarb, this is not only a showy and incredibly good dessert, but also a very simple dessert, and those are the best kind in my books.

Meringue:

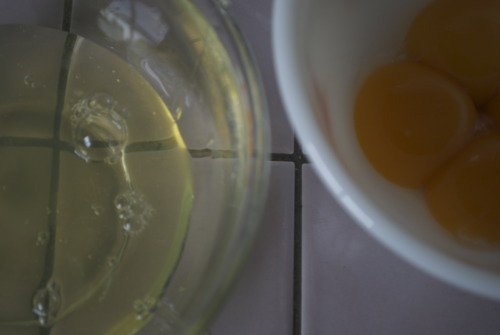
4 large (120 grams) egg whites
Pinch of salt
1 cup (200 grams) superfine (castor) or regular sugar
1 teaspoon white vinegar
1/2 tablespoon cornstarch, potato starch or arrowroot powder

Rhubarb:

6 stalks of rhubarb

1/2 cup Sugar

1 cup whipping cream, whipped with one teaspoon of vanilla extract.

Preheat oven to 225F

Whisk together your egg whites and your salt until soft peaks, using an electric mixer, unless you have incredibly strong arms and a great amount of determination, in which case, do it by hand.

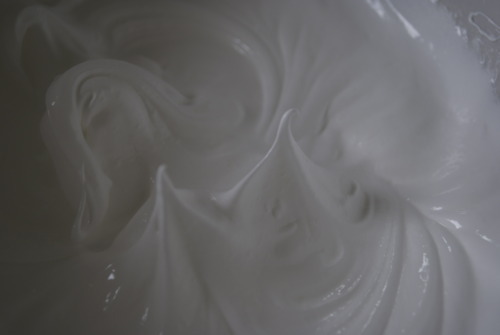
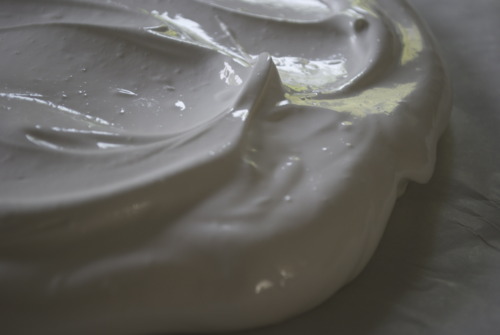
Slowly add in the sugar and cornstarch, tablespoon by tablespoon until all of it is incorporated. Then keep whipping. Aren’t sure if it’s glossy enough? Keep whipping. Does is hold stiff enough peaks? Keep whipping. Basically keep whipping and whipping for a long time, until it is very glossy, and very stiff.

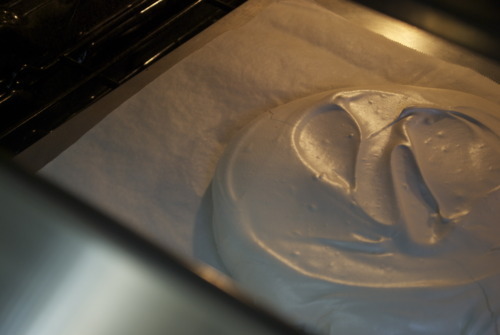
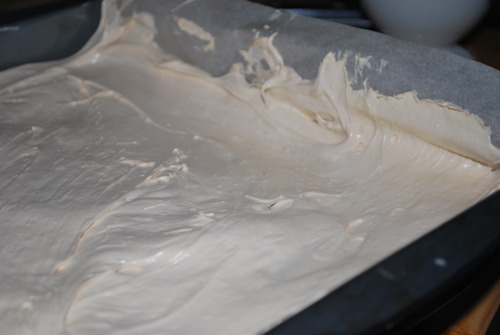
On a parchment lined pan spread the meringue out into a circle with an inverted spatula, i made mine about 10 inches wide.

Put it in the oven for about 45 minutes. If it starts to get brown turn the oven down, if it starts to crack turn the oven off. Once it feels firm to the touch but still has some give inside of it crack the oven open, turn the oven off and let it cool completely inside.

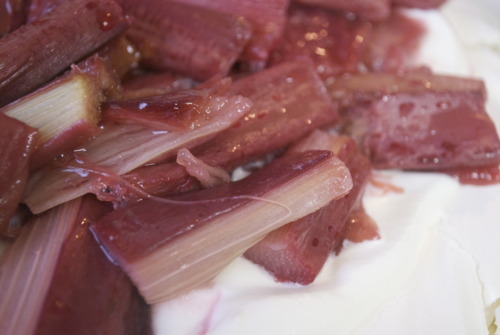
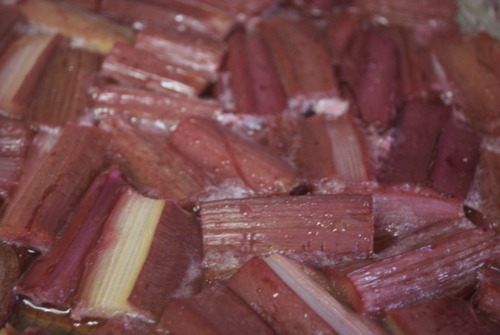
In the meantime, take your rhubarb and cut it into one inch pieces. Lay it on a parchment lined baking sheet and pour sugar over top. Once your pavlova has cooled, crank the oven up to 400F and put the rhubarb in until it is soft but still holds it’s shape, about 15-20 minutes.

To Assemble:

Transfer the meringue onto your serving tray.

Blob heaps of the whipped cream on top, and then dollop the rhubarb on top of that. Don’t be shy with the rhubarb, you need lots to balance it out.  

And if you’ve done everything right you get marshmallowy goodness.And you get happiness.

Gluten Free and Better For it!

Gluten free has a bad name. And maybe rightly. There are so many terrible wheat free alternatives out there. Bread made with rice flour just isn’t good, I’m sorry celiacs it just isn’t. Foods that shouldn’t be gluten free but try almost always fall flat. However, there are lots of traditional french baked goods that aren’t supposed to have wheat, that use things like ground almonds that are amazing. They don’t try to be something that they aren’t, and they’re better for it. Such is the case for this sensational flourless chocolate hazelnut cake.

I have long debated putting this recipe up here because it isn’t my recipe, it is an extremely talented woman named Mary McIntyre who owns a wonderful cafe called Little Nest. But then I realized that she in fact has already published it in a a book which makes me feel that it’s okay.

I have made a couple changes, I use hazelnuts instead of almonds, and I use more vanilla extract. But this is a a very forgiving recipe, it’s super dark and intense without being fudgy, it’s still light somehow, its just generally wonderful. Seriously, make this cake.

Chocolate Hazelnut Cake

6 eggs, seperated

2 cups Brown Sugar

225g Butter

225g Good Dark Chocolate

1/2 cup Cocoa Powder

1/2 cup Hot Water

1 1/2 cup Ground Hazelnuts

Preheat oven to 350F

Line an eight inch round spring form pan with parchment paper

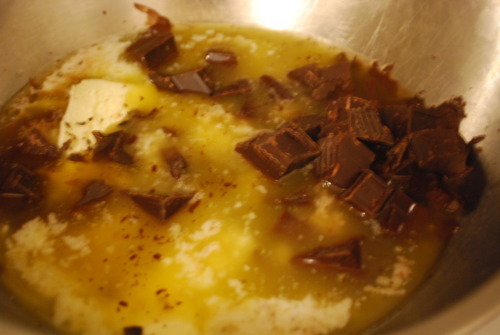
Melt butter and chocolate in a double boiler.

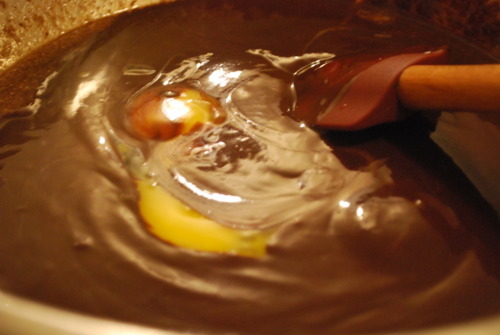
Add in the egg yolks.

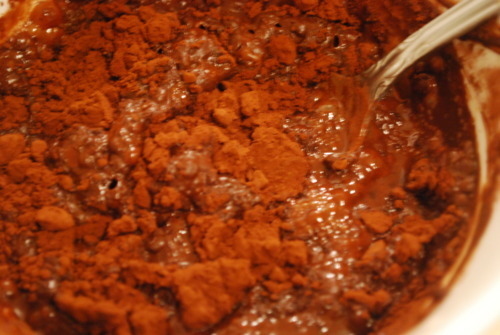
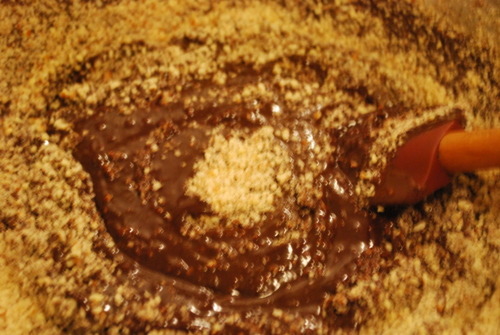
Add in one cup of sugar, the ground hazelnuts, and cocoa powder.

Add sugar and hazelnuts.

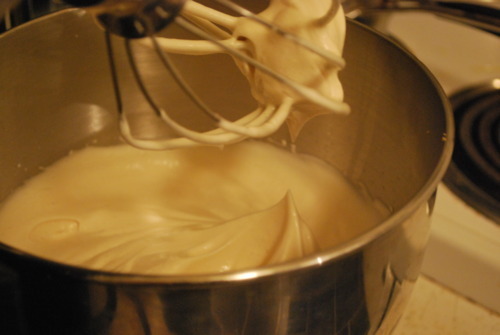
In an electric mixer with the whisk attachment whip egg whites until soft peaks form. With the mixer still on slowly add in the brown sugar until it’s shiny and stiff peaks form.

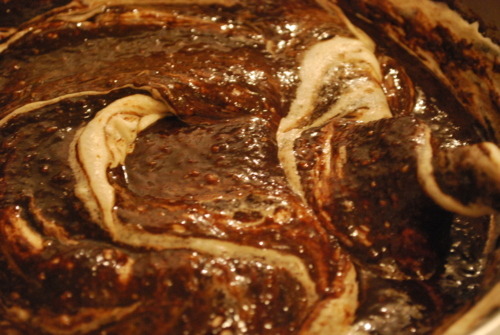
Scoop one third of meringue into chocolate batter and fold in.

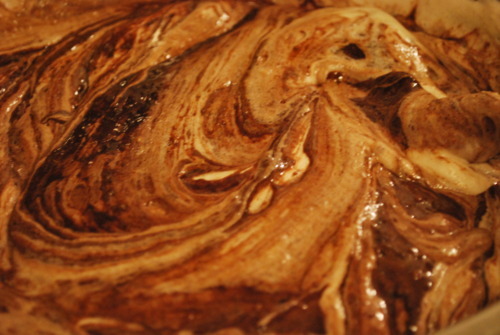
Add in the rest of the meringue and fold until barely combined.

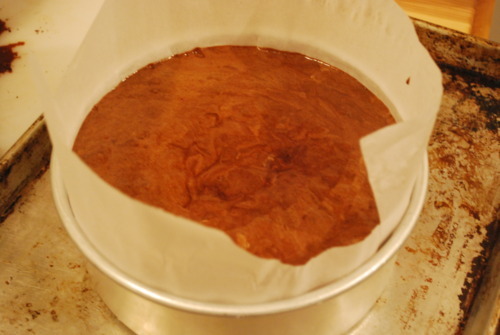
Pour batter into prepared pan,

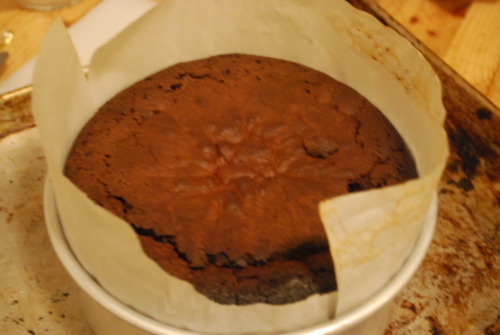
Cook until an inserted skewer comes out with only a couple moist crumbs about an hour.

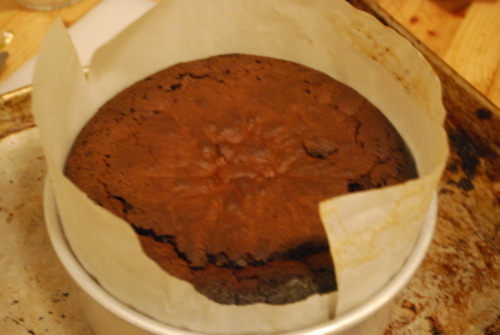
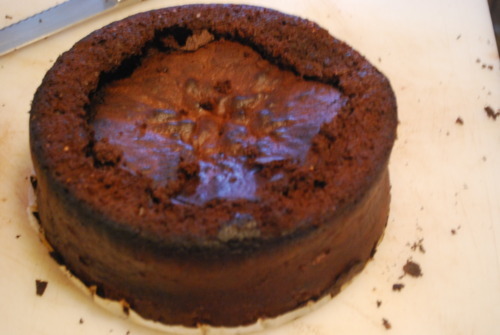
Allow to cool in the pan. It will sink, do not panic!

Turn it upside down and your in business!

Cake and Roses


I have lived in Vancouver for 4 years now but I’d be lying if I said I didn’t miss Toronto sometimes. I miss the hot hot summers, the bustling streets and the art galleries and museums. But not even a tiny part of me misses Toronto in March. It is a hideous time in Toronto, all sludge and grey sky’s and, while we may have clouds in Van, we also have cherry blossoms. It is overwhelming how beautiful the streets of East Van are these days. Whole streets are pink with petals. East Vancouver may have a bad reputation but my goodness there is no nicer place on earth in early spring than the side streets of Commercial Drive.

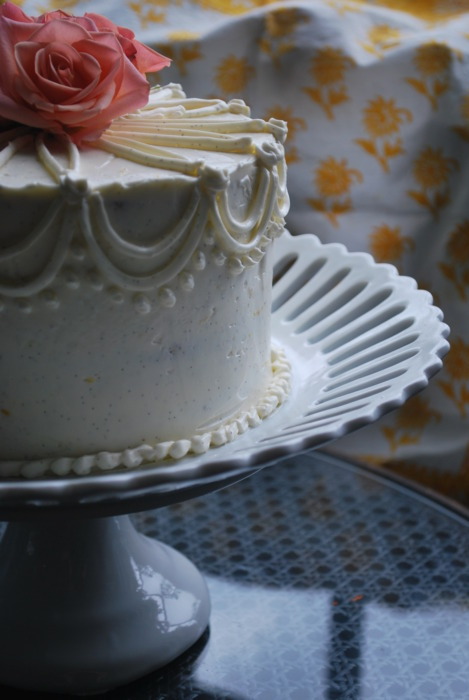
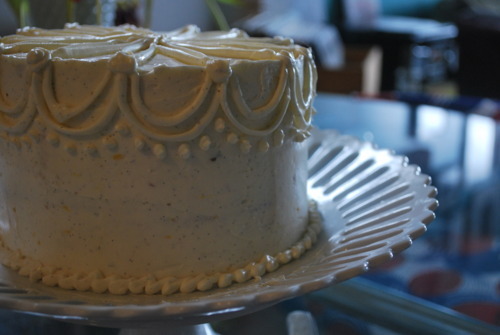
So when I was asked to make a birthday cake this weekend I knew it would be have to be girly and floral, because all I can smell is flowers and all I can think of is summer. So here is a pound cake with vanilla rose buttercream. It’s unbelievably moist with lots of vanilla and just a hint of lemon. And a hint of rose too. Because it’s spring, and there’s something very romantic about spring.

Vanilla Pound Cake

1c Butter

2 1/4 cup Sugar

3 3/4 cup Pastry Flour

1 tsp Salt

2 tbsp Vanilla

Zest of 1 Lemon

3 Eggs

1 cup Buttermilk

Preheat oven to 350F

Butter and flour 2 7 inch cake pans

In a mixer with the paddle attachment cream Together butter and sugar until light and fluffy, about 5 minutes

Add in the eggs one at a time beating well between each addition.

Add in the zest and the vanilla extract beating again for another minute.

Add in one third of the dry ingredients, then half the buttermilk.

Repeat again until all the ingredients have been just combined, do not overmix.

Spoon into prepared pans

Vanilla-Rose Buttercream

1lb Butter, room temperature

8ox Sugar

4oz Egg Whites

2 Vanilla Beans

2 tsp Rose Water

Zest of one Lemon

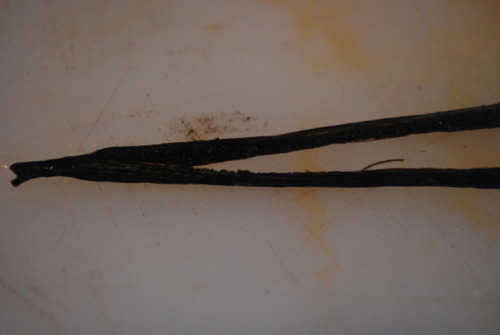
Split the vanilla beans in half and scrape our the seeds out.

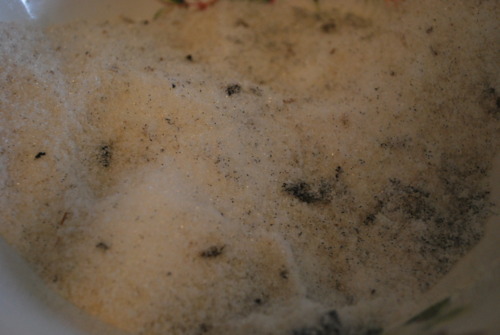
Break up the beans in a metal bowl with the sugar. Just squish them together, the abrasiveness of the sugar will do this easily.

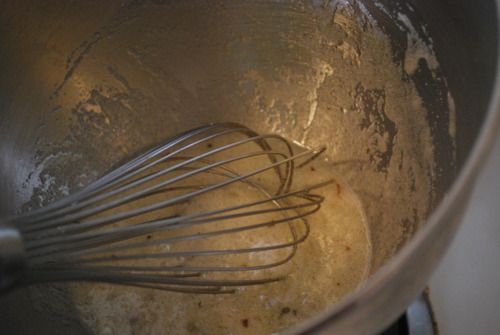
Mix the egg whites into the sugar and set over a small pot of water on medium high heat on the stove. Whisk.

Keep whisking until it is frothy and is hot to the touch.

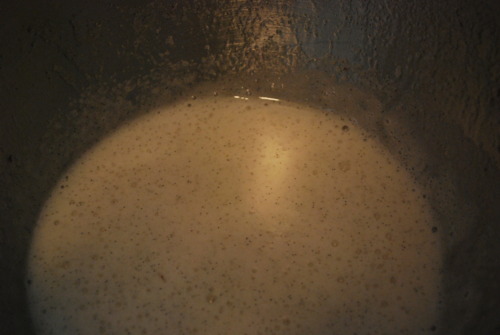
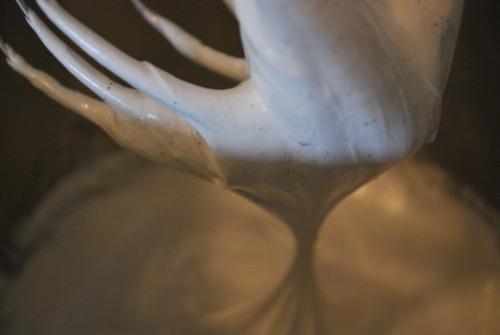
Remove from heat and pour mixture into the bowl of an electric mixer. Whisk on high for about 5 minutes or until stiff peaks appear and the mixture is very glossy.

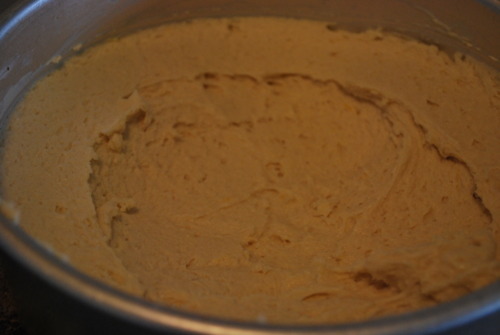
On medium speed whisk in butter knob by knob. If it starts to look split don’t panic, just add in a big chunk of butter and it should come back. Add in the lemon zest, the rose and a bit of vanilla if you think you need more. Taste and make sure the rose is strong enough for you (sorry I forgot to take a picture at this point)

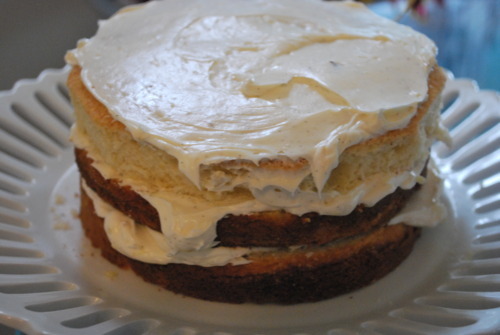
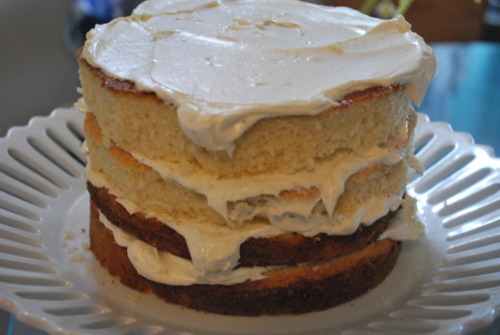
Now cut the cakes in half lengthwise.

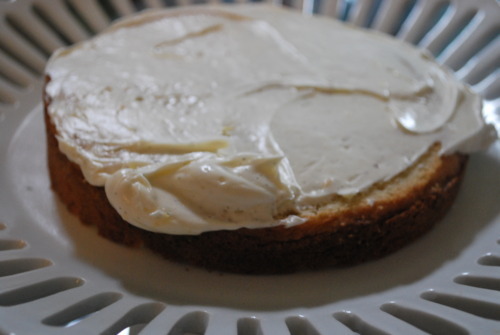
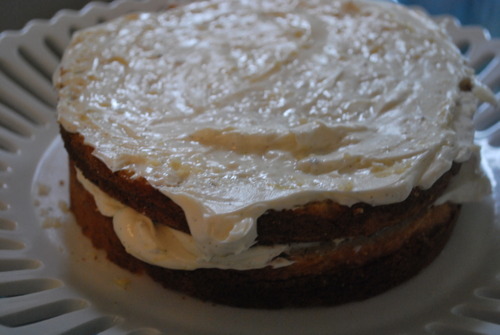
Put a dob of icing down on your cake stand and put your first layer of cake down. put a thick layer of icing on top and spread it out with a spatula.

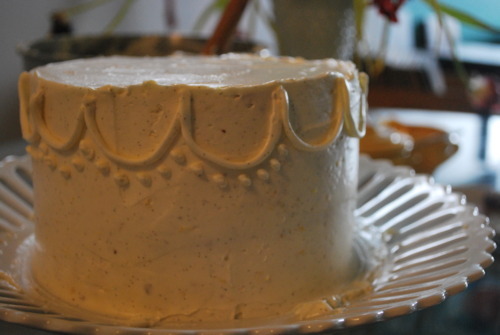
Then coat the outside with a thin layer of icing and refridgerate until cool and solid.

Now ice it however you’d like!

Fresh Herbs Baking

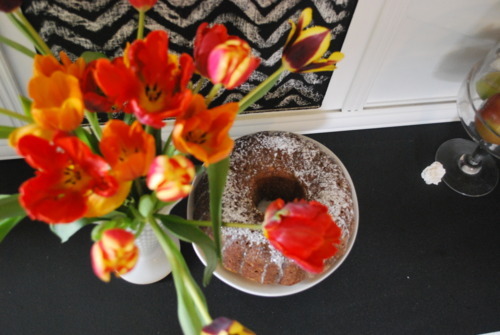
This past week, after realizing how much money we spend on fresh basil, parsley and rosemary, we planted an herb garden. Our window in the living room is now ful lof cute pots and mason jars turned into holders for the basics like rosemary and mint but also hard to find herbs like chervil, lemon thyme, and lavender. I am thrilled.

So imagine my joy when I open my Martha Stewart and there’s a whole article on cooking with fresh herbs! Oh Martha, you always know whats best for me.

There were some good looking recipes, like the Vietnamese pork with mint, but the one I was dying to try was the rosemary pound cake. Simple and not over complicated it’s the perfect cake with tea or maybe a spoon of creme fraiche if your the sort to keep that around.

I did make some changes, I didn’t add the egg white in, mostly because I forgot but I think it turned out beautifully without, I added in some lemon zest and more vanilla, and then changed the glaze around a bit. But it was delicious.

I made it yesterday morning and brought in half of it to work and then came home and pondered what to do with the rest (for the sake of my arteries keeping it at home seems like a bad option) and then our amazing friends called us up last minute for dinner and I felt like a 50’s housewife “Oh perfect! We can bring this cake I just happened to bake this morning” And that friends, is ridiculous.


Rosemary Pound Cake

1cup Butter

2 1/4cup Sugar

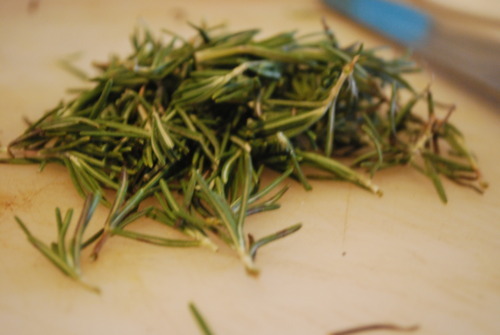
2tbsp Chopped Rosemary

Zest of one lemon

1tbsp Vanilla

3 Eggs

3 3/4 cup Pastry Flour

1tbsp Baking Powder

1 cup Milk

Rosemary Honey Glaze

1/2 cup Honey

2 Springs Rosemary

1/2 Lemon

1 cup Icing Sugar

To bake cake:

Preheat oven to 325F

Butter and flour a bundt pan or 2 leaf pans

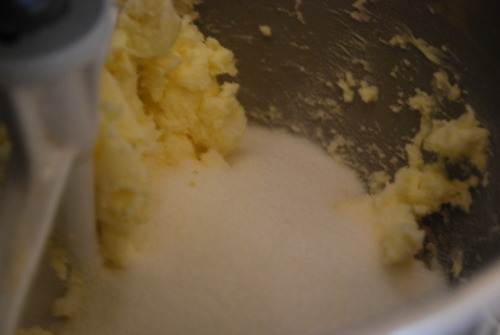
Cream butter and sugar together until light and fluffy.

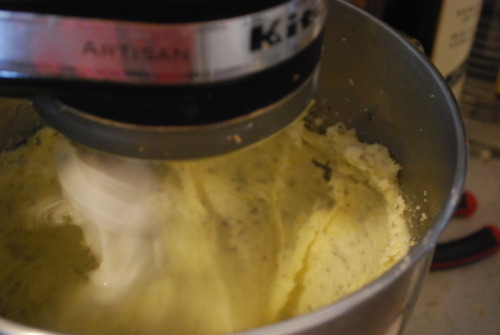
Add in rosemary and zest until completey combined.

With your mixer on medium high speed add in the eggs one at a time beating well between each addition.

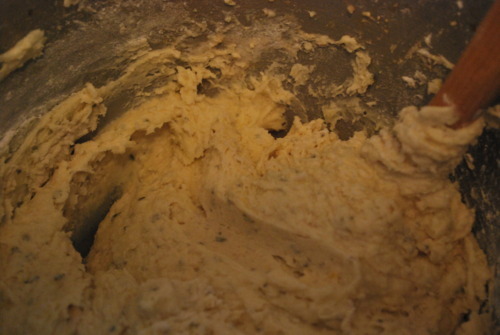
Bring the mixer down to low speed and pour in 1 third of the dry ingredients. Then add half the milk and vanilla. Continue alternating until all the ingredients are mixed ending with the dry. Do not overmix.

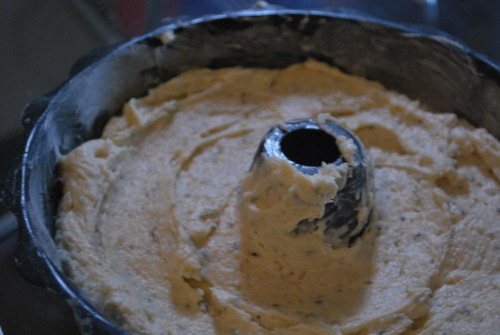
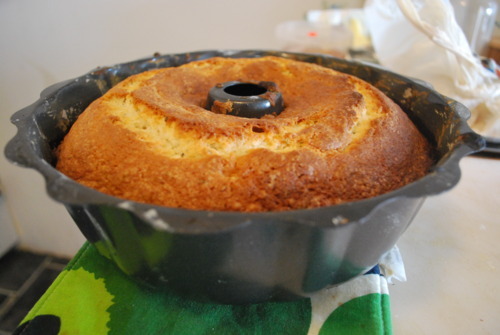
Spoon into pan and bake until an inserted skewer comes out with only a few moist crumbs, about 45 minutes.

Turn out of the pan and cool

Meanwhile For the Glaze:

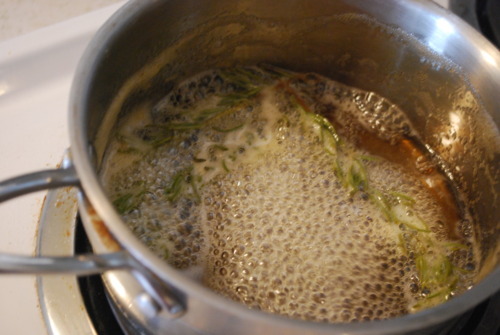
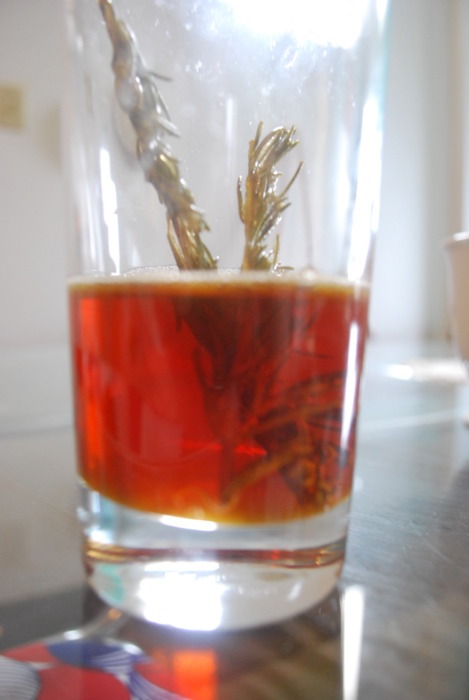
Put rosemary and honey in a pot and let simmer for about 10 minutes

 Allow to cool.

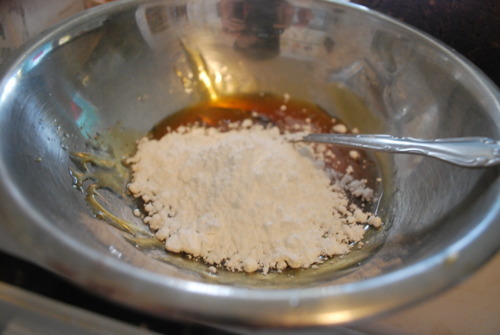
Take out rosemary and add in lemon. Sift in icing sugar and stir.

Add more lemon or milk if nescassary until a good runny consistency happens.

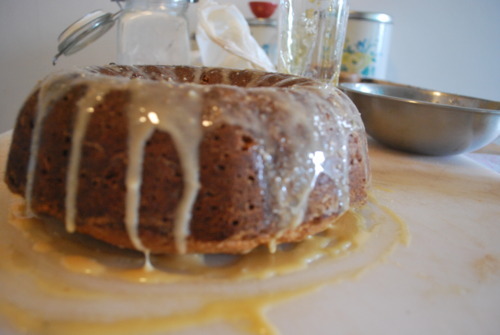
Pour over cooled cake and eat right away.

More Rhubarb


Are you sick of rhubarb recipes yet friends. I’m not! I know I know, I’ve posted about it 2 times already this month but rhubarb season is so fleeting and I think it will still be a couple more weeks before we start seeing local strawberries and blueberries and other kinds of fruit that, when I first see them, make me start dancing in the aisles of my local green grocers.

Which is all to say that there are another couple weeks, if we’re​​​ being optimistic, it would probably be more realistic to say a month or so but I am nothing if not an optimist, before we have any other fruit and so I feel a huge need to make the most of rhubarb season.

This is a tart that I`ve been making for a long time. My first ever restaurant job introduced me to both brown butter, butter that`s been cooked until the milk solids turn a pretty walnut colour and it starts to smell like hazelnuts, and brown butter pastry, when you mix that wonderous stuff with eggs and sugar and vanilla and a tiny bit of flour to hold it all together .

Some of you may be intimidated by the short crust pastry, or pie dough, but I really encourage you to try it. It is way easier then you think, and I made sure to take pictures at every step so you have a visual.

​​​

Tart Dough

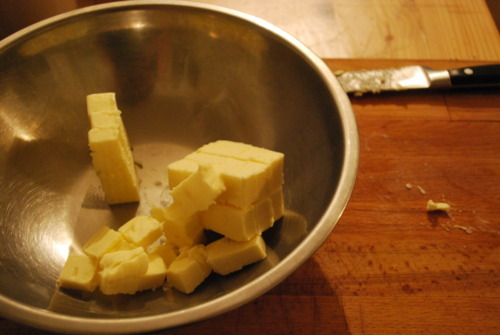
1 cup (half a pound) of Cold Unsalted Butter, cut into chunks

2 cups of AP Flour

about 1/4 cup ice cold water

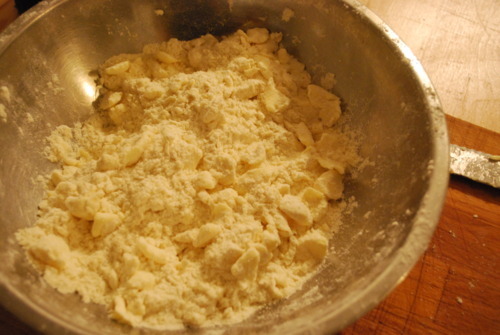
Cut the butter into the flour. That means break it up into pieces. Your not trying to mix the butter and flour, your simply trying to get chunks of butter throughout. If your worried about it, err on the side of making it to big.

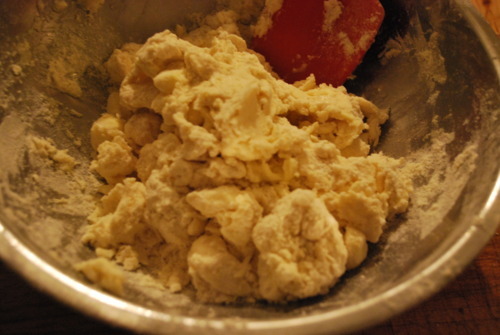
Add in the water, just a tablespoon at a time until it is just barely barely combined. It’s best to have it on the dry side, but if you add a little to much just add a little more flour.

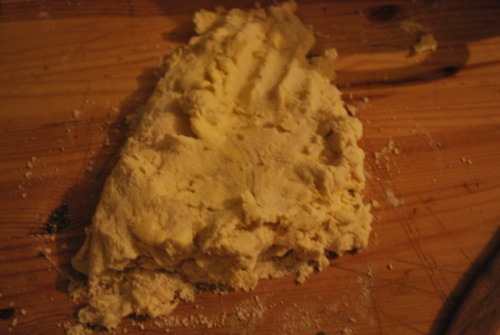
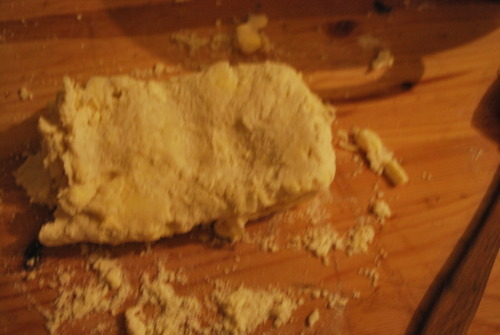
Now flour your counter space and carefully press it into a rectangle. The fold it in half and do it again.

And again, and again, until it starts to feel firm. Your adding layers at this point, making your tart almost in between a pie dough and a puff pastry, which is to saw your making your dough delicious.

Now get it in the fridge for at least an hour, or until it really sets up.

In the mean time:

Roasted Rhubarb

4 cups of chopped rhubarb, about 10 stalks

1 1/2 cups sugar

Preheat the oven to 400F

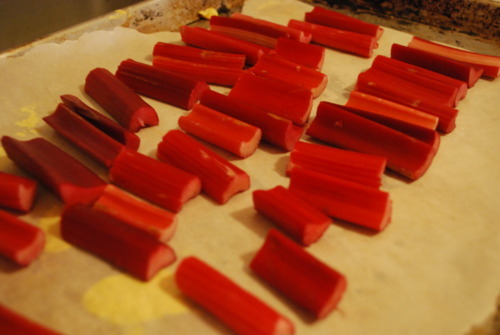
Lay the rhubarb on a parchment lined tray.

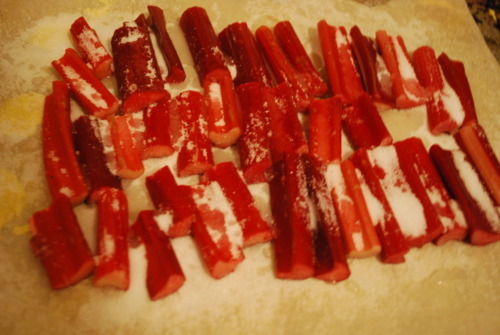
Sprinkle the sugar ontop.

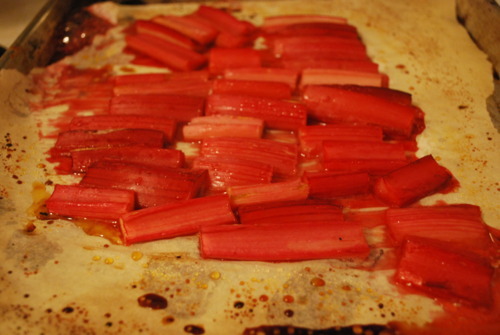
Get it in the oven! Roast it until it starts to get soft but before it breaks down, anywhere between 12-25 minutes depending on the size of your rhubarb

Now make the brown butter pastry

1/2 cup Sugar

2 Large Eggs

1/4 cup AP Flour

1/2 cup Butter

1 tbsp Vanilla

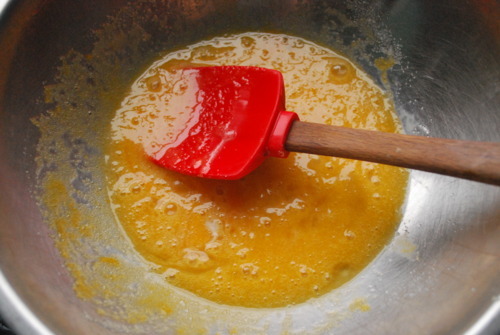
Get your butter in a pot, not a frying pan, it will sizzle up, and cook it on medium heat.

It will get all foamy, then it will get clear again. The it gets foamy again, and you won’t be able to see the bottom well but swirl the pan around and smell it lots. The smell will be like hazelnuts and the bottom will start to get a pretty brown. As soon as this happens get it out of the pot and into a bowl, or it will burn

In another bowl get the eggs and the sugar combined. Add in the vanilla.

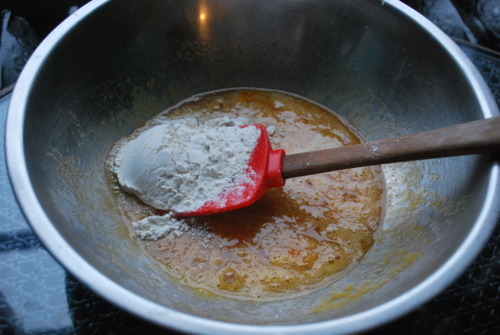
Add in the butter and then the flour

And now your ready to assemble!

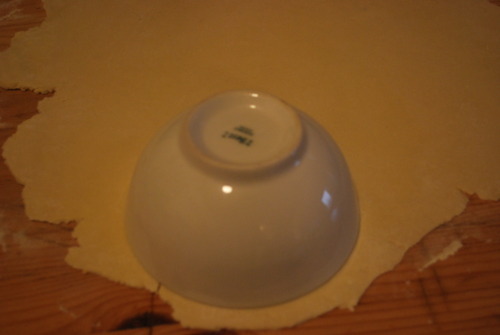
Roll out the dough and cut it out. I didn’t have a round cutter that was big enough so I used a bowl

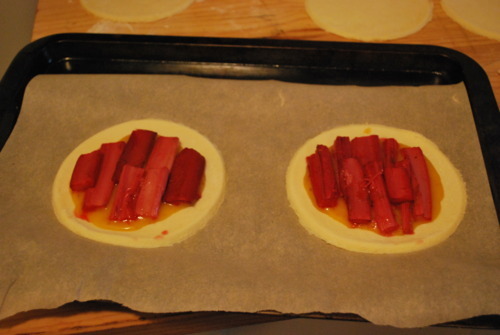
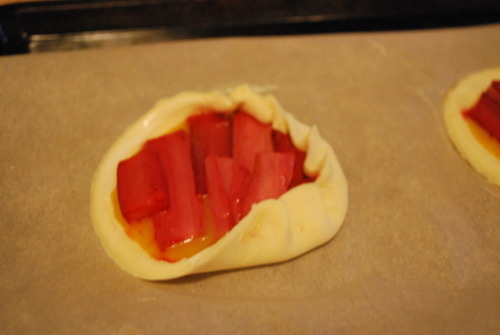
Put about a tablespoon of brown butter mix in the center of the circles. The fill up the space with rhubarb. Make sure you leave space to fold the edges over.

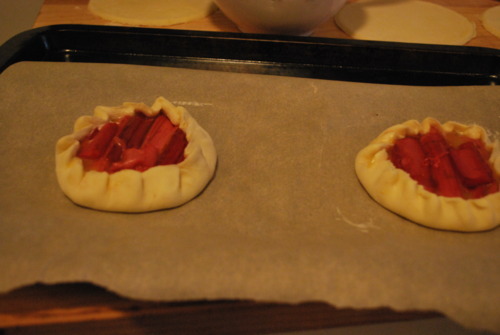
Now fold up the edges

And then finish and put them back in the fridge for another twenty minutes

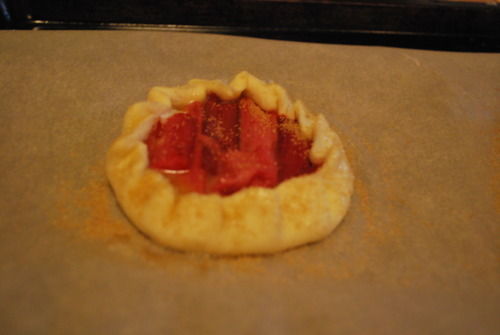
Beat an egg and brush it on the tops of the pastry, then sprinkle some sugar on top.

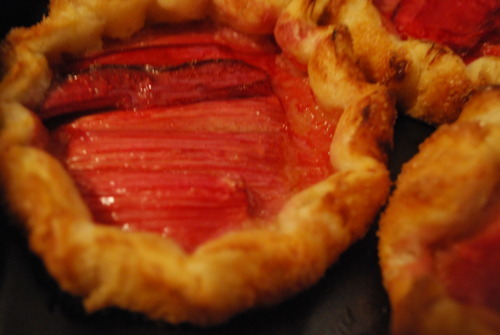
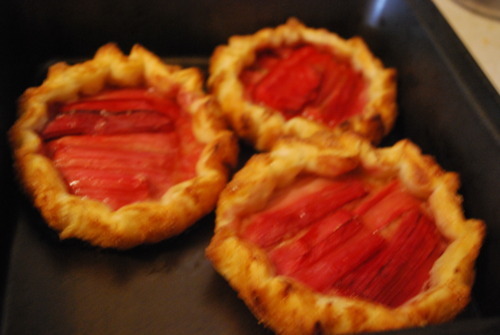
and bake it up! The pastry will get a lovely brown the rhubarb will caramelize and you will be in pastry heaven!

If I Only Had A Fireplace...

A few years ago I threw my back out very badly. There were torn ligaments and much pain and I was forced to take several months off work. I couldn’t stand for more then an hour or so at a time so it was hard to much of anything. Except bake. Did you know you can bake almost anything and then sit down for a while. Baking is by nature the art of patience, you have to wait for things to bake, to cool, to rest. Baking is made for people with bad backs (this is only true of at home baking, professional baking requires lifting 20kilo bags of flour, kneading enormous pieces of dough, and standing on your feet for at least 12 hours a day.) So I baked. I baked and I baked and I baked. Christmas fell in that time period and I made every single thing from the Martha Stewart Christmas magazine. Every single thing. There were some hits, like her shortbreads, some misses, like the pomegranate jelly, but most things have faded into the recesses of my brain along with the other million things I’ve baked. The one thing I remember most accurately are the marshmallows.

If you’ve never made your own marshmallows before you might not know that they have a delicious flavour.

You might not know that they are lighter and less chewy then store bought ones.

You might not know of the amazing flavours you can give them.

You might not know a lot of things that you probably should know. So you should probably make them promptly.

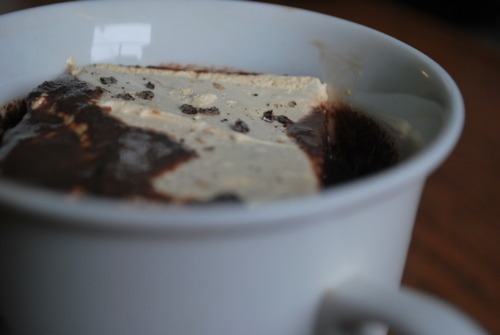
I have played around with my marshmallow recipe lately and so I am giving you the basic recipe which you can make but I have been caramelizing the sugar first so that it hints of the roasted marshmallows, and I have been putting salt on them because I’m trendy like that. If your wondering what the black stuff is on top of the marshmallows it’s vanilla salt because I am compelled to buy things like 17 dollar salt. But regular old salt is more then fine, and you’ll be $17 the richer. Which is a plus. I do wish I had your self control.

Marshmallows

2 tbsp + 1/2 tsp Unflavoured Powdered Gelatin

2 cups Sugar

1/2 cup Corn Syrup

2 egg whites

1 tbsp Vanilla

1 tsp salt

Sprinkle gelatin over 1/2 cup cold water

Line an 8inch square pan with parchment and oil it generously.

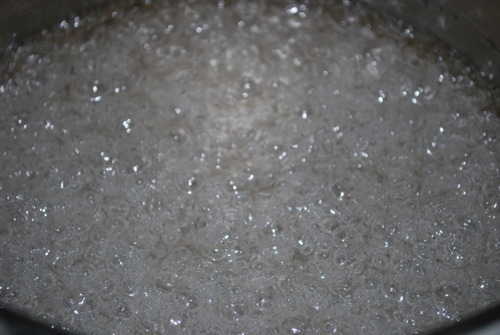
In a pot mix 1/4 cup water with the sugar

On medium heat stir until sugar is dissolved.

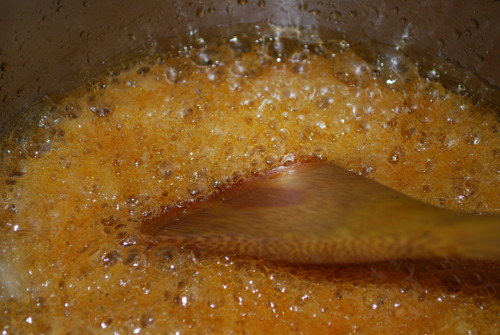
Bring heat to high and let caramelize to an amber colour

Immediately bring off heat and add in half cup of water and the corn syrup. (it will boil up like crazy so be careful!)

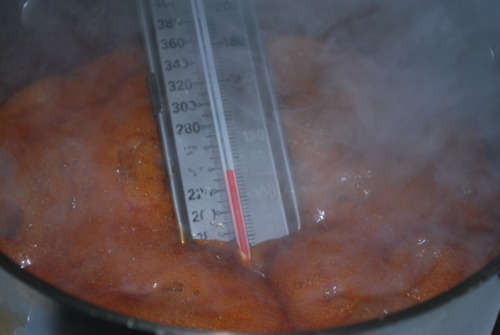
Put in your candy thermometer and bring to 240F or the soft ball stage. Don’t be alarmed at how dark it gets at this stage, but do stir it to prevent it from burning at the bottom.

Meanwhile in a mixer fitted with the whisk attachment whip the egg whites until soft peaks

As soon as the caramel is at 240F add in the gelatine and vanilla.

With the mixer on high pour the sugar mixture into the whites pouring down the side of the bowl so the whisk doesn’t whip it around.

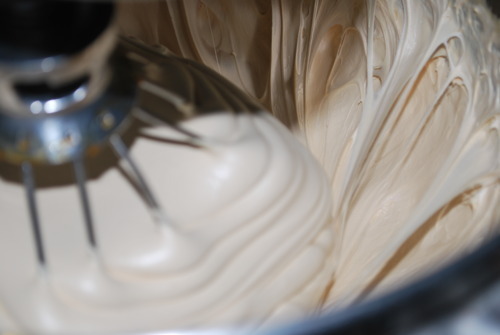
Keep the mixer going until the mixture looks, well, like marshmallows. If in doubt give it another minute.

Pour into the prepared pan and sprinkle salt on top.

Allow to rest for at least 3 hours and up to overnight.

Cut them in the shapes you want and dust them in corn starch and put into airtight containers or bag them up and give them as goodies!

A Lot of Cake

“I have yet to attend a party where the chef has sewn together a string of delicious steaks into a golf club or fedora I have never seen (and hope to never see) a baby rattle composed of salmon fillers. But cake abuse has no limits” writes Matt Lewis in the introduction to cakes in his wonderful book Baked Explorations. It’s true isn’t it. The form over function in the world of cakes is very strange. If you want a red race car make it out of cardboard, or styrophoam. Why make it out of cake? Cake that will, inevitably once all the parts are assembled, be dried out and boring. If no one wants to eat it whats the point?

Which is why I make a big effort to make cakes that are wonderful, delicious, and if I do it properly, something beautiful too. I, like Matt Lewis, am a cake pusher.

I making love cake. I like making simple cakes with a dusting of icing sugar, I like making pound cakes with a lemon glaze on top, and sometimes, I like making elaborate pretty cakes, because it’s a little challenging but mostly because I like proving that a cake can be both delicious and pretty. I’m stubborn like that.

I made such a cake this weekend for my amasing friend Kate’s birthday. It was a dark chocolate cake that has espresso instead of milk in the batter so it’s not overly sweet, which lends itself beautifully to frostings. I did it up with a salted caramel buttercream and I’m not going to lie friends, I’m pretty pleased.

Salted Caramel Buttercream

1 3/4 cup + 2 tbsp Sugar

1/2 cup Cream

9 Egg Whites

1 tbsp Vanilla Extract

1.5 lb Unsalted Butter, soft

Dark Chocolate Cake

1 1/2 cup butter, room temp

3 cup sugar

2 Eggs

2 Egg Whites

1 1/2 cup Dutched Cocoa Powder

4 cups All Purpose Flour

1tbsp Baking Powder

1 1/2 tsp Baking Soda

1 tsp Salt

1tbsp Vanilla Extract

2 2/3cup Hot Strong Coffee

Make Frosting

Combine 1 cup sugar and 1/4 cup water in a pot. Cook on medium heat until sugar is disolved. Remove spoon and Bring heat up to high. It will start to thicken a little.
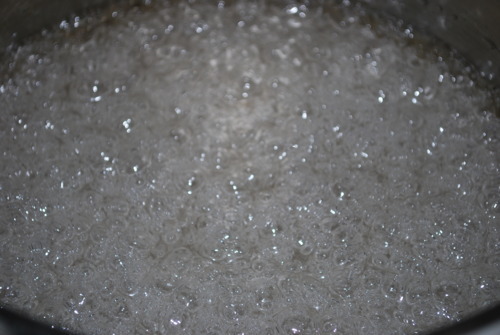
Then It will start to brown slightly. It will turn quickly so keep a close eye on it.
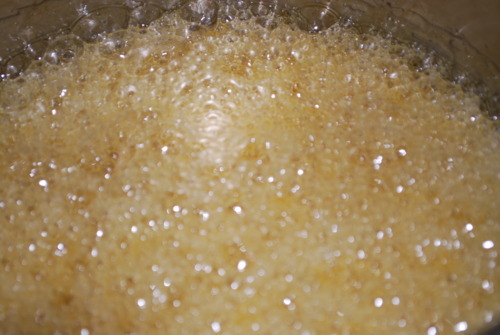
Then it will get a pretty auburn colour. And then your in business
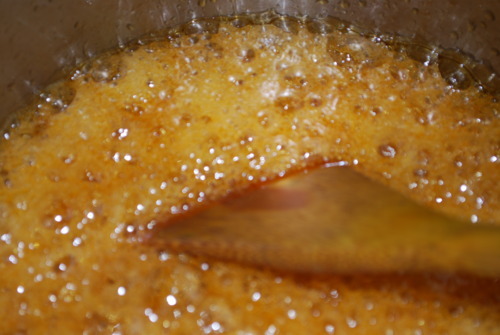
Now, act fast. Take it off the heat, pour in the cream and stir. It will bubble up like crazy, don’t panic, but be careful. I  don’t have any pictures of this part because it was bubbling and I was stirring.

Pour that into a heat safe container and let cool.

Get a small pot with an inch or two of water on the stove and bring it to a simmer. I usually use the caramel pot because it’s easier to clean after it’s had boiling water in it.

Put the egg whites, salt, and remaining sugar into the the bowl for your mixer and whisk vigorously over the pot.
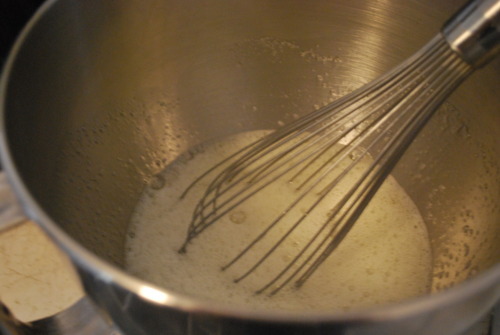
Kepp whisking until its quite frothy and it’s hot to touch.

Take off the heat, and attach bowl to your mixer. Whisk on high until stiff peaks form.
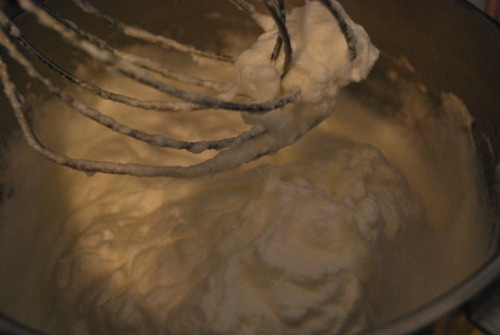
Slowly add in the butter, tablespoon by tablespoon until it’s all combined. If you notice yours doesn’t thicken up nicely and is beginning to look split slow down the mixer and add in a big piece of butter, that should thicken it up nicely.

Slowly add in the caramel and there you have your caramel buttercream.

Make Chocolate Cake

Preheat oven to 350F

Butter, flour, and line with parchment 4 cake pans, 2x 8 inch round, and 2x 5inch.

Cream butter and sugar until it’s very fluffy, about 5 minutes
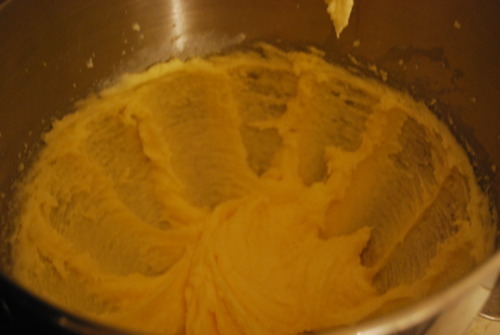
Add in the eggs and whites and beat again until light, about 3 minutes
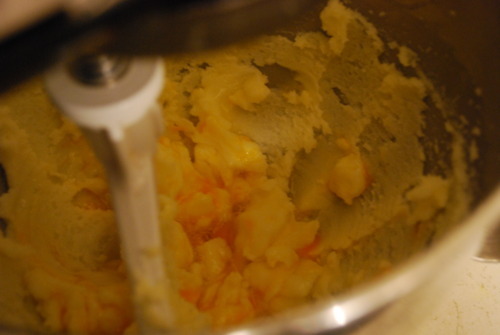
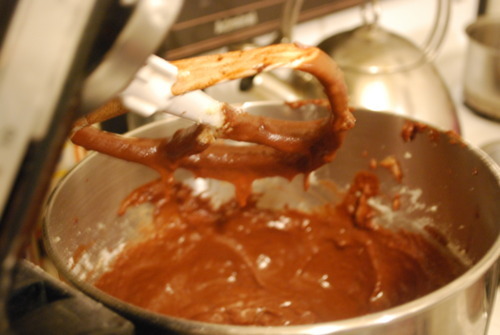
Alternate in dry ingredients starting and finishing with dry. It will look like a big hot mess
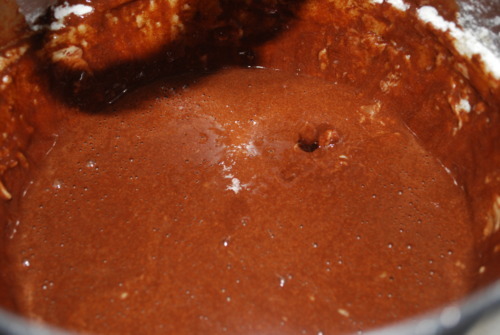
Don’t panic. Just whisk it for about 15 seconds until it starts to look smooth. Don’t do this for very long, and a few lumps are absolutly okay. See how much nicer this looks?
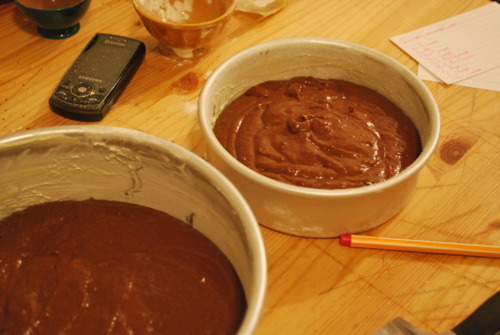
Pour into your prepared pans and bake until an inserted skewer comes out clean, about 30 minutes. Let cool.
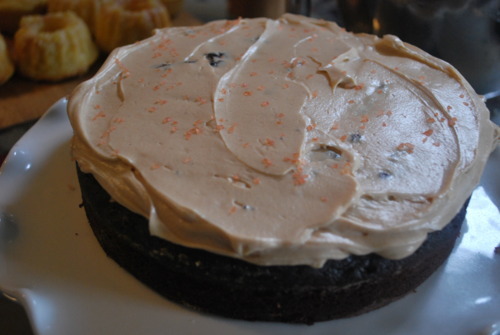
Trim off the top of the cakes with a serrated knife to flatten them out. Put a dollop of icing on the cake stand and then put down the first layer of cake. Spread liberally with icing. Sprinkle with salt.
Repeat with remaining layers
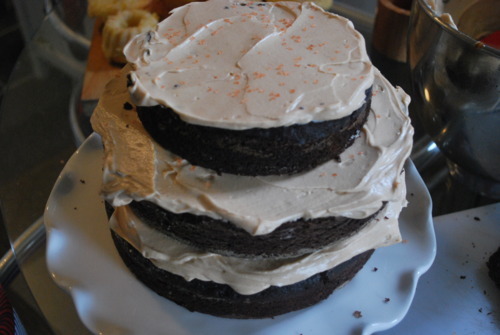
Ice the outside loosely.
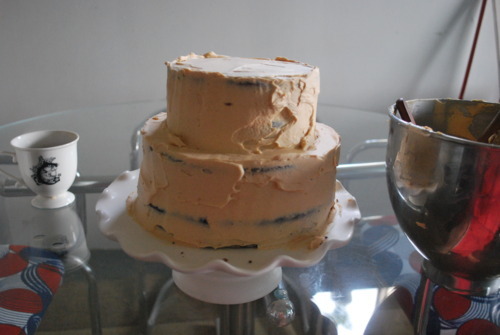
Smooth it out and refridgerate for at least an hour. The ice again to cover the crumbs and the dark cake inside. This always takes me a while, and if I’m really struggling then I put it back in the fridge, let it set up again and then use my inverted spatula on the cold frosting. Sometimes I find this easier. If your icing looks a little split at any point just put it back into your mixer and it will come back in seconds.
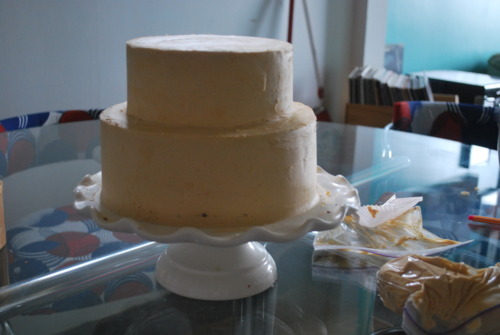
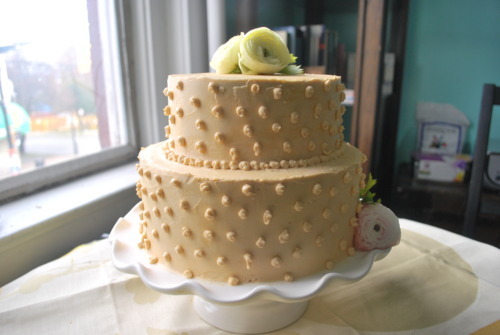
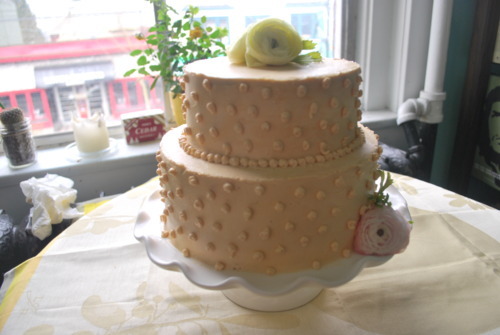
Then do whatever you want with your decordations. Tie a ribbon on it, dot it with pocka dots, which is what I did here. I just put some frosting in a piping bag, pressed it against the cake and dabbed the icing on. It was very easy. I also did a line of dots, done the exact same way, along the line between the layers because it was a little messy there. And then I put flowers on top because I like flowers. Et Voila! Pretty and delicious cake!