Brown Butter Apple Cake

Most people who have ever talked to me for more then 5 minutes has probably heard be complain about my landlord. He is a glorified slumlord, who fixes nothing and does nothing and is exceedingly cranky more often then not. He doesn’t do a good job when problems arise and so they keep happening over and over again and he blames you for his shotty work. 

I am not a fan.

However, since Jordan has moved in, my gay landlord has been much more open about fixing a few things up. Apparently my charm is useless on him, but my handsome man is getting things done. 

It has been a crazy couple of weeks, but my apartment is now the proud owner of new dark laminate flouring, a glorious step up from the heinous 70’s grey industrial carpeting I’ve been living with for years. But heres the thing about putting in new flouring, you basically move. Everything you own has to be put into boxes and moved somewhere else and it is a hassel my friends. 

Now we’re starting to paint and put things together and, thankfully, my kitchen is back and working, and Jordan is so good looking we even got a new fridge! Miracles do happen friends.

So a couple days ago when everything was covered in dust and it reeked of paint fumes and all my books we’re in boxes and I was starting to go crazy, I did what I always do when I’m stressed, and I baked a cake. 

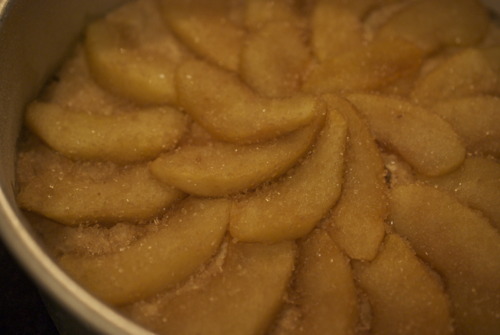
A wonderful cake too, rich from brown butter and brown sugar sauteed apples on the top. Most cakes get their moist crumb from lots of butter and sugar but this cake gets it form the buttermilk so it’s not to sweet ot two heavy. It also uses whole wheat pastry flour, which is very uncommon for me, but it adds a pleasant nuttiness without feeling too healthy. The top has some coarse sugar and salt so it gets a bit of a crunch when you bite in. 

The best part though; it doesn’t need a mixer, you put it together like a muffin base, just mix wet with dry, so it doesn’t dirty up the kitchen too much.

And then, with cake in hand I cleaned, and dusted, and gathered bags and bags to give to charity and felt like things would be okay. 
Brown Butter Apple Cake

Adapted from 101cookbooks. 

2 1/2 cups whole wheat pastry flour
1 tablespoon baking powder
3/4 cup brown sugar
1/2 teaspoon salt
2 eggs
1 cup buttermilk
1/4 cup butter, melted and cooled a bit
zest of 1 lemon

1 tbsp Vanilla Extract
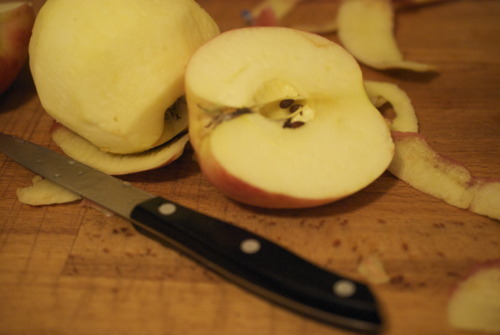
1 large apple, or 2 small guys, peeled and sliced.
3 tablespoons large grain raw sugar
1 teaspoon large grain salt

Preheat oven to 325F

Butter and flour an 8 inch cake pan.

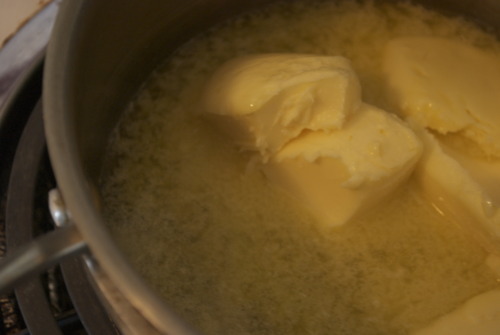
In a small sauce pan on medium heat melt the butter. Keep it on the heat after it melts until it bubbles and gets frothy and starts to get a sweet nutty smell, and you can see little brown bits at the bottom. Set aside.

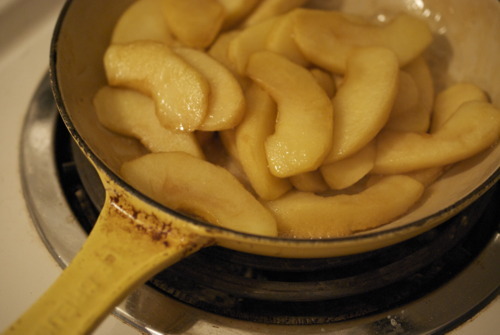
In the same pan add the apples and 1/4 cup of the brown sugar and sautee until the apples are translucent and soft- about 10 minutes. 
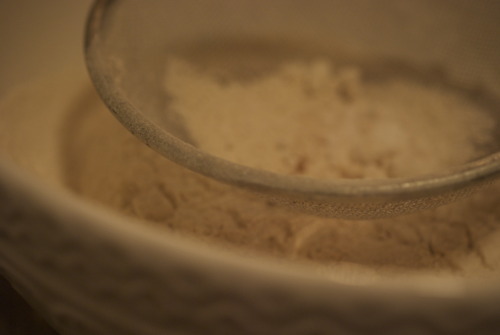
In a large bowl mix together the flour, sugar, baking powder and salt making sure there are no lumps of brown sugar.

Mix together the butter, buttermilk, eggs, zest and vanilla and then add it to the dry ingredients being careful not to over mix. 
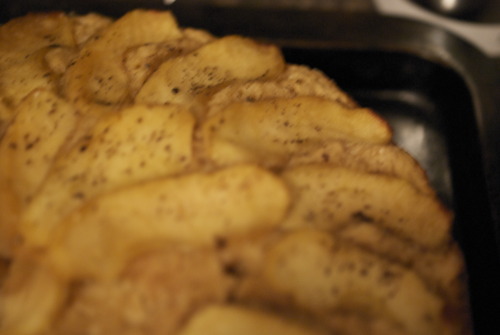
Pour the batter into the pan and use a spatula to level it. Carefully place the apple slices in a nice pattern on top. Sprinkle the coarse sugar and salt on top.

Bake for about 30 minutes or until an inserted skewer comes out with only a few moist crumbs. 

Madeleines

A few years back my sister, a few friends and I went on a croissant-athon. Basically we looked up all the places in Toronto for the best croissants and biked around the city trying one at each place (we did split them, or else we wouldn’t have been able to keep riding!) and my meticulous sister took notes.

My main criteria is what I call the crunch-to-gush factor.

This is not a technical term.

But it is important. It’s the contrast from perfect crisp exterior to meltingly tender interior. It’s something the french do very well. In creme caramel? Check. Parisian macarons? Check. Madeleines? Check Check.

Madeleines are my new obsession. I decided I wanted to make them for the baby shower I threw last week and so, because I was putting so much work in (aka was having so much fun planning it!) I decided to give myself a gift and buy a madeline pan. And then lie to my boyfriend about when I bought it because he’s threatening to leave because me if I fill our apartment with more kitchen gadgets.

Anyways.

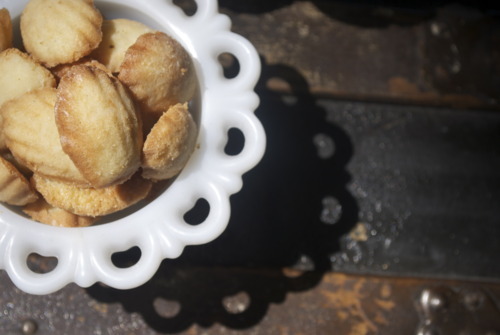
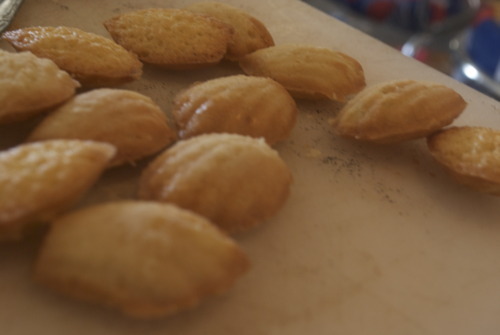
Man madeleines are good! And their good because of the crunch-to-gush factor. The perfect browned edges that lead the way into the most moist vanilla scented cakey center. It’s danm near perfect. And very easy if you have a standing mixer, and of course a fancy madeline pan. I bet you could make these in a mini cupcake holder to, if your really jonesing for them, but there’s just something so wonderful about the little scalloped edges.

Madeleines

Adapted from 101cookbooks

1 1/2 sticks unsalted butter (6 ounces)
2 tablespoons softened unsalted butter (for greasing pan)
3/4 cups unbleached all-purpose flour
4 large eggs
a pinch fine-grain sea salt
2/3 cups sugar
zest of one large lemon
1 teaspoon vanilla extract
powdered sugar

a bit of extra flour for dusting baking pan

Brown the butter: melt it on a low heat until it gets frothy on top, and the milk solids get beautifully brown and it smells like hazelnuts, be careful not to burn it!


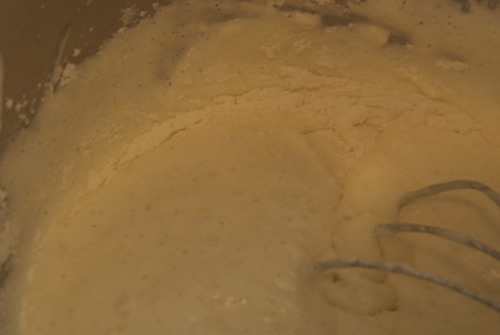
In the bowl of your standing mixer beat the eggs on high speed until light and fluffy. Then slowly add in the sugar tablespoon by tablespoon while keeping mixer on high speed.

Now carefully fold in the flour, salt, and lemon zest, by hand.

Then fold in the vanilla and butter, being very careful not to over mix.

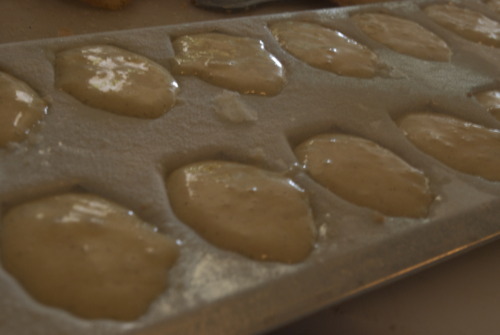
Then carefully pipe the prepared molds 3/4 full of batter.

Bake for about 8 minutes or until beautifully golden brown. Most recipes say to pop them out right away but I found waiting a few minutes made them come out easier!

More Rhubarb


Are you sick of rhubarb recipes yet friends. I’m not! I know I know, I’ve posted about it 2 times already this month but rhubarb season is so fleeting and I think it will still be a couple more weeks before we start seeing local strawberries and blueberries and other kinds of fruit that, when I first see them, make me start dancing in the aisles of my local green grocers.

Which is all to say that there are another couple weeks, if we’re​​​ being optimistic, it would probably be more realistic to say a month or so but I am nothing if not an optimist, before we have any other fruit and so I feel a huge need to make the most of rhubarb season.

This is a tart that I`ve been making for a long time. My first ever restaurant job introduced me to both brown butter, butter that`s been cooked until the milk solids turn a pretty walnut colour and it starts to smell like hazelnuts, and brown butter pastry, when you mix that wonderous stuff with eggs and sugar and vanilla and a tiny bit of flour to hold it all together .

Some of you may be intimidated by the short crust pastry, or pie dough, but I really encourage you to try it. It is way easier then you think, and I made sure to take pictures at every step so you have a visual.

​​​

Tart Dough

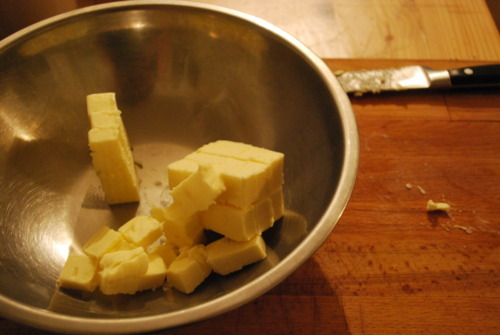
1 cup (half a pound) of Cold Unsalted Butter, cut into chunks

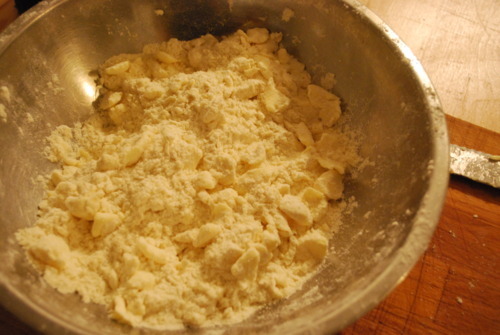
2 cups of AP Flour

about 1/4 cup ice cold water

Cut the butter into the flour. That means break it up into pieces. Your not trying to mix the butter and flour, your simply trying to get chunks of butter throughout. If your worried about it, err on the side of making it to big.

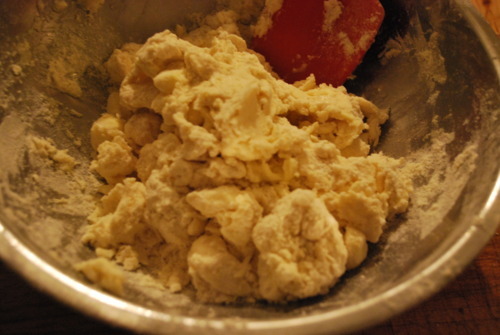
Add in the water, just a tablespoon at a time until it is just barely barely combined. It’s best to have it on the dry side, but if you add a little to much just add a little more flour.

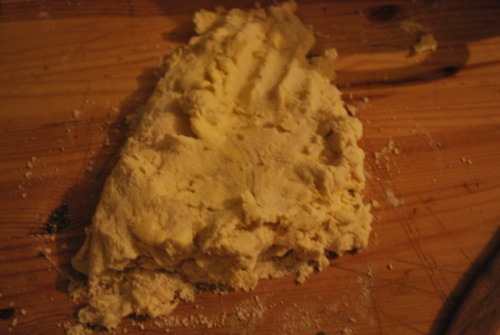
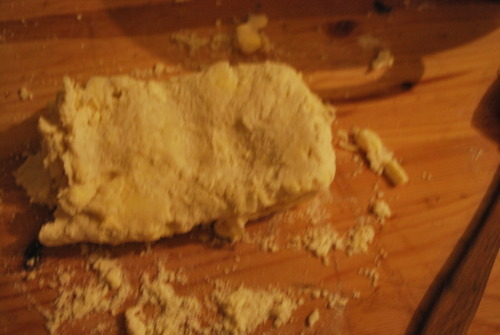
Now flour your counter space and carefully press it into a rectangle. The fold it in half and do it again.

And again, and again, until it starts to feel firm. Your adding layers at this point, making your tart almost in between a pie dough and a puff pastry, which is to saw your making your dough delicious.

Now get it in the fridge for at least an hour, or until it really sets up.

In the mean time:

Roasted Rhubarb

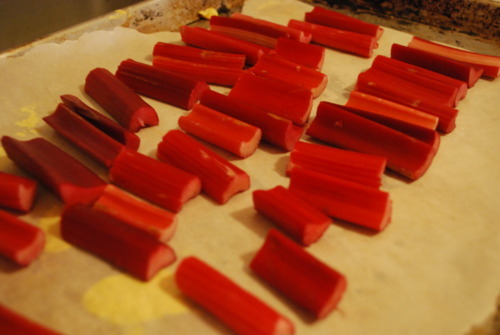
4 cups of chopped rhubarb, about 10 stalks

1 1/2 cups sugar

Preheat the oven to 400F

Lay the rhubarb on a parchment lined tray.

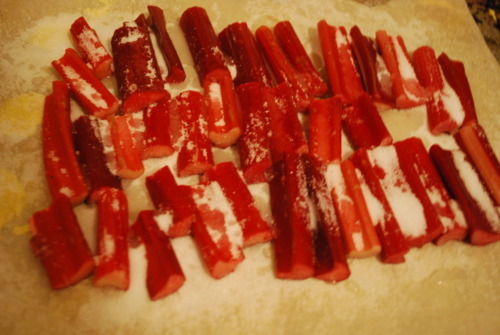
Sprinkle the sugar ontop.

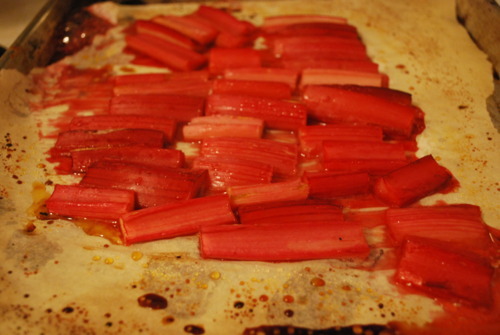
Get it in the oven! Roast it until it starts to get soft but before it breaks down, anywhere between 12-25 minutes depending on the size of your rhubarb

Now make the brown butter pastry

1/2 cup Sugar

2 Large Eggs

1/4 cup AP Flour

1/2 cup Butter

1 tbsp Vanilla

Get your butter in a pot, not a frying pan, it will sizzle up, and cook it on medium heat.

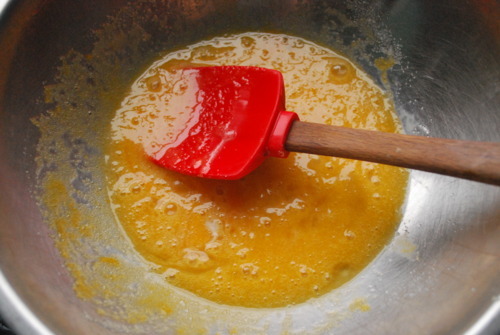
It will get all foamy, then it will get clear again. The it gets foamy again, and you won’t be able to see the bottom well but swirl the pan around and smell it lots. The smell will be like hazelnuts and the bottom will start to get a pretty brown. As soon as this happens get it out of the pot and into a bowl, or it will burn

In another bowl get the eggs and the sugar combined. Add in the vanilla.

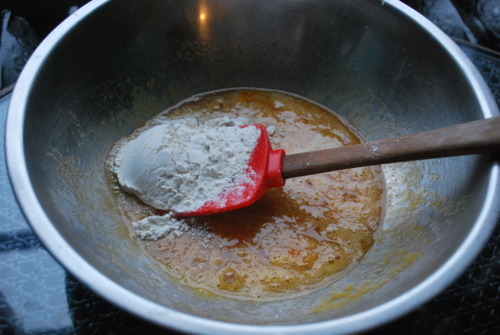
Add in the butter and then the flour

And now your ready to assemble!

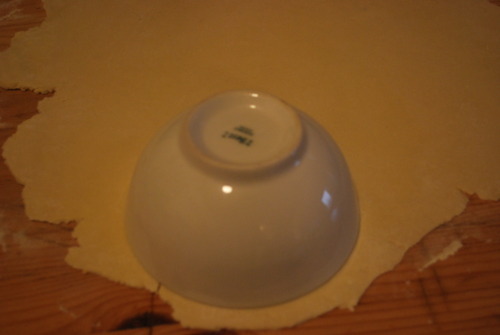
Roll out the dough and cut it out. I didn’t have a round cutter that was big enough so I used a bowl

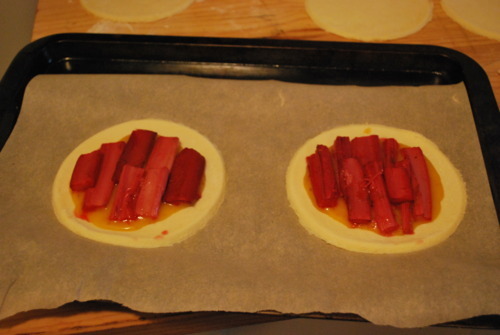
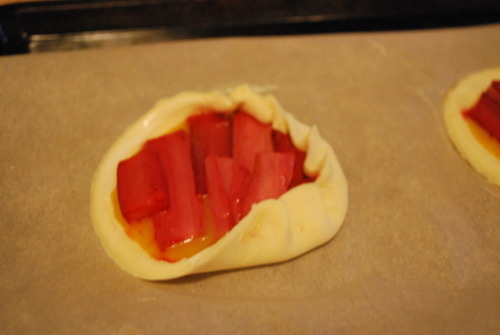
Put about a tablespoon of brown butter mix in the center of the circles. The fill up the space with rhubarb. Make sure you leave space to fold the edges over.

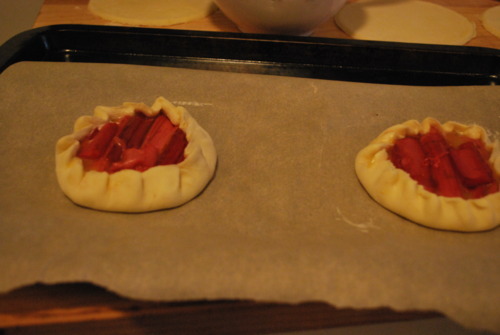
Now fold up the edges

And then finish and put them back in the fridge for another twenty minutes

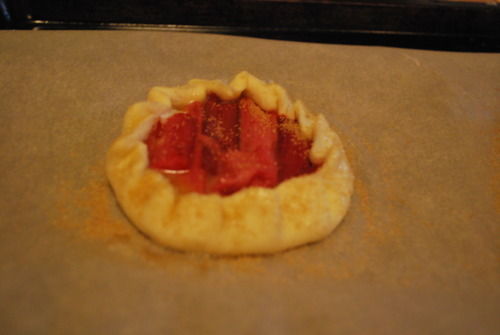
Beat an egg and brush it on the tops of the pastry, then sprinkle some sugar on top.

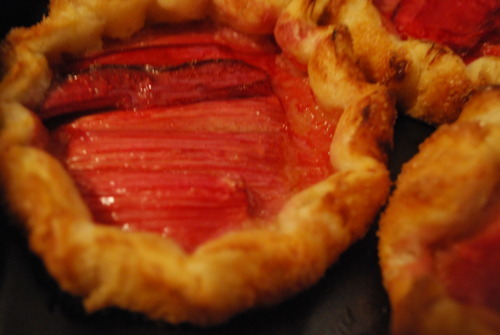
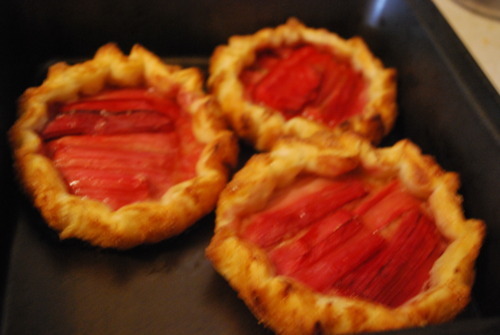
and bake it up! The pastry will get a lovely brown the rhubarb will caramelize and you will be in pastry heaven!