Tuesday Tutorial- Challah!

It’s funny, the kind of food you fall in love with. I grew up in a pretty Christian neighbourhood, but not too far away was a big Jewish area, and that always had a strong pull for me. Early Sunday mornings were spent buying bagels, and words do not begin to describe my love of lox. But it wasn’t until high school, when I became friends with a Jewish girl and started being invited regularly to Sabbath dinners when I really started to appreciate the food of that culture.

I don’t ever eat Jewish food now, because there pretty much are no Jewish people in Vancouver.

I mean, there are a few. But it’s slim pickings.

Which is why I found myself on a hot summer day making challah.

Oh challah.

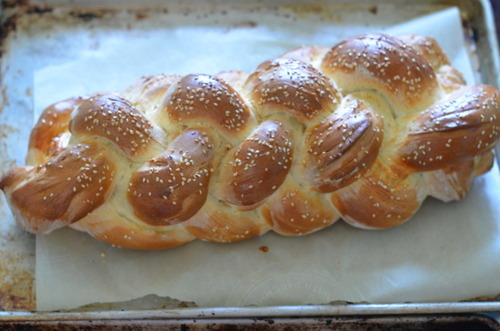
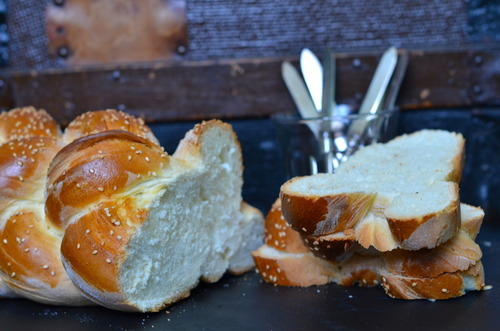
Challah is brioches sister, the prettier sister.

The main difference is that there is no dairy in challah, instead the eggy dough has olive oil added to it, instead of butter- this keeps it Kosher, but as I don’t keep Kosher (as I’m not Jewish) I slather butter on mine once it’s cooked.

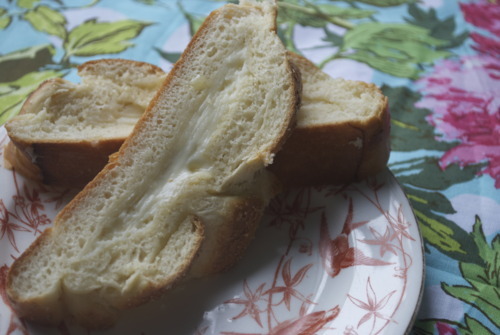
This will also make the best damn French toast you have ever had.

Challah Tutorial

(adapted from Smitten Kitchen)

1 1/2 tbsp Dry Yeast

1 3/4 cup Luke Warm Water

1 tbsp Honey

3/4 cup Olive Oil

5 Eggs

1 tbsp Salt

7-9 cups AP Flour

1/4 cup Sesame or Poppy Seeds (optional)

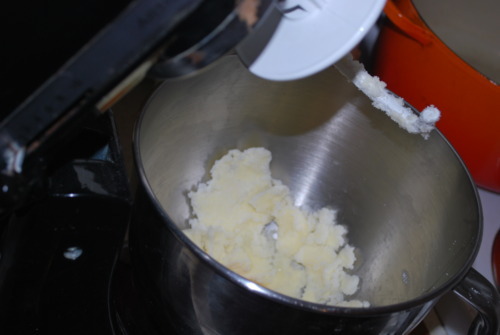
In a large bowl mix together the yeast, water and honey. You can also do this in the bowl of a standing mixer.

When it starts to get foamy add in the oil and 4 eggs, stir to combine.

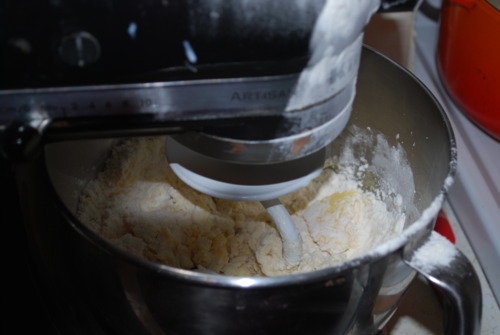
Slowly add in the flour.

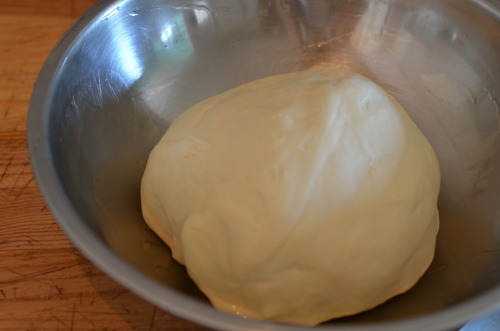
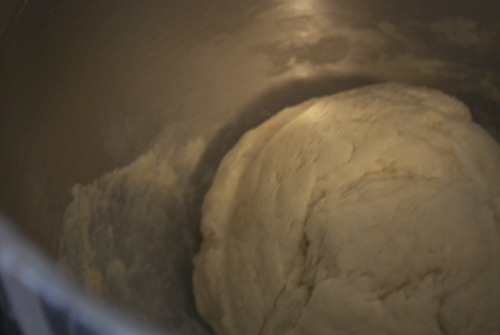
I only needed 7 cups, but you may need more. Once the flour is combined, begin to knead.

If you use you’re Kitchenaid it may be a bit much for your machine- I am lazy and didn’t want to knead it, so I split the dough in two and did it that way.  

I drank a glass of wine. 

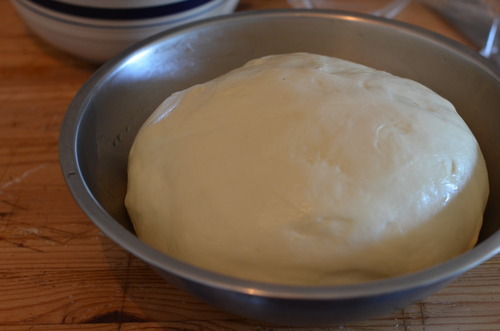
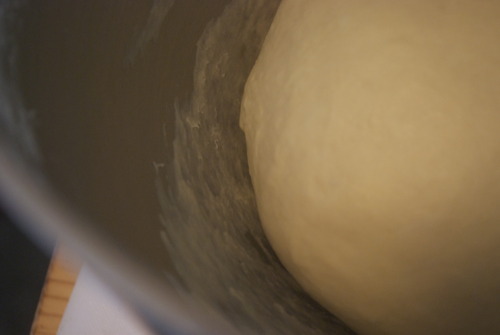
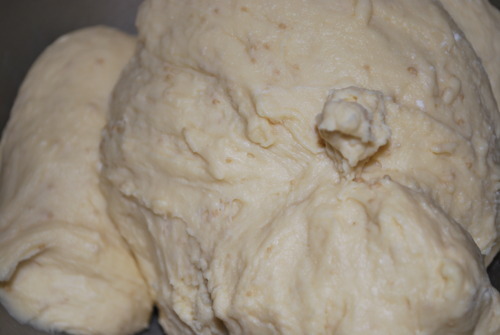
Put the dough in a greased bowl. Let is rise for an hour, then punch it down, and let is rise for another half hour. 

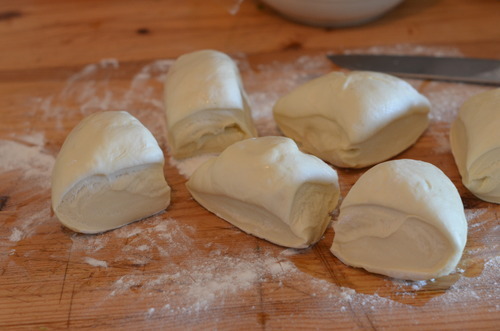
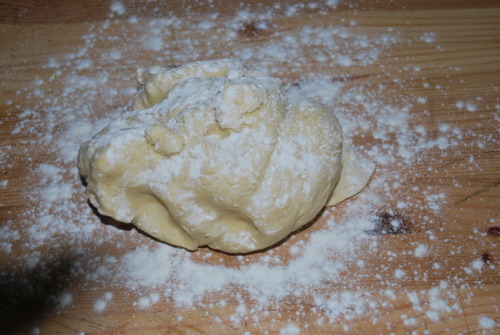
Divide the dough into two portions. You can make them into loaves, braided loaves, buns (the best hamburger buns!). 

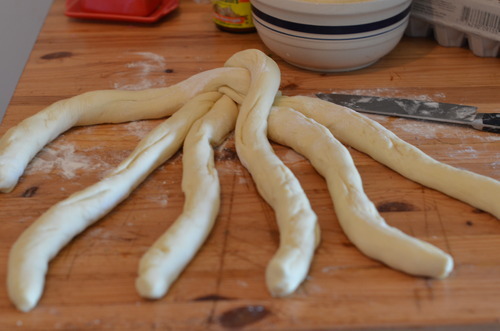
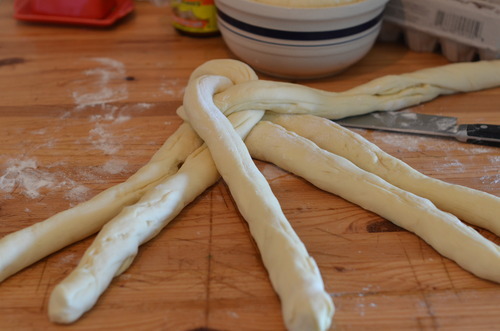
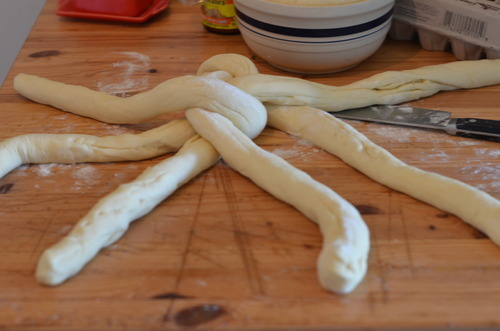
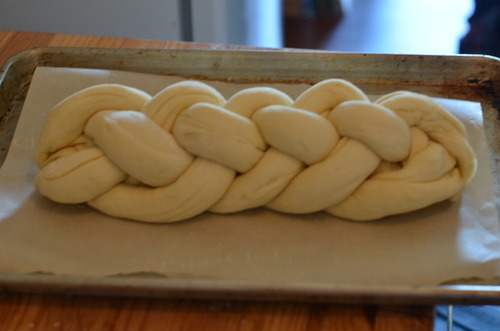
I did a 6 piece braid, which is the classic way to make challah. I could try to explain it to you, but I would probably nto do a very good job.  does a great one though- at about 2;12 the braiding part of the tutorial starts. 

Preheat the oven to 375F.

Mix together your remaining egg with a pinch of salt. Brush it on the top of your loaf. Allow it to sit for another 20 minutes, and then brush again. Sprinkle with the sesame seeds or poppy seeds, if using. 

Bake for about 45 minutes, until the top is nicely browned and it feels hollow when you tap it. 

Allow to cool completely before slicing into it!

Tuesday Tutorials- Danishes!

When I was little my parents had it all figured out. They decided when we were very young, that we could make our own breakfast. And on Saturdays, starting when perhaps parents would decide was too young today, we walked the block and a half to Second Cup and bought breakfast. It was a tiny cafe, part of a larger franchise in Canada, but one where they did all the baking in house. And every Saturday in the summer we would get a cinnamon danish with peach drink, and every Saturday in the winter we would get a peach danish and a hot chocolate. We were creatures of habit.

The couple that owned it were endlessly sweet to us, and we adored this little tradition. Then they hired an extremely rude girl who would serve the adults instead of us and be mean to us kids, so we wrote a very stern letter and we wrote each line in a different colour marker, so you know we meant business. And we never went back. For a few months we tried different cafes that were close to us, but it was never the same. Not long after we started making our own elaborate breakfasts which was, in fact, the beginning of a whole other exciting era. BUT there was a very sweet couple of years in which my sister, my next door neighbour and I ate danishes every Saturday. And it was a wonderful time.

Which is all a long way of saying that I love danishes. An awful lot.

Danish dough is what’s called a laminated dough, because you roll out the dough with a big block of butter in the middle. And then you fold the dough, and roll and fold and roll and fold, and as you do this the butter laminates the layers of dough. This is the same premise behind puff pastry, but here the dough is also yeasted so it rises even more, and has more flavour. The dough is similar to a croissant dough, which I might do a tutorial for soon -let me know if you’d like that in the comments!

Danishes

Makes 32 danishes

3 1/2 tsp Dry yeast

1/2 cup Sugar

1 cup +2 tbsp Milk, warmed

7-8 cups AP Flour

1 tbsp Salt

1/2 cup Butter, soft

2 Eggs

1 1/2 lb (3 cups) Butter

Egg wash (1 egg yolk and 2 tbsp milk/cream)

And your filling! I used raspberry jam- about 2 cups of it.

*This makes a very large batch, which I like because then I freeze half of it, but you can half this easily as well.

Make sure the milk is not to warm, it should just be body temperature. If it’s too hot it will kill the yeast.

Mix the milk, yeast and sugar together. Let it sit until it gets foamy on the top, about 5 minutes. If it doesn’t get foamy it means the yeast is dead, start over!

In the bowl of a standing mixer or in a large bowl if you’re planning on doing it by hand, combine the dry ingredients, only 6 cups.

Add in the yeast-milk mixture in and combine until it starts to come together. If it is still very wet add in a bit more of the flour until the mixture is still soft but not sticky.

Add in the 1/2 cup soft butter bit by bit until it is fully combined, and keep mixing until the dough does the window test- when you take a small bit of dough and stretch it slowly in your hands, it gets so thin you can see through it. If it doesn’t keep mixing!

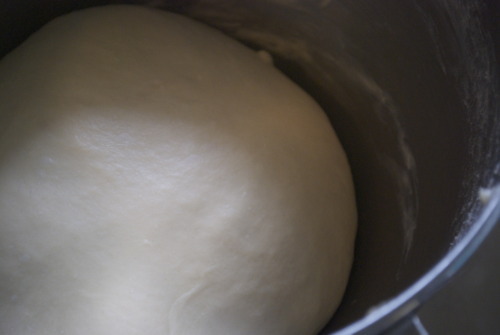
Now form the dough into the a ball and put it in a clean bowl, cover it with a clean tea towel and let it rise until it has doubled in size, about an hour.

In between two sheets of parchment roll out the butter into a square about 1 1/2 inches thick, put it in the fridge.

On a well floured surface place the ball of dough. Cut 4 slits into the dough at 12-3-6-9 o clocks, about half way in.
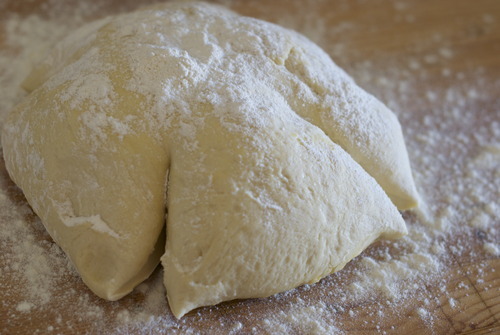
Now roll it out- so that you form a large x shape.

Put the block of butter into the middle
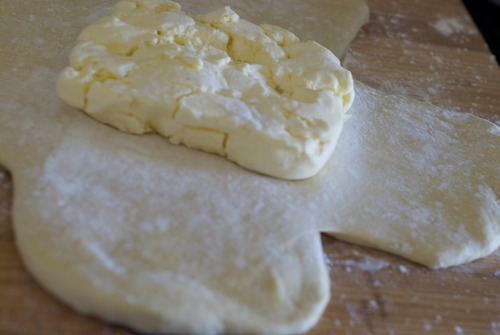
and fold the other pieces on top of it to seal it in.
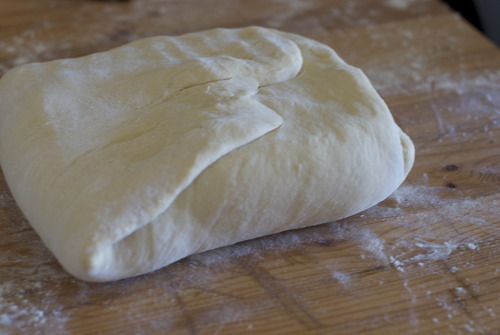
Flour your surface again and place the folded side down.

Roll out the dough to a large rectangle, being careful to make sure the dough is rolled evenly and keeps it’s rectangular shape.
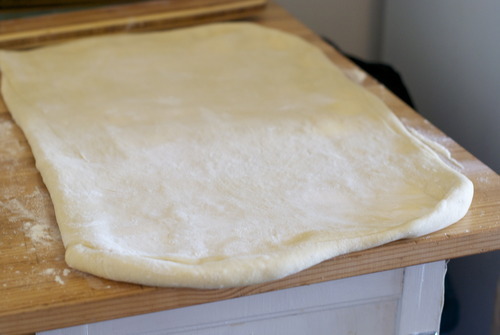
Now fold the dough in thirds like you were folding a letter.
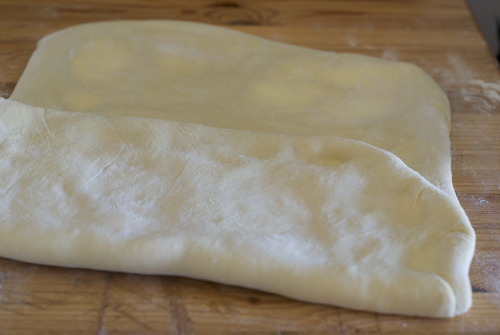
Wrap up this piece of dough, put it on a baking sheet and put it in the fridge for twenty minutes.

After it has chilled repeat this twice more, rolling, folding, and chilling.

Let the dough chill for another 40 minutes.

At this point I cut the dough in half and put half of it in the freezer, but if you are making a large batch you can use it all!
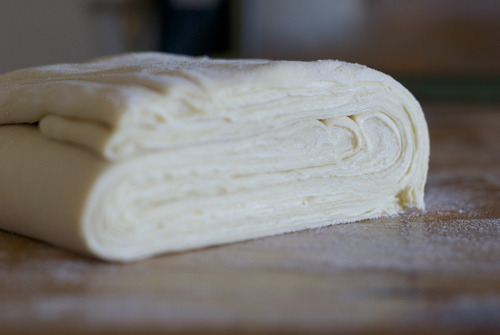
Now roll out the dough! Roll it until it’s about 1/3 inch thick into a large rectangle. You can make any number of shapes with this dough now. Here is how I like to do it best.

Cut it into squares- half a batch of this dough will make 16 danishes.

IMPORTANT! The way you cut the dough will make or break your danishes. You must cut straight down. DO NOT twist a cutter or slice through. Cut straight down. Otherwise your layers will be sealed together.

SO I cut them into squares, then fold them diagonally.
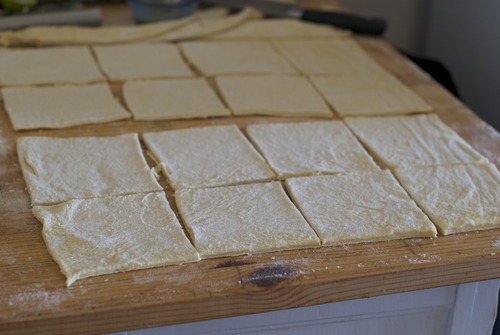
Cut slits in them so that the outsides are disconnected from the middles except on two opposing corners. Unfold them and put them on a parchment lined baking sheet.
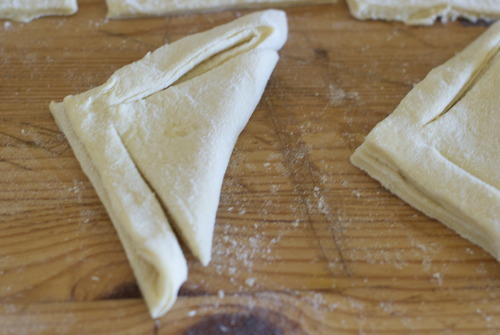
Brush with egg wash like I’ve shown here
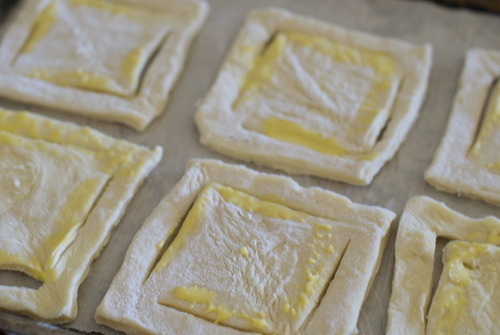
And fold the pieces over.

Now fill them up with whatever filling you have. I used raspberry jam.

Let them sit until they have puffed up nicely, about another 45 minutes.

If there are some scrappy bits of dough from the edges, I recommend sprinkling some cinnamon and sugar on them and rolling them up into straws. You can proof and cook them along with the others no problem.

Meanwhile, preheat the oven to 375F

Use your egg wash once again to brush the tops of the danishes.

Bake until the dough is nicely browned, about 20-30 minutes.

Allow to cool a bit before eating- and I like to top up the middle with some more jam!

And that’s that!
Finnish Cardamon Bread

Sometimes in Vancouver it rains. Some might say that most of the time it rains but I’m feeling optimistic so I’m going to say sometimes.

Sometimes in Canada it gets bloody freezing. That doesn’t happen much in Vancity, but it has this deep humid chill that gets into your bones. It’s a wet cold that creeps into your shoes, and blows down your neck, and sneaks behind your ears.

Sometimes around here you wake up and think “I can’t possibly go outside, it is to cold, what can do to justify just not leaving the house.”

Sometimes, you need to stop feeling guilty and just make Finnish Cardamon Bread.

You need to have your whole house smell like rising bread, and you need to feel that comforting squish of yeasted dough between your fingers, and you need to sprinkle cardamon on it, which seems at first a wee bit crazy, but very quickly becomes the best idea you’ve had all day.

Sometimes you just need to let it rain, you need to make a strong cup of tea, and you need to eat Finnish cardamon bread.

And you need to be happy.

Finnish Cardamon Bread

Adapted from Pure Vegetarian By Lakshmi

2 cups Lukewarm water

1 1/2 tsp Dry Yeast

1 cup Sugar

1 tbsp Cardamon, ground

5-6 cups AP Flour

1 cup Butter

Brown sugar and cinnamon for sprinkling

In a small bowl mix together the water, yeast and a pinch of the sugar.

Let this get foamy on the top- that’s how you know your yeast is still alive. If after about 5 minutes you see no movement start over. Make sure the water is about the temperature of your hand- much hotter and you’ll kill it, much colder, and you’ll make it dormant.

In the bowl of a standing mixer fitted with the dough hook, OR in a food processor with the dough attachment, OR in a bowl with some serious arm muscles, put the remaining sugar, salt, cardamon and flour and mix in the yeast mixture.

Continue kneading the dough until it all comes together, and when you stretch a small piece of it, it gets thin enough to see light through.

Shape it into a ball, put back in the bowl and cover it. Wait until the dough has doubled in size, about an hour- an hour and a half.

Prepare a pan by covering it with parchment paper.

On a lightly floured surface roll out the dough into a large rectangle, about a foot and a half by 3/4 of a foot.

Sprinkle the brown sugar and cinnamon on top- use as much or as little as you want, I used about a cup and a half of sugar and a teaspoon of cinnamon.

Roll the dough a long the long end so that you have a long thin roll.

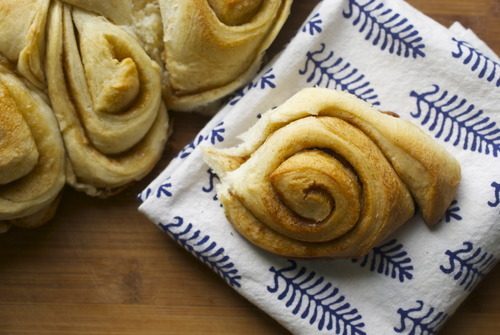
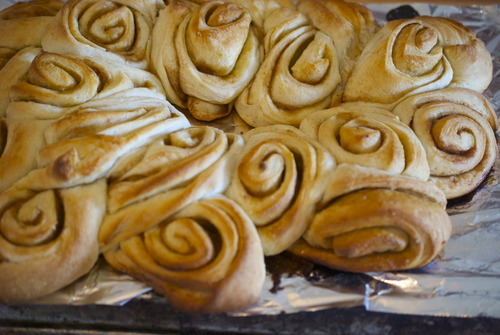
You can either cut them into rounds and place them on a pan, or you can cut slices almost all the way through, on a diagaonal. Then flip every other slice to the other side side so that going left right left right and you can see all the pretty slices.

This is easier to do on the pan then on a board and then have to move it.

Cover the dough with a tea towel and wait until it has doubled in size again, another hour or so.

Preheat the oven to 350F.

Bake your bread until it is golden brown.

Wait at least 15 minutes before getting into them! (Bread that is still hot is hard to digest!)

Hot Cross Buns

My mom does not like to bake. I don’t remember her ever making bread or pizza dough, there was a good bakery near us growing up and that was good enough for us. The only time she ever got the yeast out and used it, was for hot cross buns.

She would make it right before bed and put it in the fridge over night. In the morning she would wake up before all of us and pull it out, and let it proof and we would wake up to the incredible smell of freshly baked bread. It was such a treat.

My mom loyally made Marion Cunningham’s for years, and they are darn good. But I had some at a friends house a few years ago that had more of a spice to them, and when I saw this Jamie Oliver recpie I just had to try it.

These are beautiful hot cross buns, with more then a vague hint of spice they are very soft and gently sweet. I made a few changes, I use honey instead of sugar, and I added salt, because everything tastes better with a bit of salt, and they are splendid. And officially my new go to hot cross bun recipe!

Hot Cross Buns

(adapted from Jamie Oliver)

1/4 cup Honey

2 1/4 tsp Yeast

2/3 cup Water- warm but not hot, about the temperature of your body.

3 cups Flour

1 tsp Cinnamon

1/2 tso Ginger

1/2 tsp Nutmeg

1/2 tsp Cardamon

1/2 tsp Salt

1 cup Currants

Zest of 1 Orange

1/4 cup Butter- melted

1/4 cup milk- warmed slightly

1 Egg

Egg wash

1 Egg Yolk

2 tbsp Milk or Cream

Icing

1 cup Icing Sugar

1-2 tbsp Cream or Milk

Make Hot Cross Buns

Mix 1 tablespoon of the sugar with the yeast and water, and let it sit until it gets frothy on the top.

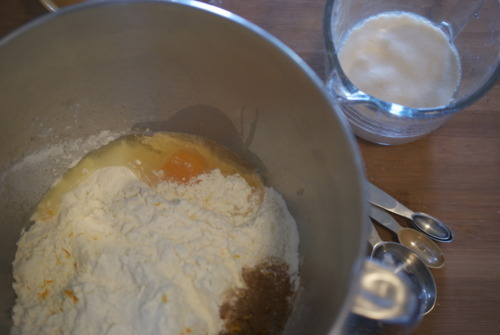
Meanwhile, in the bowl of a standing mixer fitted with dough hook mix all the other ingredients.

Make a well in the middle and Pour the yeast mixture into it.

On slow to medium speed mix the dough until it becomes soft and elastic, and if you stretch a little piece of it with your fingers you can get it so thin you can almost see through it.

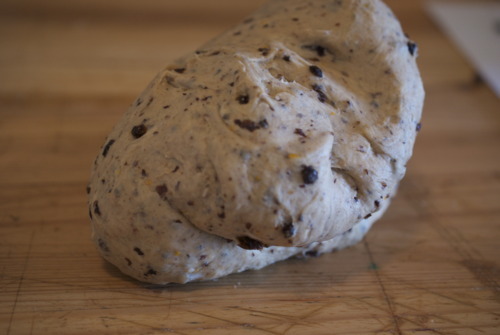
Put it in a bowl and let it sit in a nice warm place for about an hour or until it has doubled in size.

Once it’s nice and big take it out of the bowl, put it on a work space- if it’s sticky you can add a bit of water but you shouldn’t need to.

Cut it in half and then roll out each half into a log and cut into 6 equal pieces.

Roll them into balls- put the palm of your hand over each piece, apply a decent amount of pressure and slowly move your hand in circles. After about 4 circles flip the piece upside down- it should be sealed on the bottom. If it isn’t, push it into a few more circles. This takes some practice, but don’t worry if they’re not perfect.

Put them into a buttered baking dish- I used an 8x8 inch square pan.

(Note: If you want to bake these the next day, cover with saran wrap and put them in the fridge. The next day take them out and let them come to room temperature and double in size- this will take about 2 hours.)

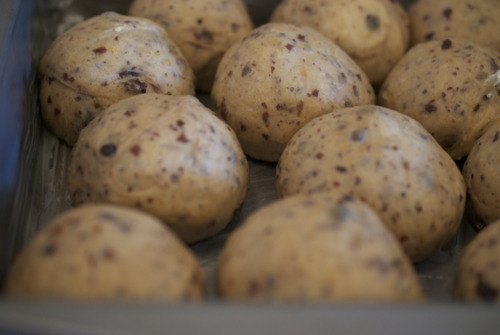
Cover with seran wrap and let sit until they’ve doubled in size again.
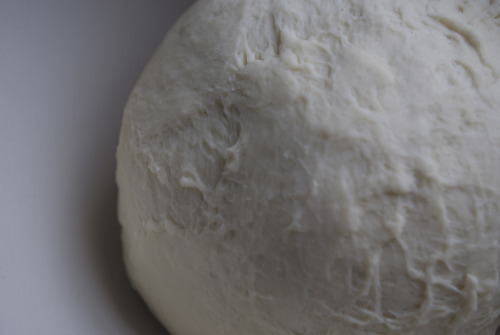
Preheat your oven to 350F

Mix your egg wash and gently brush it on top of the buns.

Put into the oven and cook until the buns are gently crisped on the top, have turned a nice brown colour, and are cooked inside- about 25 minutes

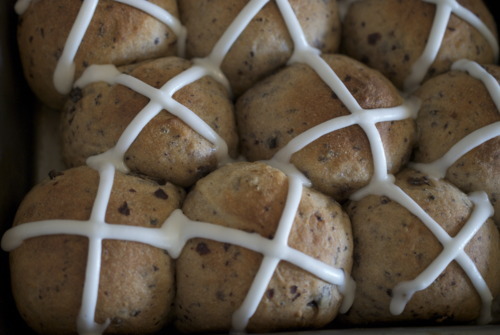
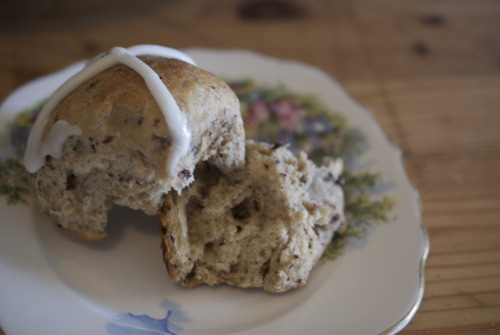
Once they have cooled mix your icing- Combine 1 tbsp of milk or cream with the icing sugar and mix until they’re totally combined and lump free. If it’s too thick add a little more cream, if it’s too thin add a little more icing sugar. You want it to be reasonably thick so it will stay in nice lines.

Put the icing in a piping bag and pipe on the crosses.

C’est Finis!

Lemon Braided Bread

It’s probably fair to say that I’m a little obsessive with baking. There are so many baked goods that I make that don’t get up on this blog because they weren’t quite fluffy enough, or moist enough or pretty enough. I’m constantly tinkering with recipes here, a little more of this, a little more of that. Or sometimes I just have to spend a little more time on the presentation, I don’t like putting things up here that don’t look great.

Which is why it’s so surprising to make a recipe and go, goodness, I don’t need to change a thing. It is rare and unusual and wonderful, and it happened this week.

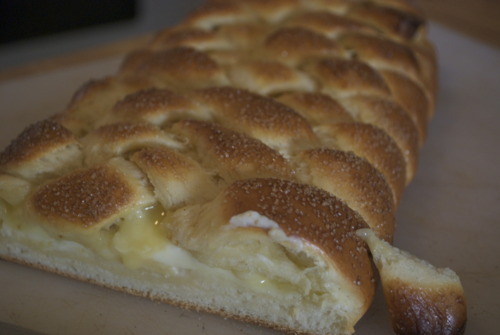
The amazing Smitten Kitchen had a recipe for lemon braided bread and hot damn was it good. The bread is very moist and very butter, and the cheesy layer is the perfect amount of sweetness without really being all that sweet and the lemon sets the whole thing over the edge. And it’s shockingly easy for something that turns out as beautiful as this bread.

A girlfriend of mine was coming over for lunch and, despite us both being pretty small girls, we ate two thirds of it in one sitting. Oh just one more slice, maybe a little bit thicker, oh come on thicker still, yes there we go

.

Sponge

6 tablespoons (3 ounces) warm water
1 teaspoon sugar
1 1/2 teaspoons instant yeast

1/4 cup (1 ounce) unbleached all-purpose flour

Dough

Sponge (above)
6 tablespoons (3 ounces) sour cream or yogurt
1/4 cup (4 tablespoons or 2 ounces) unsalted butter, softened
2 large eggs, 1 beaten for dough, 1 beaten with 1 teaspoon water for brushing bread
1/4 cup (1 3/4 ounces) sugar
1 teaspoon salt
1 teaspoon vanilla extract
2 1/2 cups (10 5/8 ounces) unbleached all-purpose flour

Egg Wash

1egg yolk

1 tbsp Water

Lemon Cream Cheese Filling

1/3 cup (2 1/2 ounces) cream cheese, softened
2 tablespoons (5/8 ounces) sugar
2 tablespoons (1 ounce) sour cream
1 teaspoon fresh lemon juice
2 tablespoons (1/2 ounce) unbleached all-purpose flour
1/4 cup (2 ounces) Lemon Curd

Mix all the sponge ingredients together and let sit until bubbly, about 15 minutes

In a standing mixer fitted with the dough hook attachment, or with some strong arms add in the dough ingredients except the salt and the butter and need until it becomes a shaggy mass. (Yes that actually is the technical term) and then add the salt.

Work it until a nice dough has formed and it pulls away from the side of the bowl.

With the motor still running add in the butter piece by piece until it’s all combined and the dough is smooth and elastic.

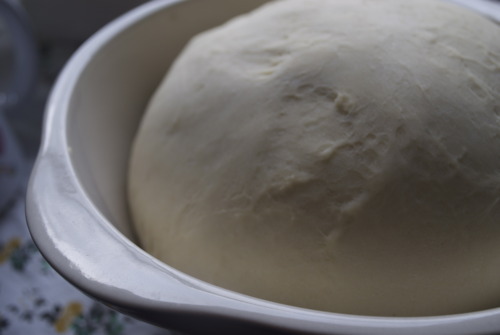
Cover it with a tea towel and let it rise in a warm place for about an hour or maybe a little longer until it’s doubled in size.

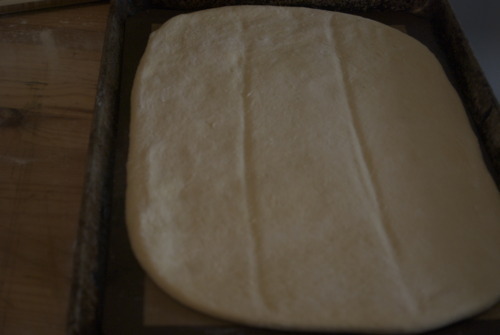
On a lightly floured surface roll out the dough into a long rectangle, roughly the size of the baking sheet your going to bake it on. Lightly press in two lines that divide it in thirds lengthwise.
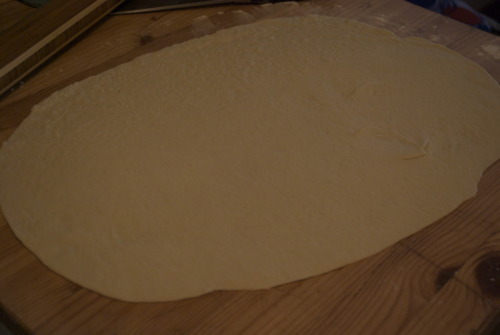
Carefully transfer it to your lined baking sheet.

Mix together all the ingredients for your filling except the lemon curd.

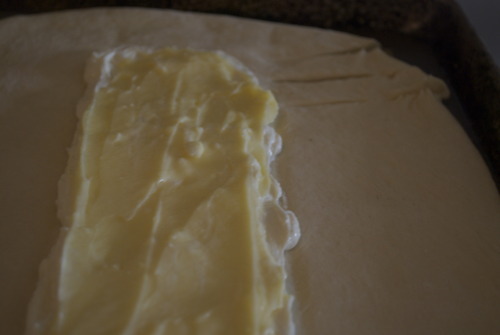
Spread the sour cream layer onto the middle section of the dough, then spoon on the lemon curd.

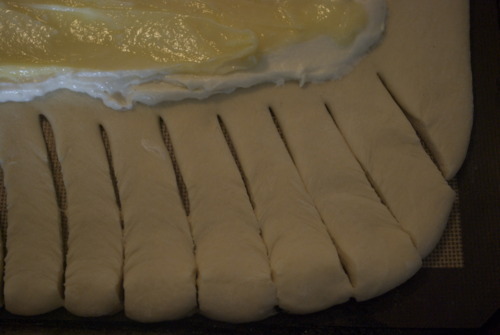
Cut dough on either side of the lemon layer into strips, trying to get as many on both sides.

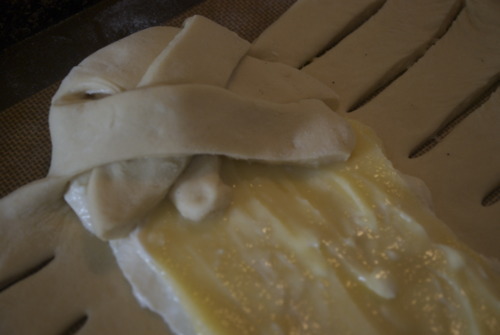
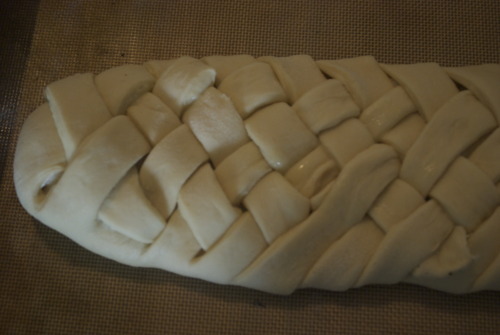
And you can either fold them over, or weave them through.

And let it proof, again, in a warm place covered with a tea towel, until it has doubled again in size.

Preheat your oven to 350F

Mix an egg yolk with a couple tablespoons of water and brush them onto of your bread.

Sprinkle with your coarse sugar and get it in the oven!

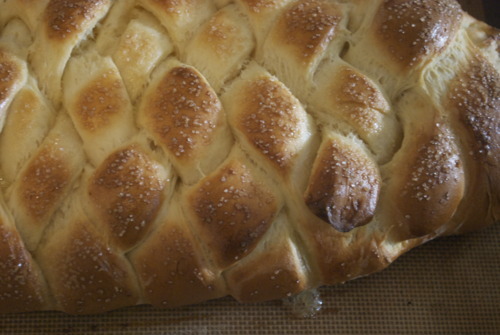
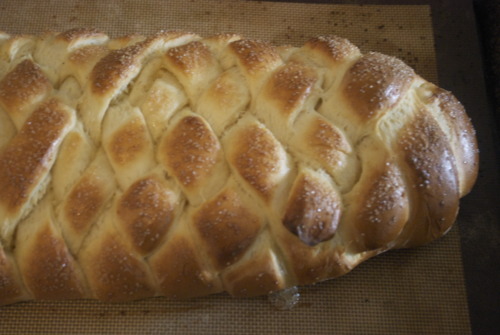
You want to, because when it comes out, it comes out like this:

And it smells like heaven and no matter what else you might serve, if you make this for brunch no one will eat anything else.

Pizza

Restaurants are funny places. You work 12 hour days, you work every night and every weekend and are made to feel terribly guilty if you ever take a holiday. You make absolutly no money and but you become intoxicated by this world. You work for complete sociopaths and thats a good thing. It gives you bragging rights.

So when I was 19 and had big lofty ideas of being a famous pastry chef I worked at a very fine dining Italian restaurant in Vancouver, that shall not be named. It was the sort of place where you were encouraged to do nothing but show up on time and follow orders. The sort of place where he had 10 different ways to do everything, so he could come up to you at any point and tell you you were doing it wrong. The sort of place where recipes were not given to cooks, and cooks were not encouraged to ask questions. It was without question the worst job I have ever had.

I have nearly no recipes from that time but strangely I have one from something he made only once; pizza. It’s not a complicated recipe, but the dough is wonderful, its soft and pliable and it rolls easily and it crisps up beautifully in the oven. He also put a lot of ingriedents on the pizza after it had cooked, like arugala, or proscuitto, or salami. I had never seen that before.

It makes a wonderful very fresh tasting pizza. It’s not greasy, and it’s not heavy, but its very satisfying all the same.

Pizza:

Pizza Dough, recipe folows

Tomato Sauce, recipe follows,

200g Asiago or Parmesano

4 Large bocconcini balls

a big handful of baby arugula and basil

100g super thinly sliced prosciutto

Tomato Sauce

1 large onion, diced

2 cloves of garlic, minced

1 can of Tomatoes, try to find a brand without added citric acid.

Salt

A good glug of olive oil

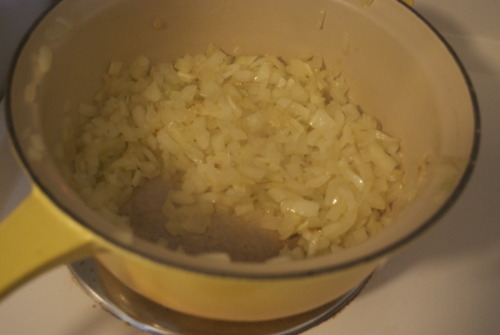
In a medium sized pot on medium heat, add the olive oil and the onion, cook for a few minutes then add the garlic. Stir until the onions are translucent and the garlic is fragrant.

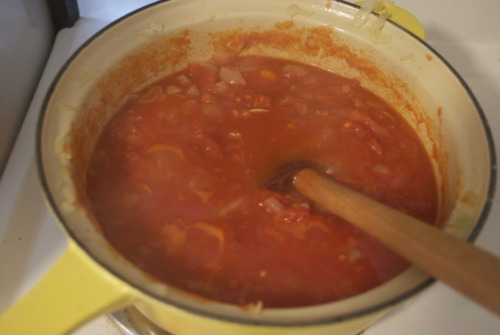
Add in the tomatoes and cook until it gets thick and saucey, about 15 minutes. Season to taste.

Pizza Dough- Makes 2 Pizzas

51/2 cup Bread Flour

2 tbsp Extra Virgin Olive Oil

2 1/2 tsp Salt

2 tbsp Sugar

1 1/2 tsp Dry Yeast

1 1/3 cup Warm Water

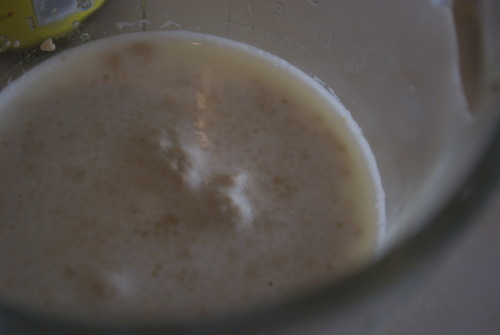
Mix the water, sugar and yeast together until the yeast gets foamy on top, about 10 minutes.

 In the bowl of a standing mixer fitted with the dough hook mix all the ingredients. You can also do this by hand if you have more patience and arm strength then me.

Mix it until it becomes a smooth elastic dough.

Place dough in a bowl, covered, in a warm place until it’s doubled in size, about an hour and a half.

Preheat oven to 500F or the hottest it will go.

Cut the dough in half and roll out to the size of your pans, the bigger the better.

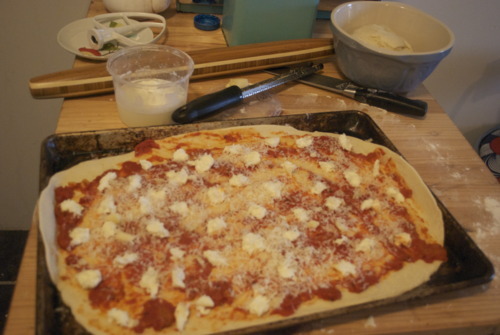
Top with the sauce, and the cheese, breaking apart the boconccini and grating the asiago. 

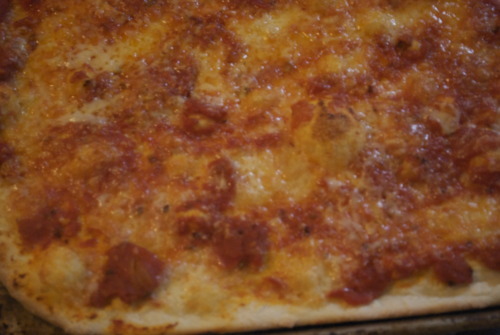
bake for about 10 minutes until the cheese is brown and the crust is cooked.

Tear the basil and prosciutto on top and sprinkle the arugula. Eat and be happy!

An Easy Way To Make Friends

When I was in high school I fell hopelessly in love with a boy. He was handsome and charming and I was smitten from the start. And then I was inconsolably devastated when he suddenly moved across the province leaving me all alone. We ran into each other a couple of years later at a party in and I was once again head over heels. I went to visit him the next weekend in Montreal with my cutest outfits, overwhelmingly high expectations, and a tray of proofing cinnamon buns. I brought the dough and the cinnamon sugar mix on the side and woke up early the next morning to roll and bake them. The whole apartment smelled of fresh bread and cinnamon. Needless to say they were a serious hit.

I learnt 3 things that weekend:

  1. There is a big difference between being mysterious and being emotionally unavailable.

  2. Montreal is an unbelievably great city.

  3. There is no easier way to get in the good books of a guys friends then to bake cinnamon buns in their house.

The boy I was into was not into me. I would be lying if I said there weren’t tears shed on the train ride home, but man oh man, his room mates loved me.

Now, I like to think I am not quite so desperate these days. I have a wonderful man who I’ve been with for nearly 4 years and I am far past the point of trying that hard to make people like me. And yet… This weekend we have one of Jordan’s friends who I don’t know very well staying with us for the weekend and I made cinnamon buns. I guess some things never change.

6 1/2 tablespoons (3.25 ounces) granulated sugar

1 teaspoon lemon extract or zest

1 1/2 tsp Cinnamon

1 teaspoon salt

1/2 cup (2.75 ounces) shortening or unsalted butter, room temperature

2 large egg, slightly beaten

3 1/2 cups (16 ounces) unbleached bread or all-purpose flour

2 teaspoons (.22 ounce) instant yeast

1 to 1 1/4 cups (9 to 10 ounces) whole milk or buttermilk, room temperature

3/4 cup Light Brown Sugar

1 1/2 tsp Cinnamon

Fit a standard mixer with a dough hook attachment

Cream butter and sugar together, this will be a little hard with the dough hook so you can get in there with a spatula if you need to.

Mix in your eggs. It will be split and not pretty. Don`t panic!

Just add in all your dry ingredients except the sugar and the cinnamon.

Slowly add in the milk, first 1 cup, then more if you need to.

Work the dough until it comes together and follows the dough hook around. It should still feel a little tacky but if you break a piece off and stretch it should  become transparent. If it doesn`t keep mixing for a while until it does.

Cover the bowl with a cloth. If you plan on baking them today put them in a warm spot to proof. It will take about 2 hours for them to double in size. If you want to bake them tomorrow put the bowl in the fridge.

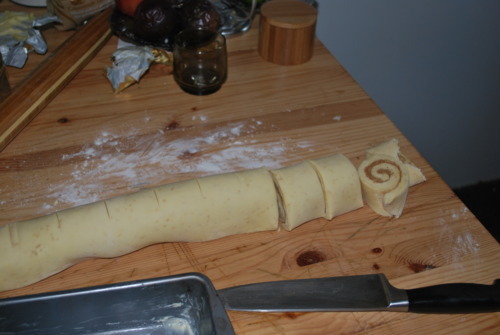
Roll out the dough. It should be a square about a foot and a half each way. I didn’t roll mine thin enough, I prefer lots of thin cinnamon-y pieces on mine generally. Then cut them into pieces and put into a buttered pan!

Let it proof until doubled in size. If you chilled it overnight it will take about 2 hours, if it`s room temp it should only take about an hour.

Preheat oven to 375F

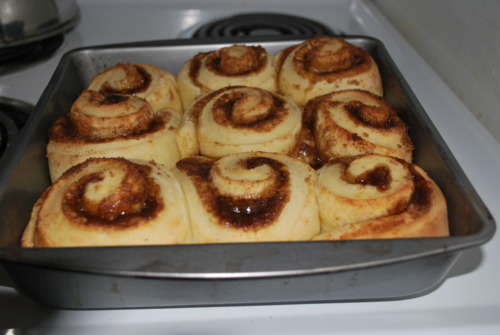
Bake for about 20 minutes or until just starting to brown on top and your house smells absolutly heavenly.

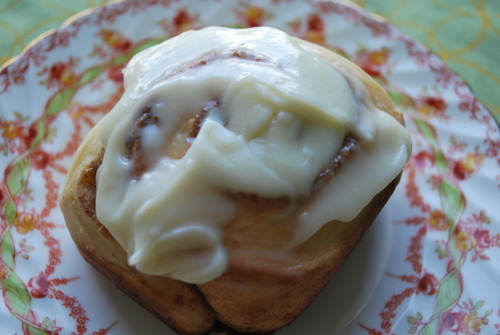
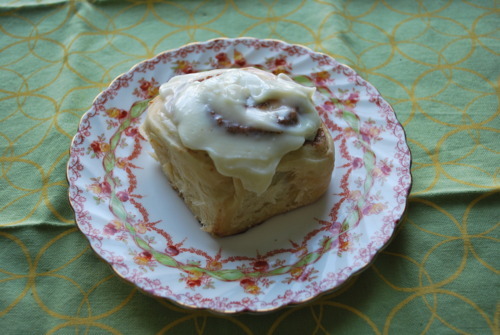
Spread lightly with Cream Cheese Glaze:

Beat 2 tbsp Cream Cheese with 3/4 cup Icing Sugar. Thin with a tablespoon or two or whipping cream.