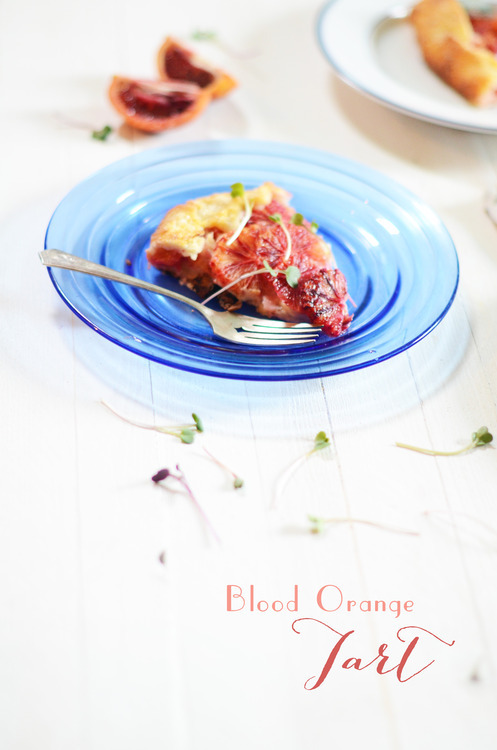
Blood Orange Tart!

image

You know when you see foods that’s too pretty. Like it can’t possible taste good?

I kept seeing pictures of blood orange tarts, and thinking “oh my gosh they are so beautiful, but I bet they aren’t super delicious”. I’m rarely a big fan of cooked oranges. I felt like baking them, even in a buttery crust, might not be the best idea. I mean, blood oranges are perfect as is, why do anything to them?

Well, I’m here to tell you that you should.

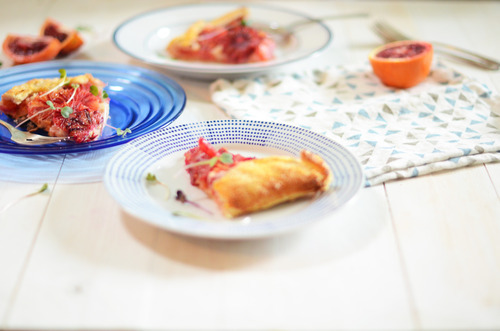
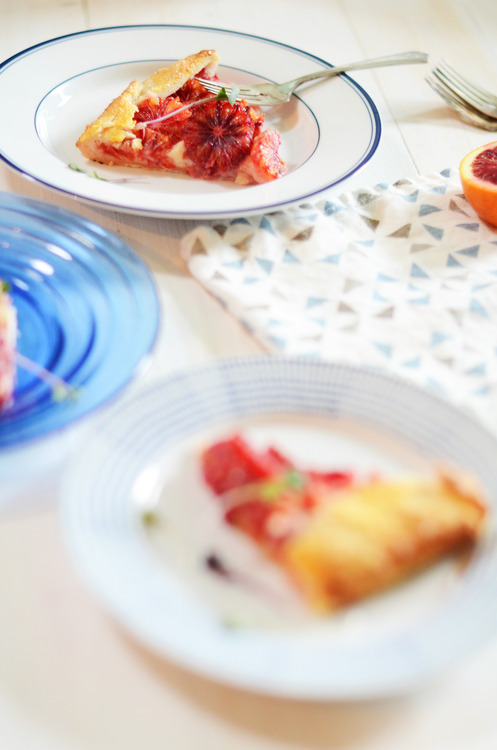
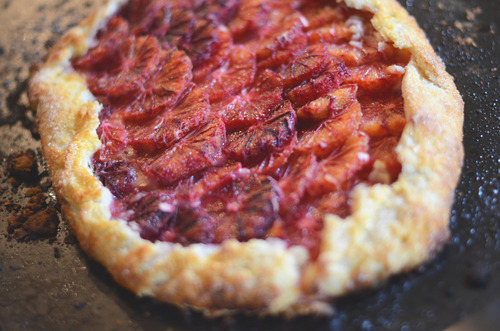
You should make a pastry cream, you should make some super flakey dough, and you should layer a whole bunch of blood oranges on top.
image

Because suddenly the butter and vanilla bring something extraordinary to the blood oranges, and the oranges themselves stay almost exactly the same. They are still juicy, and bright and crisp, they just happen to have married themselves with some sweeter things.

It’s a simple tart, but one that’s rather showy, and one that perfectly uses up the remarkable produce available right now.
 image

Blood Orange Tart

For Flakey Pastry

1 cup Butter, cut into small cubes

2 cups AP Flour

1 tsp Salt

Cold Water

For Pastry Cream

1 cup Milk

½ Vanilla Bean, or 1 tbsp Vanilla Extract

2 tbsp Cornstarch or AP Flour

¼ cup Brown Sugar

1 Egg

8 Blood Oranges

1 Egg Yolk

1 tbsp Milk

¼ cup Coarse Sugar

Bring the milk and vanilla bean up to a simmer in a small pot.

Meanwhile mix together the sugar and egg in a medium sized bowl. Add in the cornstarch or flour, depending on what you use.

Slowly add in the hot milk, whisking the whole time.  Pour the mixture back into the pot, and turn the heat down to low.

Stir constantly until the mixture thickens consistently.

Immediately strain into a bowl, cover with plastic wrap and chill.

Cut Oranges:

Cut the tops and bottoms off the oranges. Cut the skins off too, leaving no white pith.

Cut the oranges widthwise, into rounds.

Make dough:

On a large clean surface mix together the butter, flour and salt.

With a rolling pin roll the butter into the flour, scraping the strips of butter off the rolling pin, and the counter. Keep rolling and scraping until all of the butter is stretchd into long thin strips.

Tablespoon by tablespoon add in the cold water, with the help of a pastry scraper gently mix the flour and butter with the water. You want to keep the butter in strips as much as possible.

Once the dough has begun to come together flatten it with your palms, and fold the dough in half. Do this again and again until the dough has lots of layers, but before the dough begins to get tough. It’s best to stay on the side of too soft, and only fold the dough a could times.

Line a baking tray with parchment paper.

Roll the dough into a large rectangle and fold it gently into quarters. Lift the rectangle and place it onto the lined tray.

Scrape out the pastry cream into the middle of the dough. Spread it out, and cover the whole thing except for an inch and half border around the edges.

Layer the slices of oranges on top.

Fold the edges of pastry up around  the fruit, pleating as necessary.

Put the tray in your freezer for at least 25 minutes.

Preheat the oven to 375 degrees.

Take the tart out of the freezer.

Mix together the yolk and milk in a small bowl.

Brush the edges of the pastry with egg wash and sprinkle liberally with the sugar, both on the fruit and on the edges.

Bake for 35-45 minutes, until the pastry is nicely browned.

Let the tart cool for at least 30 minutes before cutting and eating!
image

Sunday Salad- Radiccio and Blood Orange Salad with Black Olives and Mint Dressing

Summer salads are an easy seduction. The bright colours, the delicate greens, the warmth of fruit warming in the sun, it’s a simple formula, like the blonde with the big laugh on TV, there is something comforting about getting it all upfront. There isn’t much hidden in a summer salad.

Winter salads are the opposite. Either there is nothing at all to love, you know the ones, with the flavourless lettuce, the watery cucumber and the grainy tomato, or you take some time to produce complicated mix of things that use up the limited things that grow in January.

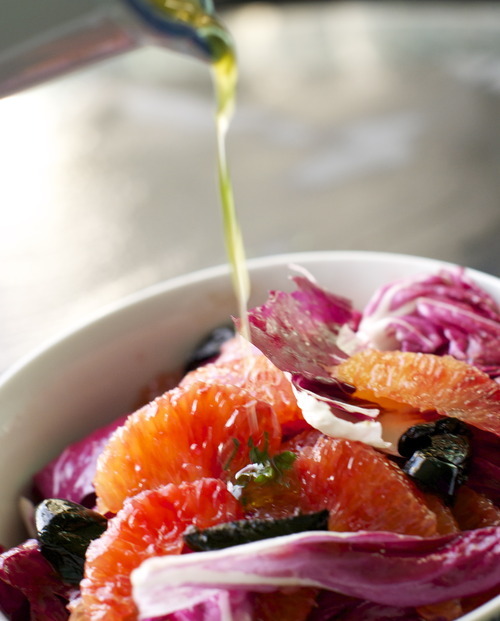
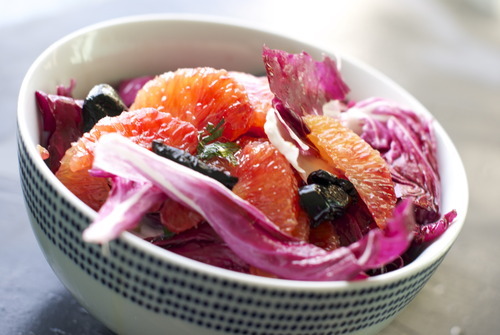
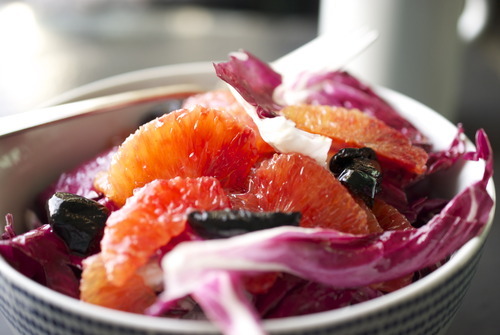
This salad falls firmly into the latter category, it’s a perfect balance of bitter lettuce, salty olives, and tart oranges all tossed in a sweet dressing that is brightened by fresh mint.

I started thinking about radiccio at home, but when I got to my local market and saw the blood oranges I couldn’t resist adding them to the mix. It wasn’t until I saw the mint perched close to the check-out that I realized that this salad was teatering somewhere between Italian and Moroccan. Regardless of it’s origins, this salad and a thick cut of toast is the answer to a cold crisp day.

Blood Orange and Raddicio Salad with Dried Olives and Mint Dressing

1 Head Radiccio

5 Blood Oranges (regular oranges will do if you can’t find their red cousins)

1/3 cup Dried Black Olives

1/2 Lemon

1 tbsp Finely chopped Mint

1tbsp Finely chopped Flat Leaf Parsley

1/3 cup Extra Virgin Olive Oil

Salt

Segment the oranges: Cut off their tops and bottoms. With the orange “standing up” cut off the peel and pith so that no white from the peel remains. Over a medium bowl pick up the orange and using a paring knife cut in between the membranes to release each slice of orange. When your finished removing the slices squeeze all the remaining juice from the core into the bowl. Repeat with the rest of the oranges.

Strain the orange slices into a small pot, and reduce that liquid until it is syrupy, and only about a tablespoon remains.

Mix this mixture with the lemon juice and whisk in the oil. Add a pinch of salt and adjust the seasoning as you wish. Mix in the parsley and mint.

Wash the radiccio and tear into a big pieces. Mix them with the orange segments.

Tear the olives apart by pressing your thumb into the middle until the olive splits in half. Remove the pit and tear them fully in half. Continue with the rest of them and add that to the bowl with the orange and radiccio.

Toss with the dressing and serve immediately!

Stocking Stuffer Sundays- Mulled Wine Kits with FREE downloadable labels

Jordan introduced me to mulled wine many years ago. The slow cooking of red wine with spices and congac that makes any amount of snow dissapate instantly has been a favourite of mine for some time now, but my love of it really cemented a few years ago when I was in France.

I was just puttering about feeling a bit lonely, it was near the end of my trip, when I stumbled across the most incredible Christmas market. They had closed down about ten blocks of the Champs Elysee and had lined both sides with little white cottages filled with the most wonderful little treats. Candy makers, nut roasters, cutting board sanders, and doll sewers all had stands filled with gorgeous things to eat and buy, but all of it was made better by the vendors who sold “vin chaud”. Hot wine, or as we call it here Mulled Wine is all kinds of wonderful, it’s the most soothing thing I can think of it tastes exactly like Christmas.

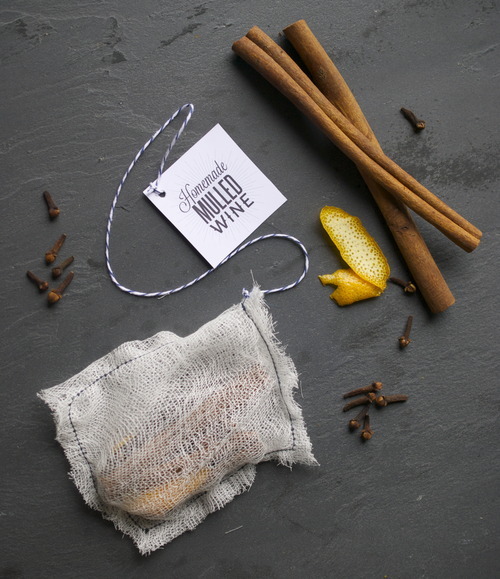
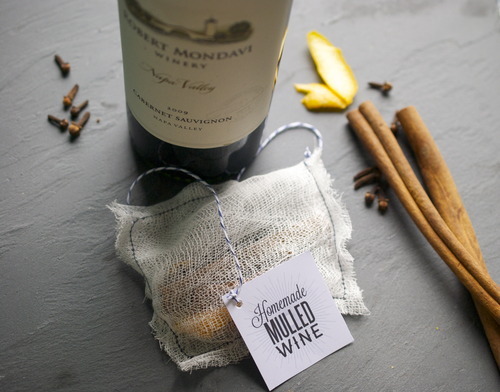
Jordan makes a great mulled wine, so we thought we would make these little packages of all the spices you need and sew them together with these sweet tags and attach them to wine bottles, which makes a lovely stocking stuffer or a slightly more personal hostess gift.

So with this recipe also comes a free download for the labels, which are double sided, because of the wonderful generosity of a very dear and extremely talented friend, one Miss Jen Cook. Jen is the genius behind my entire website and my logo, and shes is just about the most patient person I know to put up with me as a client. And when I casually mentioned this project to her she jumped at the chance to do some labels for me.

So, without further ado, here is the recipe, the methodology and the free printable downloads for Mulled Wine Kits. If you do make it I’d love to hear about it so let me know in the comments!

Mulled Wine Kits

Click here for your FREE downloading label

Per Pouch:

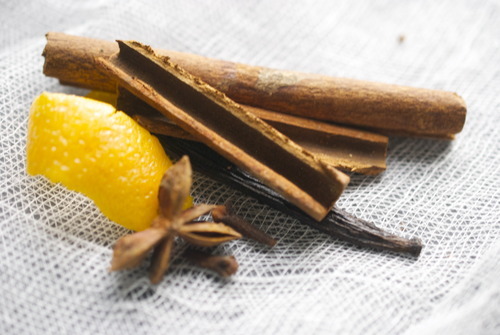
1 Long Cinnamon Stick, broken in half

2 Cloves

1/2 Star Anise

1/2 Vanilla bean

1 Long strip of orange zest

Cheesecloth

Fold a long thin rectangle of cheesecloth in half, making a shorter rectangle.

Place all the ingredients on top.

Fold the Cheesecloth over the spices creating a pocket.

Sew carefully around the spices in a square.

Tie a piece of twine onto the pouch and tie the other end to your label.

Tie around a bottle of wine and c’est finis!

Olive Oil


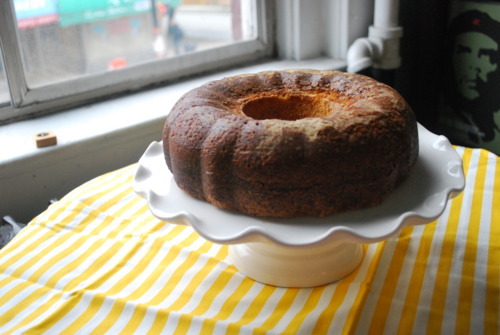
Sometimes I worry that, despite never gaining weight, Jordan will die at 35 from eating to much butter and salt. I have low blood pressure, so I am okay in the salt department but, I do eat an alarming amount of butter. But it’s better with butter! It is. But sometimes I think maybe I should eat more vegetables and exercise more. I was thinking this the other day as I struggled into my skinny jeans. So I decided to make olive oil cake. Practically health food right? I mean olive oil helps prevent heart disease. Genius.

So instead of spending 17 dollars to go to hot yoga I spent 14 on good fruity olive oil and baked a cake. Yes friends, I am not only healthy but also frugal.

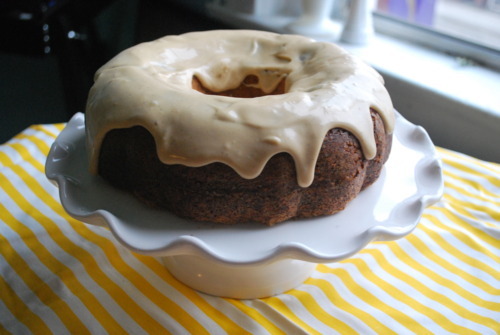
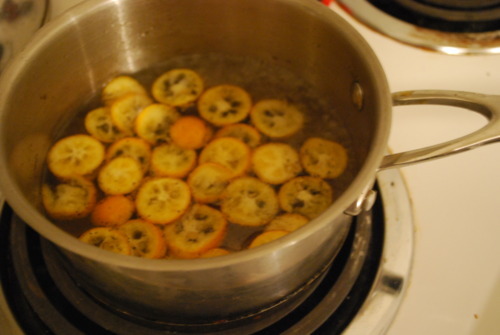
Then I made a really amazing icing with some kumquats because I am the sort of person who keeps kumquats handy, just in case. But if you are not similarly obsessive regular old oranges would be lovely too. I didn’t plan on it being a burnt orange frosting but, well, I burnt it, and it smelled so good burnt I just decided to go with it. And I’m glad I did.

1 cup extra-virgin olive oil
3/4 cup all-purpose flour
2-1/2 teaspoon baking powder
1/2 cup flour
1/2 teaspoon salt
1/4 cup brandy
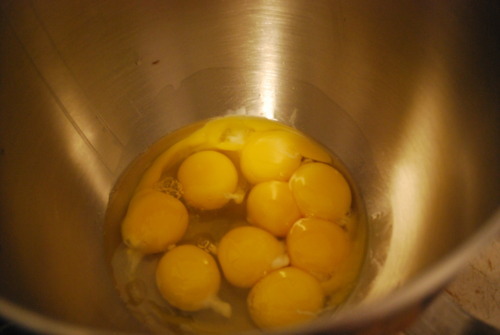
3 extra-large eggs
6 extra-large egg yolks
2 cup sugar
1 tsp vanilla extract

Preheat oven to 350F

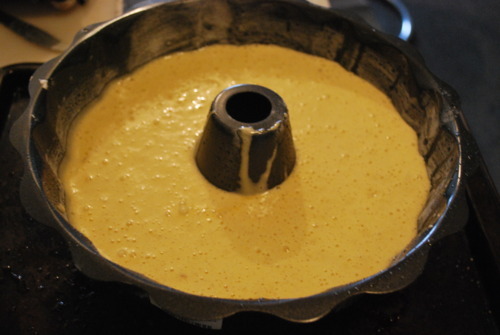
Butter and flour a bundt pan or a 8 inch round cake pan

Sift together dry ingredients.

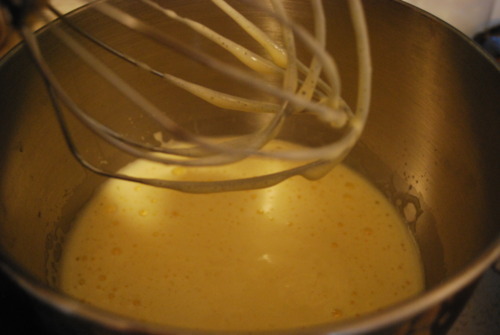
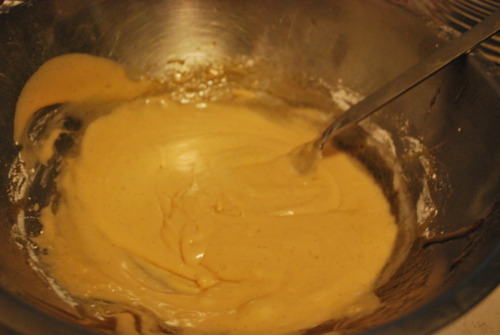
In an electric mixer fitted with the whisk attachment mix eggs and yolks and beat on high speed until light and fluffy, about 7 minutes.

Slowly pour in sugar and continue to beat for another minute

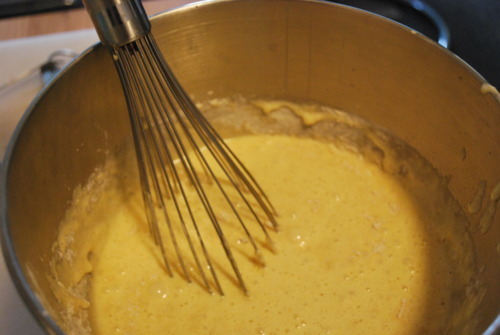
Very slowly pour the olive oil and brandy and vanilla into the the bowl, letting it drip against the side of the bowl to prevent it deflating as much as possible.

Remove bowl from mixer and fold in dry ingredients by hand.

Pour into prepared pan and bake until an inserted skewer comes out with only a few moist crumbs, about 35 minutes.

Let cool for about 5 minutes in the pan, the carefully invert it onto a wire rack and allow to fully cool before icing

Burnt orange frosting

1 cup sugar

2 cups water

5 Kumquats, sliced, or the zest of 2 Oranges peeled with a vegetable peeler into thick strips.

1 cup Icing sugar

3-4 tbsp Whipping Cream

1 vanilla bean split in half and seeds scraped.

Bring sugar and 1 1/2 cups of water to a boil. Add in kumquats or oranges and vanilla bean and seeds and cook on high heat.

Let oranges begin to soften and become translucent.

After about 20 minutes the mixture will begin to caramelize.

Don’t stir it! Let it get a deep amber and the oranges start to get dark

Take off the heat and immediately add in the remaining half cup of water. Be careful, it will boil up!

Strain and allow to cool.

Mix in the icing sugar and as much cream as needed to get to the right consistency.

Drizzle over cake and serve it up!