Rhubarb Pavlova

I reguarly am told by friends that I am an intimidating person to cook for. That I’m picky, (only true when I’m making it, if someone else cooks for me I’m over the moon happy!) that my food is always pretty (well I’m flattered really, but honest my non blog food is pretty non pretty) and that I don’t screw things up. Well the last one is a terribly terribly misconception.

Let the records show that I, Claire Lassam, have made some terrible meals. Terrible!

A great/tragic example of this was on Valentines Day. I came home to an amazing meal. Jordan had braised lamb, and made a wild mushroom risotto, and sauteed brocollini (my favourite!) and had put an excessive amount of love into the meal.

For my part I had found fresh passionfruit at a local market that deffinately does not usually sell fresh passionfruit and thought, perfect! Passionfruit curd on a pavlova. Simple, light, perfect.

Only my pavlova was hard as a rock, and with my terrible oven starting to brown, and the curd was overwhelmingly sweet. It was, absolutely, inedible.

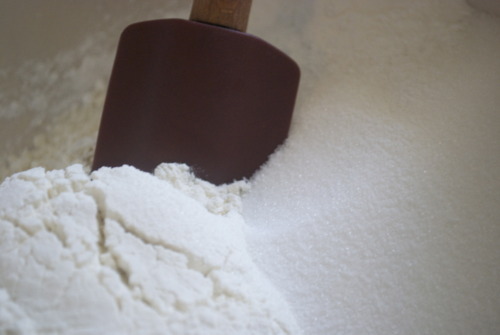
So last weekend, when I was at Jordan’s parents place to make them an early Father’s Day dinner, (which is to say that I was in the presence of a properly working oven) and I couldn’t find the flour (of course it was there but I found it too late) and I had loads of rhubarb (pleasantly acidic) I decided to try a round two.

This time, I had a couple tricks up my sleeve. Mostly, instead of getting it off Martha, which does normally have good recipes, I got it off Smitten Kitchen, because she said she had tried two recipes and had made a master recipe that was perfect. And also because I love Smitten Kitchen and nearly everything she makes is brilliant. Also, an Australian friend told me that, when in doubt, keep whipping, and I did and it turned out very well.

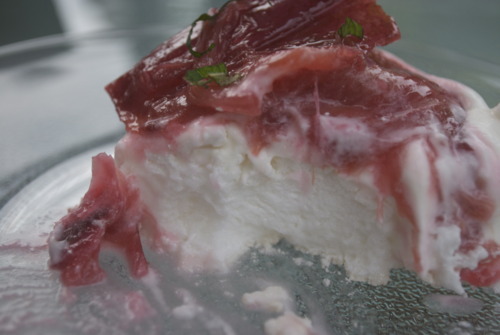
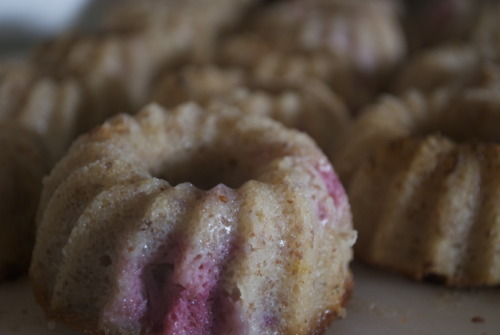
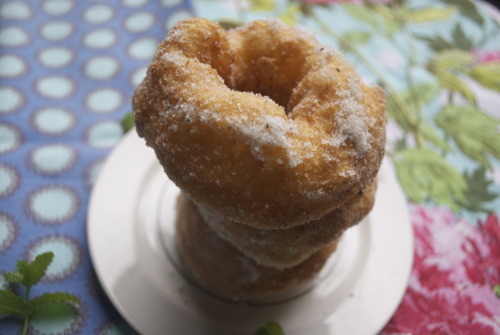
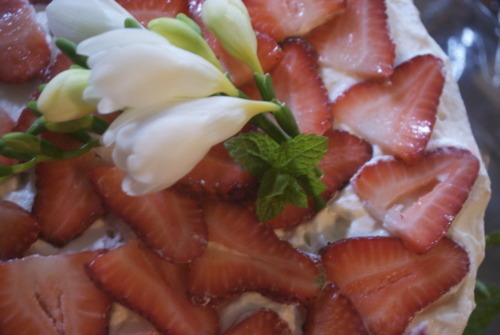
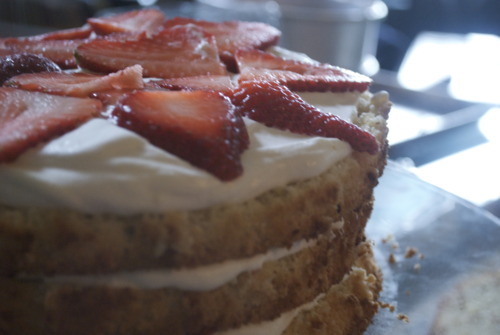
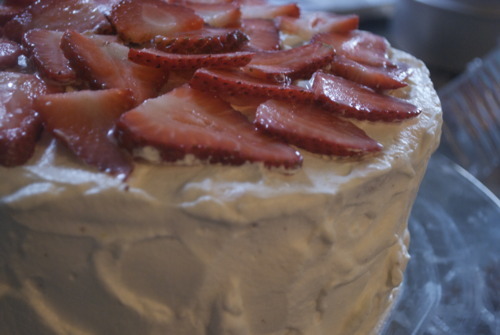
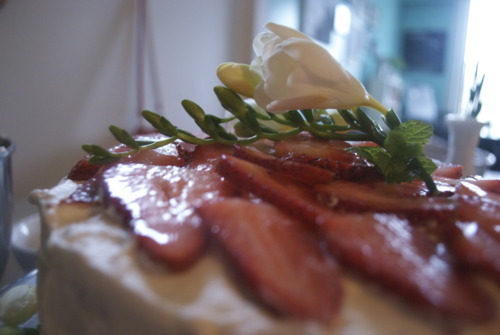
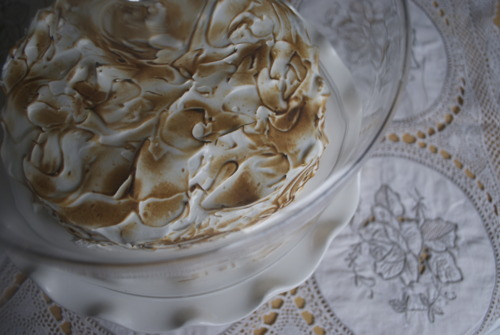
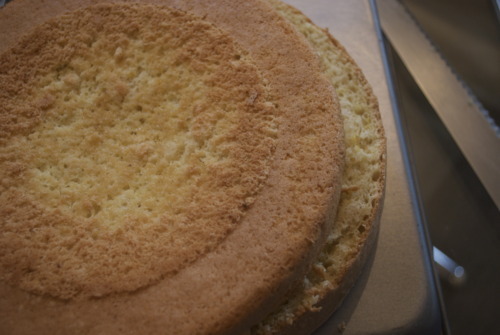
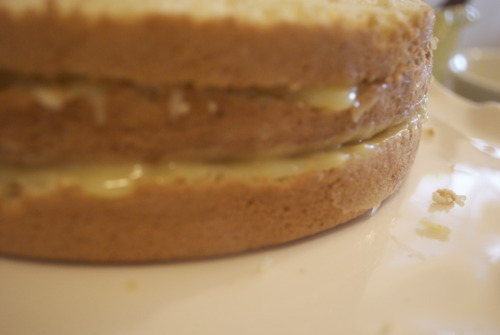
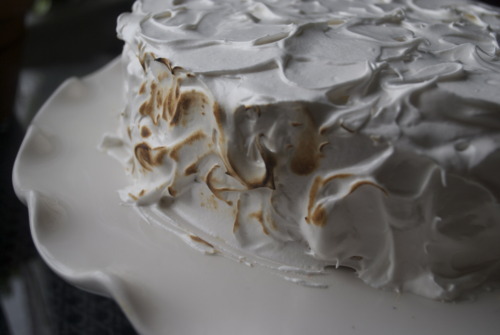
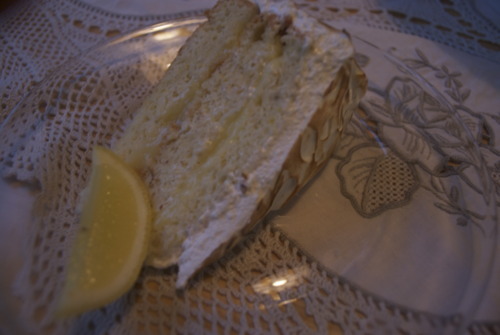
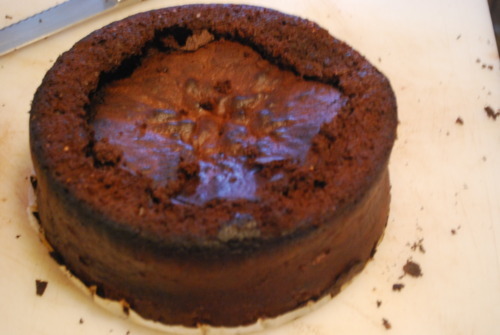
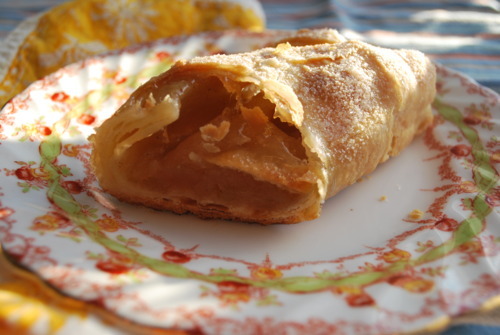
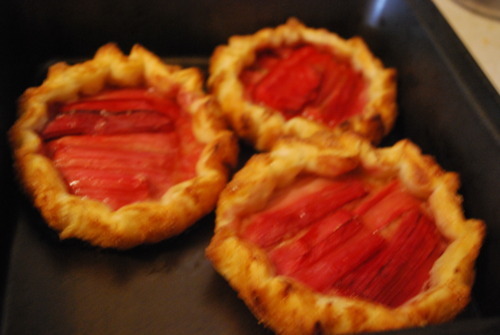
And it is brilliant. It’s a light crisp exterior that leads the way to a marshmallowy centre. Marshmallowy. I don’t think I need to say any thing else except that with whipped cream and rhoasted rhubarb, this is not only a showy and incredibly good dessert, but also a very simple dessert, and those are the best kind in my books.

Meringue:

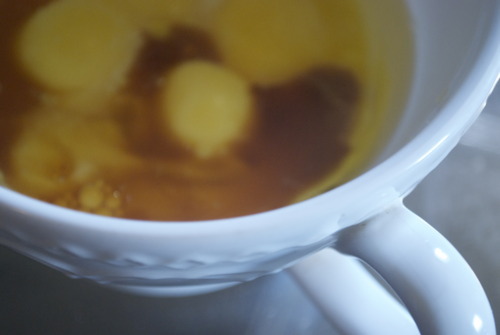
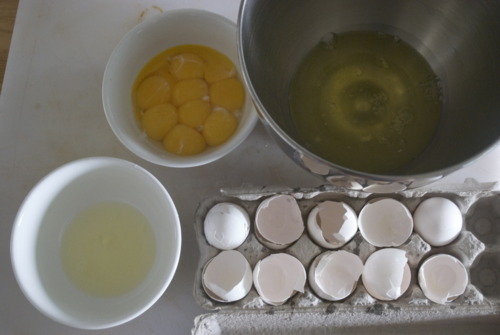
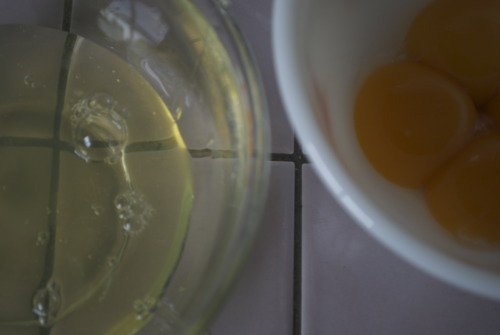
4 large (120 grams) egg whites
Pinch of salt
1 cup (200 grams) superfine (castor) or regular sugar
1 teaspoon white vinegar
1/2 tablespoon cornstarch, potato starch or arrowroot powder

Rhubarb:

6 stalks of rhubarb

1/2 cup Sugar

1 cup whipping cream, whipped with one teaspoon of vanilla extract.

Preheat oven to 225F

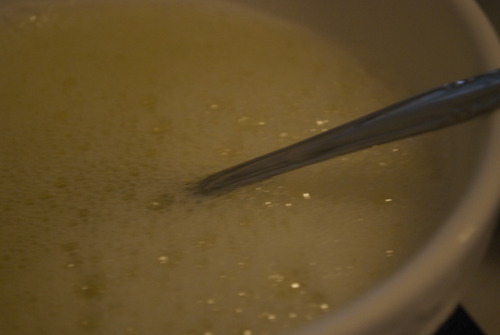
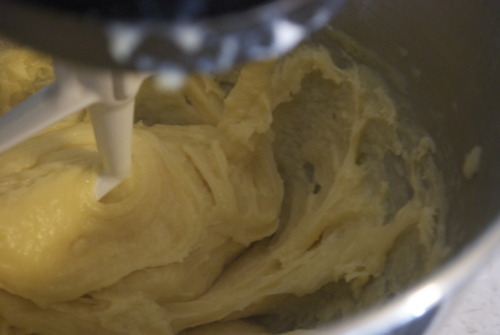
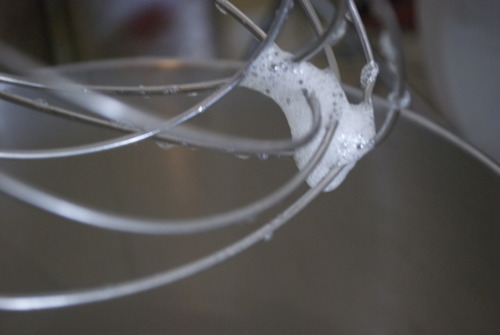
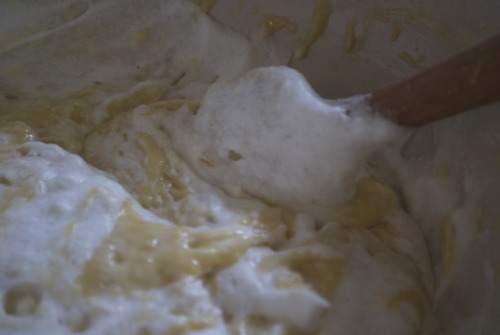
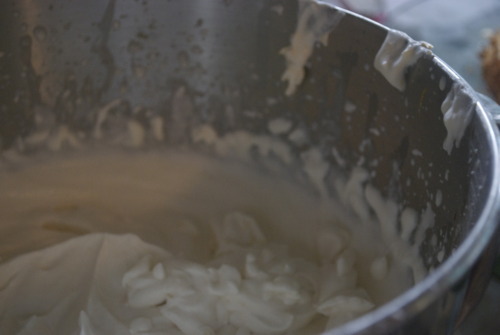
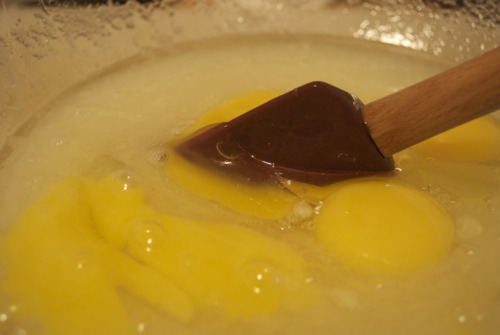
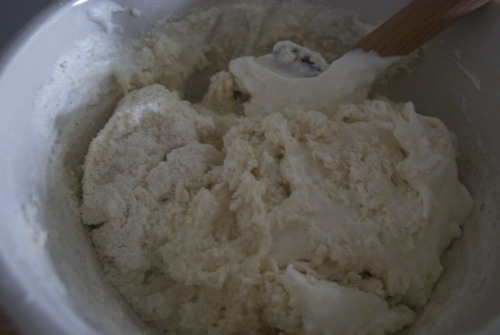
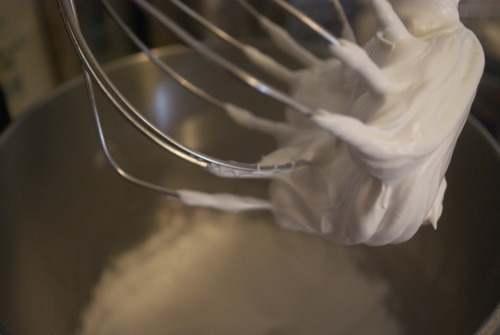
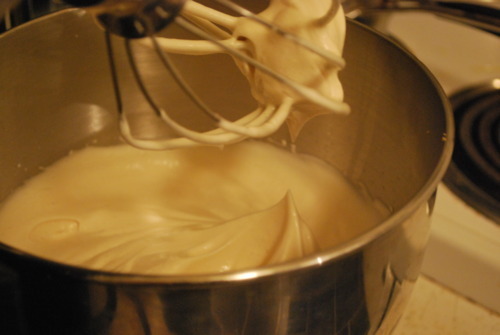
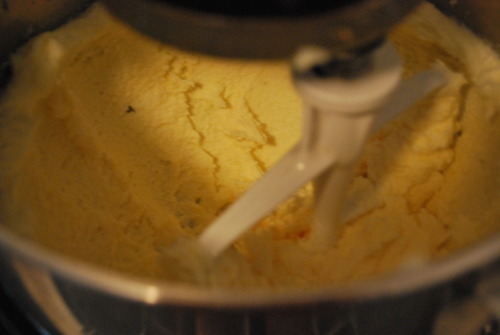
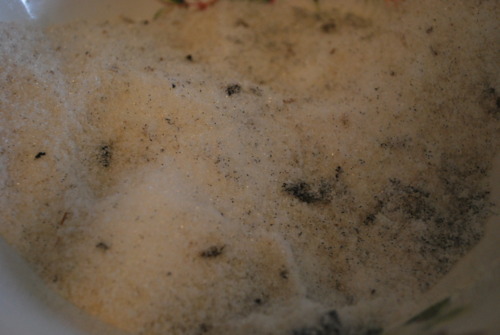
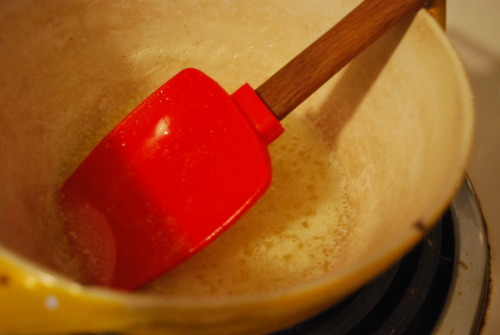
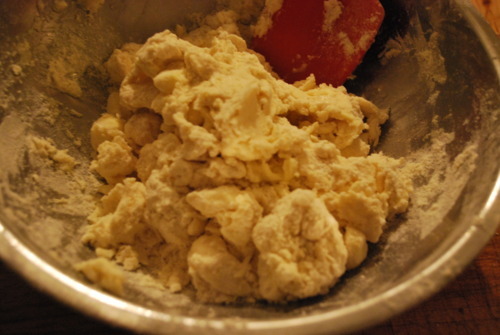
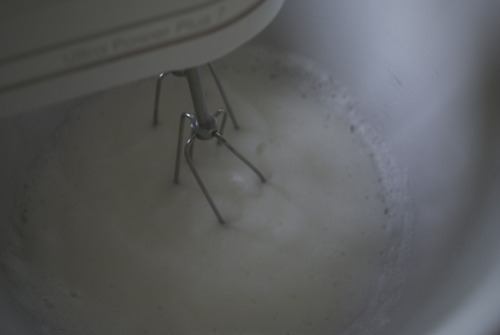
Whisk together your egg whites and your salt until soft peaks, using an electric mixer, unless you have incredibly strong arms and a great amount of determination, in which case, do it by hand.

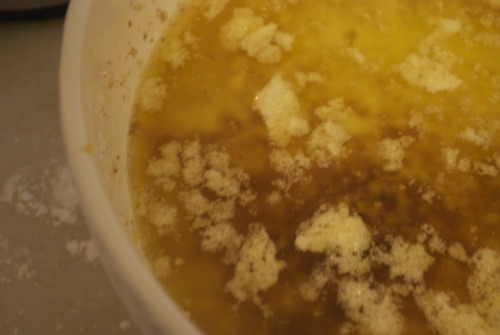
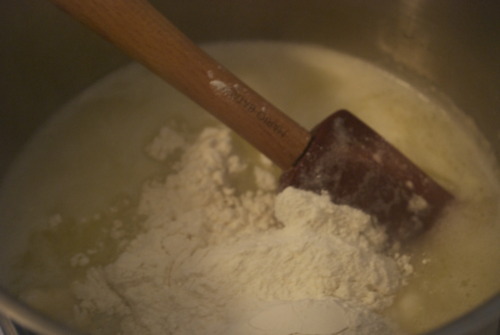
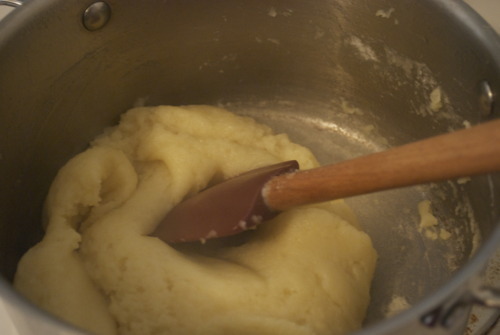
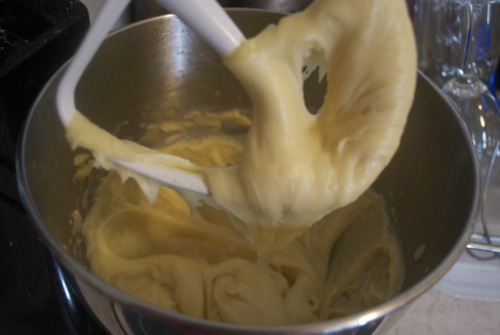
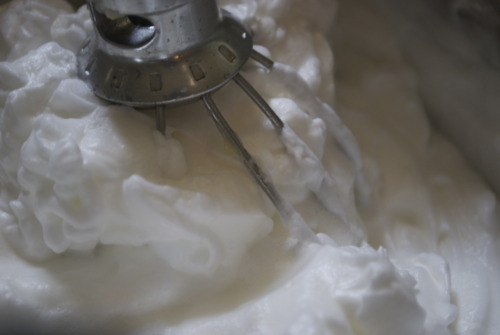
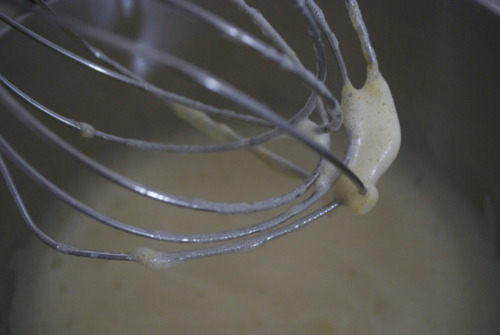
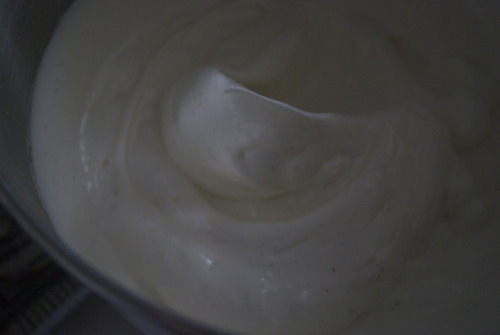
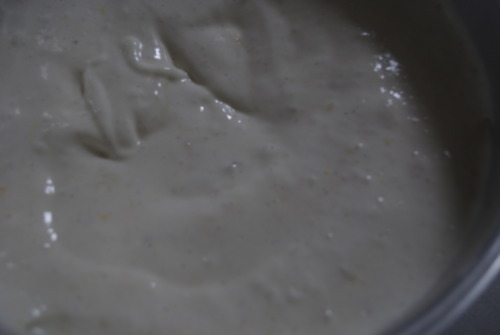
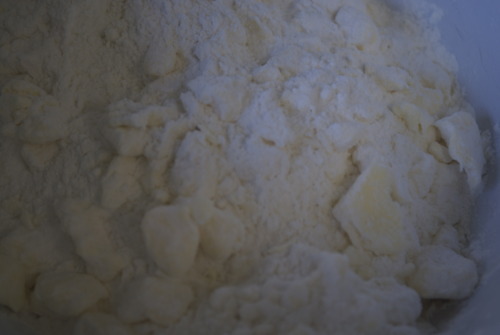
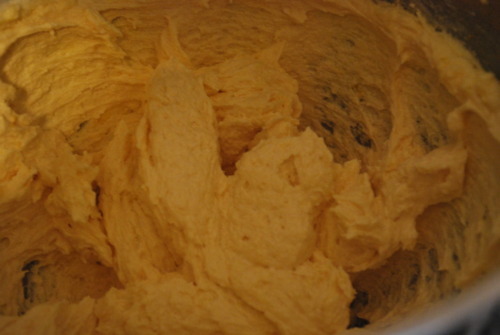
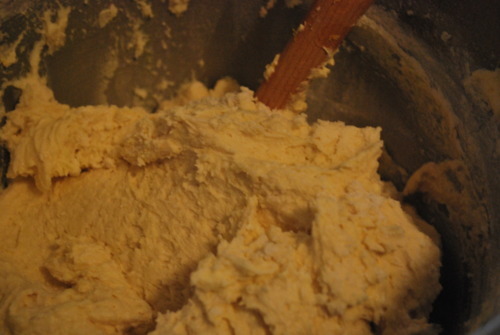
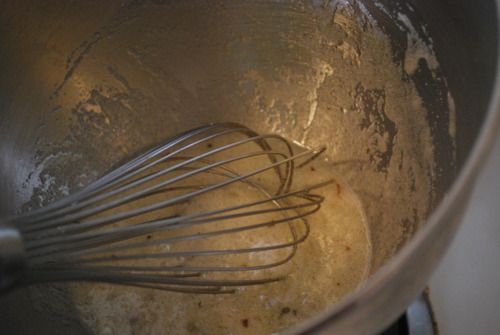
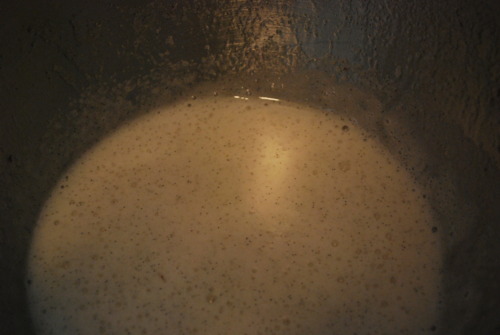
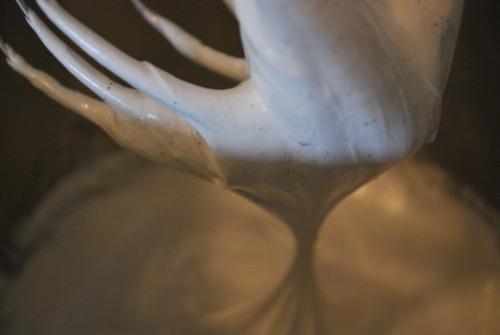
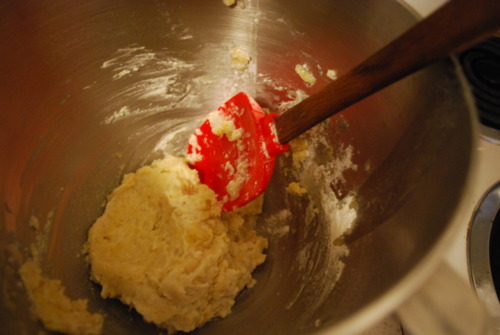
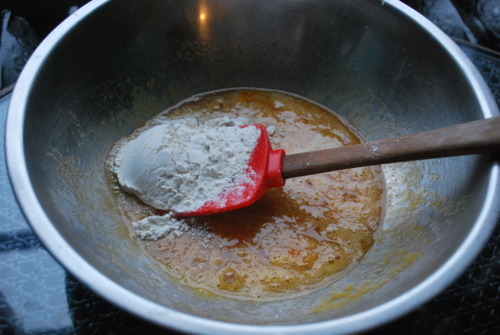
Slowly add in the sugar and cornstarch, tablespoon by tablespoon until all of it is incorporated. Then keep whipping. Aren’t sure if it’s glossy enough? Keep whipping. Does is hold stiff enough peaks? Keep whipping. Basically keep whipping and whipping for a long time, until it is very glossy, and very stiff.

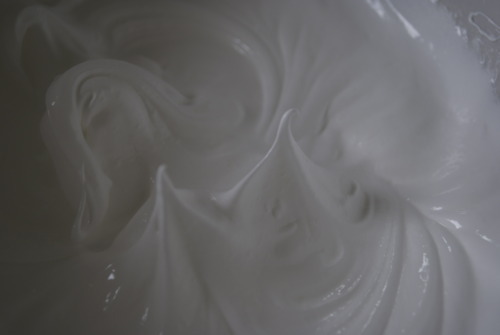
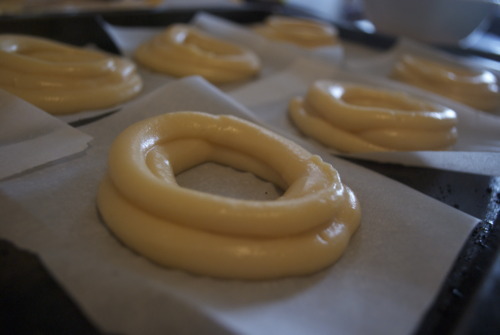
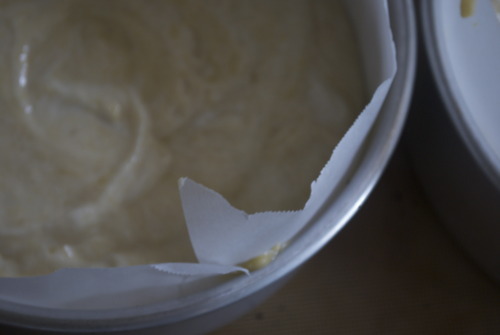
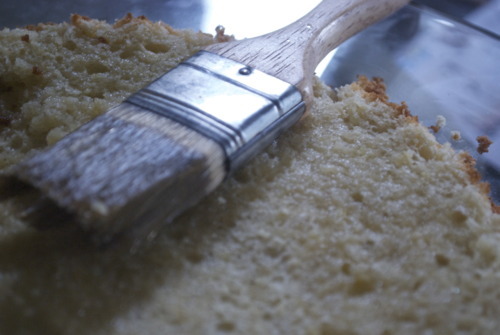
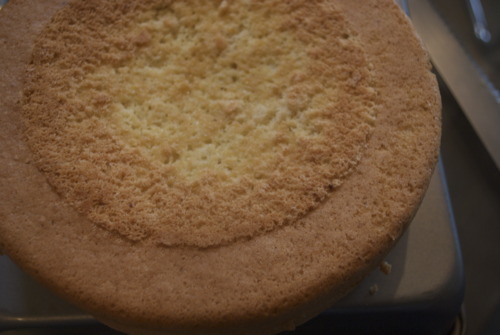
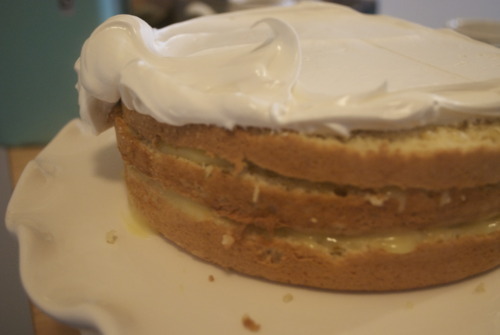
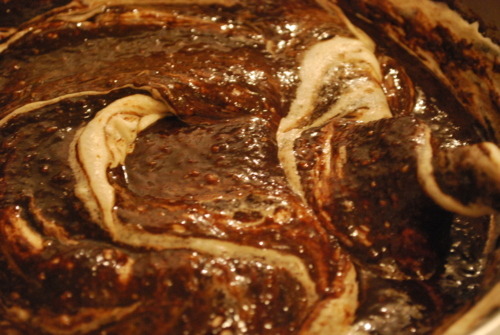
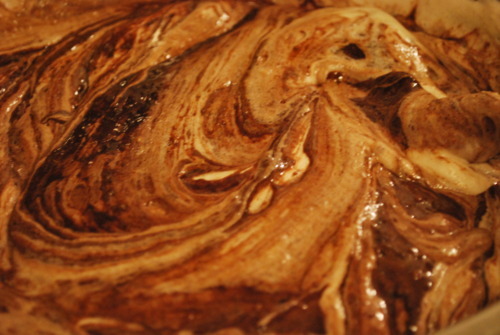
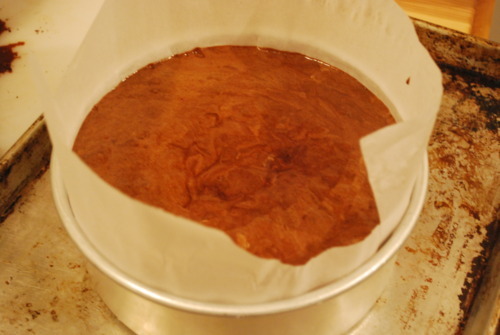
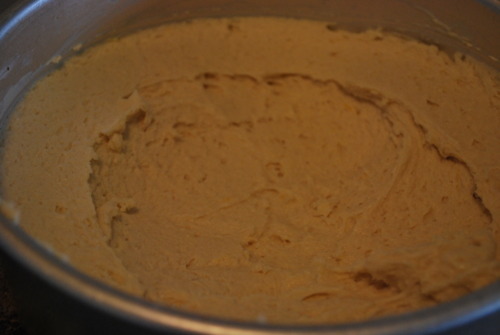
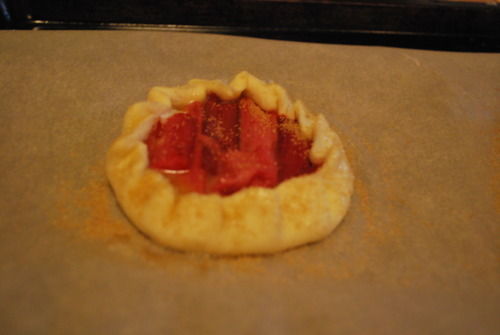
On a parchment lined pan spread the meringue out into a circle with an inverted spatula, i made mine about 10 inches wide.

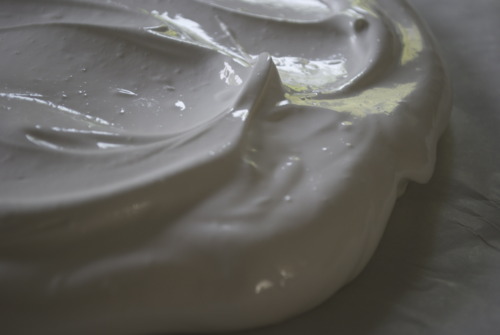
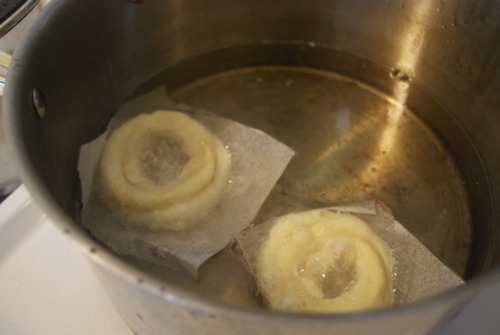
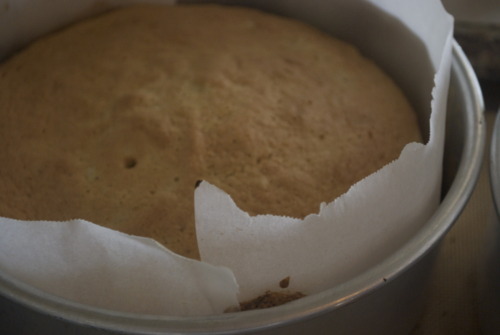
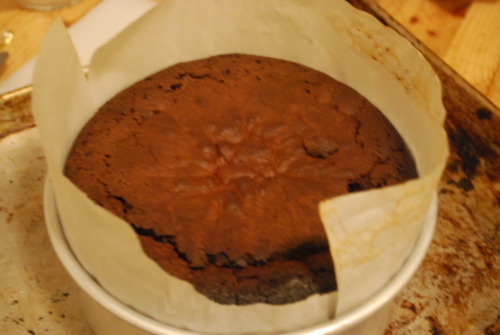
Put it in the oven for about 45 minutes. If it starts to get brown turn the oven down, if it starts to crack turn the oven off. Once it feels firm to the touch but still has some give inside of it crack the oven open, turn the oven off and let it cool completely inside.

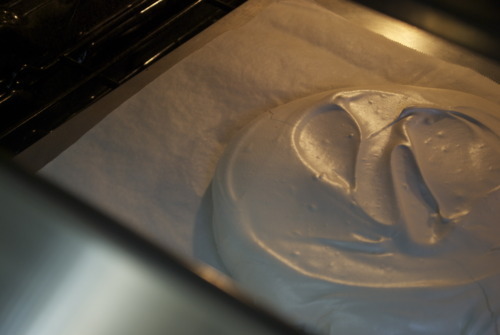
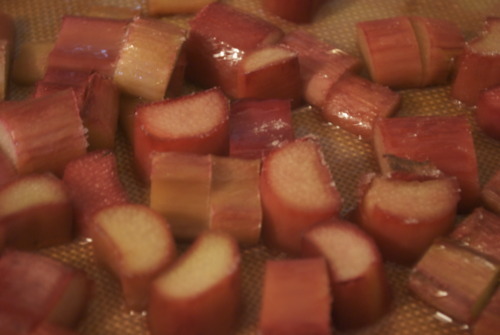
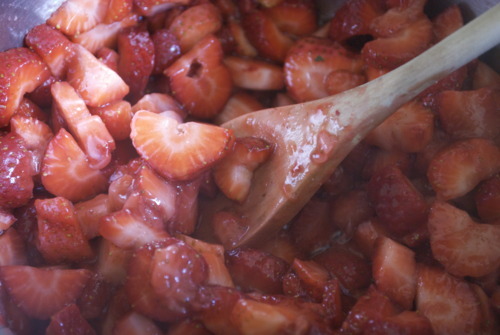
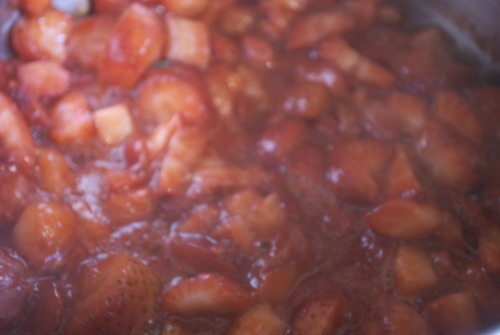
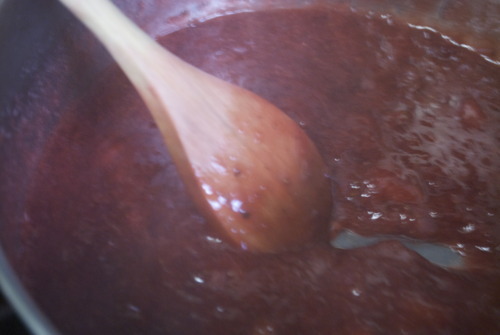
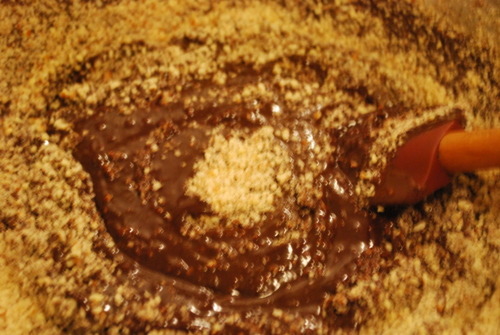
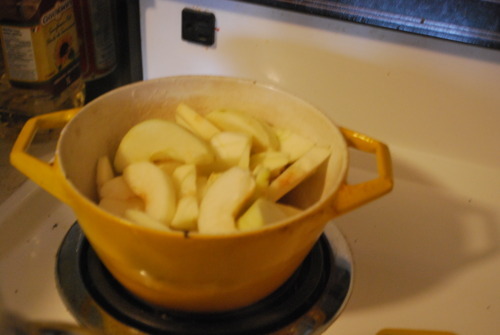
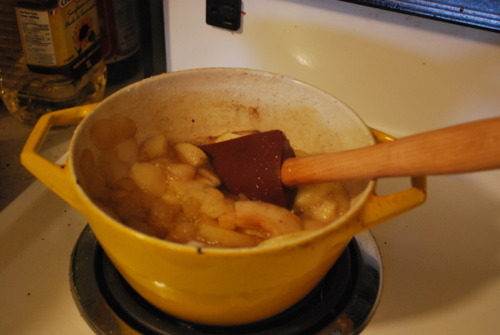
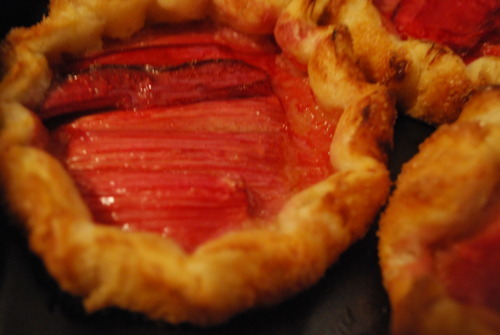
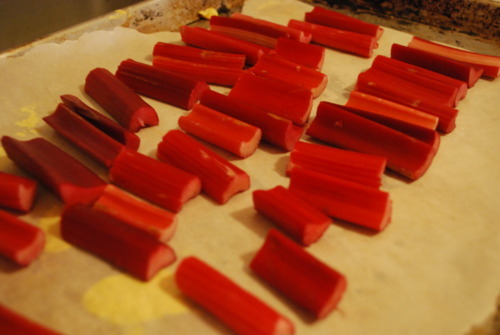
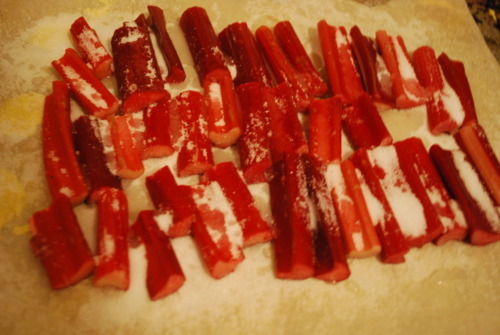
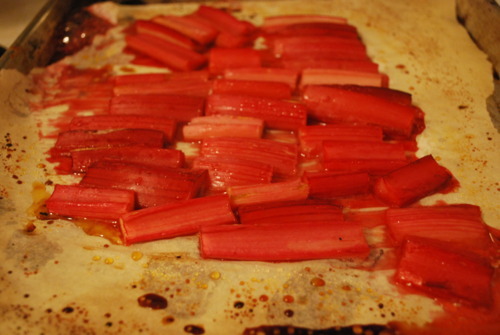
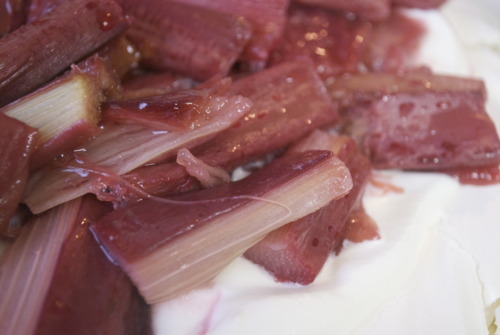
In the meantime, take your rhubarb and cut it into one inch pieces. Lay it on a parchment lined baking sheet and pour sugar over top. Once your pavlova has cooled, crank the oven up to 400F and put the rhubarb in until it is soft but still holds it’s shape, about 15-20 minutes.
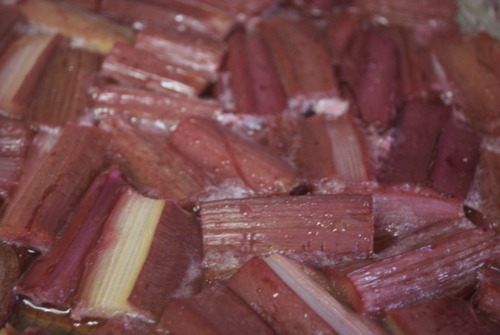
To Assemble:

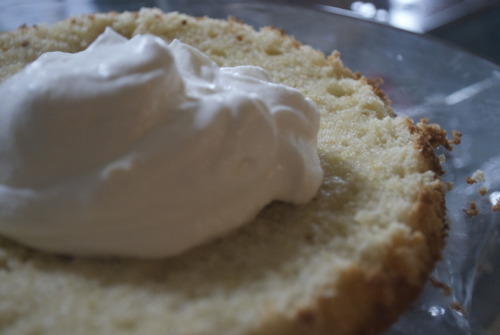
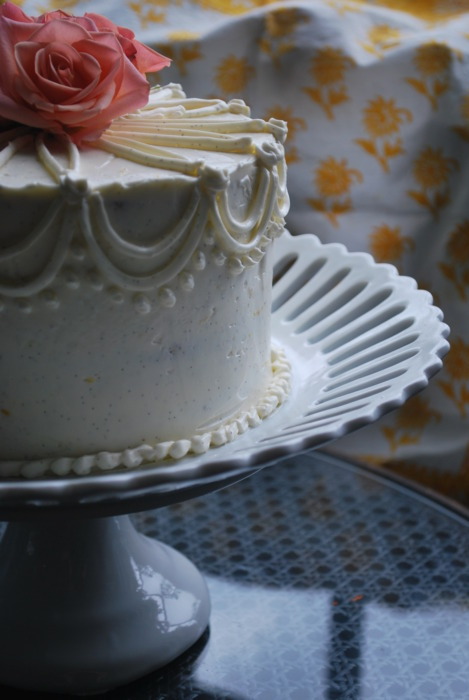
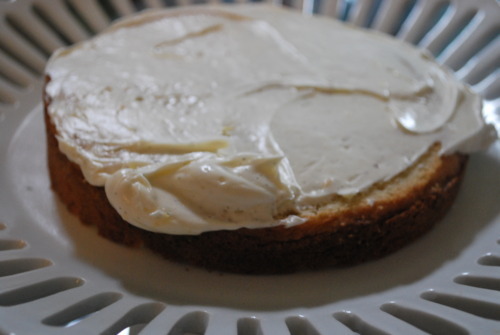
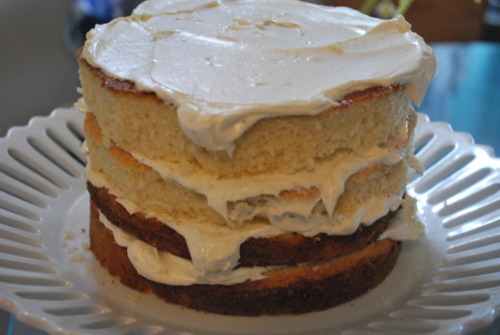
Transfer the meringue onto your serving tray.

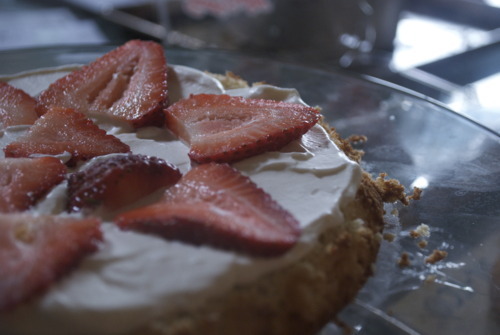
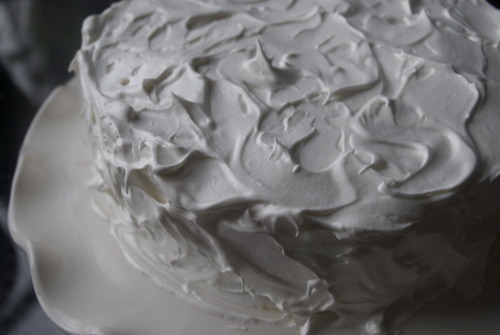
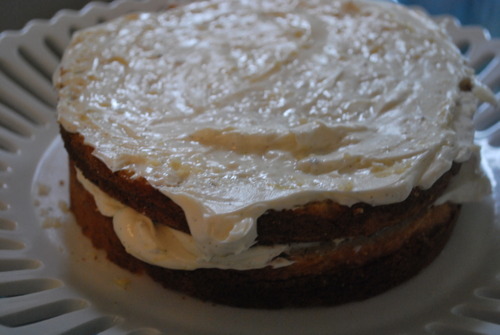
Blob heaps of the whipped cream on top, and then dollop the rhubarb on top of that. Don’t be shy with the rhubarb, you need lots to balance it out.  

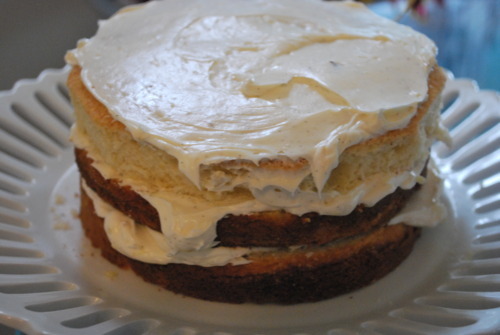
And if you’ve done everything right you get marshmallowy goodness.And you get happiness.

Wanting to Travel...

I love going to cafes and little breakfast and lunch restaurants.

I love sweet little spots with great coffee, wonderful little baked goods, and maybe a sandwich or a salad that tastes fresh and like it was made with love.

I love the places that you don’t feel strange having a bite to eat alone, and that you can sit for an hour with a book and be very content just like that.

Which is to say that when I was in London last fall I fell madly, deeply, overwhelmingly in love with Ottolenghi.

Oh it’s just… just perfect.

It’s clean and crisp, it’s mostly white with some bright read details. It has a large counter filled with the most perfect salads. Ones like Brocolini with Chilis and Almonds, or Braised Globe Artichokes, with Broad Beans, Pink Peppercorns and Preserved Lemons. And then just past the heavenly salads are the baked goods.

The most beautiful Pistachio Cakes, dripping with rosewater icing, and Blackberry Friands, and dense and wonderful Chocolate cake you’ve ever had.

It’s the sort of place you could go everyday for a month and not try the same thing twice.

It’s the sort of place that’s hard not to fall in love with.

And fortunately for those of us not living in London there are cookbooks and a weekly column in The |Guardian for us to steal his recipes and try to replicate it at home.

Which is what I did the other day when I was in dire need of some sweets.

The recipe for these came from the Guardian and it called for blackberries but it’s to early for them here so I went with rhubarb, and then because I love rose so much I put some of that in the icing which really was wonderful.

These cakes are very moist and very rich, thanks largely to the addition of ground almonds in them. Because of that they will stay very moist for several days, so it’s a great cake to make in advance of something, or just to keep in a jar for a week and eat one a day. But they are so pretty, they would also be perfect for an afternoon tea.

Rose Scented Rhubarb Almond Cakes

4 big stalks of Rhubarb, washed and cut into 1centimeter (about 1/2 inch) pieces.

1/2 cup sugar

Cakes:

10 egg whites
100g plain flour
300g icing sugar
180g ground almonds
1tbsp Vanilla extract
⅓ tsp salt
Grated zest of ½ lemon
1 cup unsalted butter, melted and left to cool, plus extra for greasing

Icing:

1 cup Icing sugar

1 tbsp Rose water

1 tsp Lemon Juice

Preheat oven to 400F

On a parchment lined baking sheet spread cut rhubarb out in a single layer and then sprinkle sugar on top. Bake for about 20 minutes or until rhubarb is just beginning to get soft. Take out of the oven and let cool.

Turn heat down to 350F.

Butter mini bundt pans, mini loaf pans, or mini cupcake pans.

Whisk up the egg whites until they’re frothy, but not full whipped.

Add in the lemon zest, melted butter and vanilla.

Sift in all the dry ingredients and fold gently together.

Then fold in the roasted rhubarb and spoon into the prepared trays and bake until an inserted skewer comes outs with only a few moist crumbs, about 15-25 minutes. Allow to cool completely.

To make the icing mix all the ingredients together until smooth. If it looks a little thick, add in some water or more lemon, if it looks thin add in some more icing sugar.

And then drizzle them on the very tops of each, the icing will run down and leave lovely little drips around each of them.

Lavender Donuts Please!

I’ve been working part time for the last few months at a trendy sandwhich shop called Meat and Bread. It is full of beards, black tee shirts and burly men. I am the token girl.

When I first started there it was my only job and I was baking and blogging more often, and I brought them in a lot of treats. But then I got another job, started working 60 hours a week and I am a way less charming employee now. So last week when I got to sleep in and work only the one job (usually I’m up at 4:30am so if I work at 10am it is a great productive morning for me!) I thought I would be sweet and bring them some goodies.

These aren’t really donuts, they are for all technical purposes crullers. Crullers are donuts simple, friendly, and lovable cousin. They take minutes to put together, can be done by easily by anyone and are just as adaptable in what you put on them. This is the magic of choux paste. If you bake choux paste and put chocolate on top you have an eclair, if you bake it in little balls and put pastry cream in it you have a cream puff, if you add cheese to the batter and bake it you have gourgeres. Basically you want to know how to make choux paste. And then you’ll probably want to fry it and toss it in lavender sugar, and then you’ll deffinately want to eat too many. But you’ll be very happy, I promise.

Lavender Sugar

1 cup Sugar

1tbsp Dried Edible Lavender

Choux Paste

1 cup water
8 tablespoons unsalted butter (1 stick)
1/2 teaspoon salt
1 cup all-purpose flour
4 large eggs

Mix the sugar and lavender in a food processor until the lavender is small and crushed up, or use a mortar and pestal to mash up the lavender and then add it to the sugar.

Combine the salt, water and butter in a saucepan and bring to a simmer.

Add in the flour in one go and mix vigourously still on the heat until it is smooth,

And then beat for another minute or two.

With a mixer fitted with the paddle attachment add the eggs in one at a time beating will between each addition, you could also do this by hand pretty easily.

Put the batter into a piping bag and pipe whatever shapes you want. I did the traditional donut shape. An easy trick: pipe them onto little squares of parchment paper. The paper will slide right off when you fry them. 

Meanwhile heat up the oil, on medium heat until it comes to 350F. If you don’t have  a thermometer you can test it by dropping in a drop of water. It will drop on the bottom for a second and then will bubble away quite quickly. Thats when you know your oil is ready.

So get a couple donuts in!

Within a couple seconds the parchment will slide off, and in a minute or two you should flip them with a slotted spoon or tongs.

When they’re nice and a deep golden brown toss them into your sugar and then eat them as quickly as you possibly can.

Lemon Braided Bread

It’s probably fair to say that I’m a little obsessive with baking. There are so many baked goods that I make that don’t get up on this blog because they weren’t quite fluffy enough, or moist enough or pretty enough. I’m constantly tinkering with recipes here, a little more of this, a little more of that. Or sometimes I just have to spend a little more time on the presentation, I don’t like putting things up here that don’t look great.

Which is why it’s so surprising to make a recipe and go, goodness, I don’t need to change a thing. It is rare and unusual and wonderful, and it happened this week.

The amazing Smitten Kitchen had a recipe for lemon braided bread and hot damn was it good. The bread is very moist and very butter, and the cheesy layer is the perfect amount of sweetness without really being all that sweet and the lemon sets the whole thing over the edge. And it’s shockingly easy for something that turns out as beautiful as this bread.

A girlfriend of mine was coming over for lunch and, despite us both being pretty small girls, we ate two thirds of it in one sitting. Oh just one more slice, maybe a little bit thicker, oh come on thicker still, yes there we go

.

Sponge

6 tablespoons (3 ounces) warm water
1 teaspoon sugar
1 1/2 teaspoons instant yeast

1/4 cup (1 ounce) unbleached all-purpose flour

Dough

Sponge (above)
6 tablespoons (3 ounces) sour cream or yogurt
1/4 cup (4 tablespoons or 2 ounces) unsalted butter, softened
2 large eggs, 1 beaten for dough, 1 beaten with 1 teaspoon water for brushing bread
1/4 cup (1 3/4 ounces) sugar
1 teaspoon salt
1 teaspoon vanilla extract
2 1/2 cups (10 5/8 ounces) unbleached all-purpose flour

Egg Wash

1egg yolk

1 tbsp Water

Lemon Cream Cheese Filling

1/3 cup (2 1/2 ounces) cream cheese, softened
2 tablespoons (5/8 ounces) sugar
2 tablespoons (1 ounce) sour cream
1 teaspoon fresh lemon juice
2 tablespoons (1/2 ounce) unbleached all-purpose flour
1/4 cup (2 ounces) Lemon Curd

Mix all the sponge ingredients together and let sit until bubbly, about 15 minutes

In a standing mixer fitted with the dough hook attachment, or with some strong arms add in the dough ingredients except the salt and the butter and need until it becomes a shaggy mass. (Yes that actually is the technical term) and then add the salt.

Work it until a nice dough has formed and it pulls away from the side of the bowl.

With the motor still running add in the butter piece by piece until it’s all combined and the dough is smooth and elastic.

Cover it with a tea towel and let it rise in a warm place for about an hour or maybe a little longer until it’s doubled in size.

On a lightly floured surface roll out the dough into a long rectangle, roughly the size of the baking sheet your going to bake it on. Lightly press in two lines that divide it in thirds lengthwise.

Carefully transfer it to your lined baking sheet.

Mix together all the ingredients for your filling except the lemon curd.

Spread the sour cream layer onto the middle section of the dough, then spoon on the lemon curd.

Cut dough on either side of the lemon layer into strips, trying to get as many on both sides.

And you can either fold them over, or weave them through.

And let it proof, again, in a warm place covered with a tea towel, until it has doubled again in size.

Preheat your oven to 350F

Mix an egg yolk with a couple tablespoons of water and brush them onto of your bread.

Sprinkle with your coarse sugar and get it in the oven!

You want to, because when it comes out, it comes out like this:

And it smells like heaven and no matter what else you might serve, if you make this for brunch no one will eat anything else.

Strawberry Shortcake

Lately I don`t get out much. I work a whole lot, I bake a whole lot, and I read quite a bit, but mostly when I read I fall asleep, in awkward places in awkward positions that make my neck hurt later.

I haven`t been seeing my friends as much as I should, but I have time to call them sometimes if I walk home instead of running home, which is usually a good enough of an excuse for me.

But sometimes I worry that my friends will all abandon me for being so boring.

So last weekend, for my dear dear friend Arlene`s birthday, I went out.

I wore a short skirt.

I baked a cake.

I drank to much sangria.

I watched some amazing flamenco dancing and cheered on a man named Jose, a 60 year old ladies man who sang Spanish love songs while beautiful women danced in front of him.

I pretended that I didn`t work at 5am the next morning.

I felt like the 23 year old that I am.

It was wonderful.

And on the theme of playful, fun, youthfulness and all those good things that go along with them, I made strawberry shortcake. It was light and fruity, it was summery and it was darn good if I say so myself.

Stawberry Shortcake

Adapted from a recipe from Epicurious

8 Large Egg Yolks

1 1/2 cups Sugar

1/4 cup Milk

1 tbsp Vanilla Extract

Zest of 1 Lemon

1 cup All Purpose Flour

1 tsp Salt

4 Egg Whites

Cream Frosting

2 cups Whipping Cream, very cold

1/4 cup Sour Cream

4 tbsp Icing Sugar

Zest of 1 Lemon

1 tbsp Rosewater

Rose Syrup

1/2 cup Sugar

1/2 cup Water

1 tsp Rosewater

1 lb Fresh Strawberries, cut into slices

Make Rose Syrup

Combine all ingredients in a pot and simmer until the sugar is disolved. Cool. (sorry, I forgot to take a picture of that!)

Make Cake

Preheat oven to 350F

Line 2 8 inch round pans with parchment, do not grease pans! Worst case scenerio don’t use anything. They will come out with some patience.

Sift all the dry ingredients, reserving 1/2 cup sugar, into a bowl

Mix the yolks, vanilla, zest and milk into a small bowl

Add the yolk mixture to the flour mixture and mix until just smooth.

In the bowl of a standing mixer fitted with the whisk attachment whisk egg whites until frothy.

With the mixer still running slowly add in the remaining half cup of sugar, tablespoon by tablespoon, until the meringue is very shiny and holds stiff peaks.

Gently fold the whites into the cake batter being careful not to over mix.

Pour the batter into your prepared pans.

Bake until an inserted skewer comes out with only a few moist crumbs, about 25-35 minutes.

Make Frosting:

Mix all ingredients in a standing mixer fitted with the whisk attachment.

Whisk together until soft peaks form, about 5 minutes.

Assemble Cake:

Slice Layers of cooled cake in half lengthwise.

Put the first layer of cake on your cake plate and brush with the rose syrup.

Dollop with a heafty spoon of cream and gently spread out to the corners.

Spread some slices of strawberries on top.

Continue until you’ve done all the layers

Then ice the outside and put strawberries on the top!

I put some flowers on top, because I’m just like that.

Carrot Cake

Last summer I spent 6 months working at a resort in a remote island in Northern British Columbia, where I baked the breakfast pastries and generally wished I wasn’t trapped on an island for 25 day stretches.

There was however a few amazing people that I met up there, one of them was a girl named Kelsi. She was witty and sassy and had one of the biggest laughs of anyone I have ever met. She ended up leaving early, feeling the need to get off the rock. She did however, replace herself with her cousin Caitlin. Caitlin has the same sass, the same big heart an eerily similar huge laugh. She now lives a couple blocks away from me and she has become a great friend of mine.

So imagine my excitement a couple months ago when I was invited to her family birthday dinner. More sass? More crazy laughs? I promised to bring cake, and I was in. She asked for

This all coincided with the photo shoot I did for the Order a Cake page on this web site so I thought I would hit two birds with one stone and make a pretty cake to bring to the dinner.

When Caitlin came to pick me up on the way she came in to ogle at the the cuteness of the set up and then, slightly concerned, asked where the carrot cake was. Oh, I said calmly, it’s the three tiered wedding cake.

I’m a keener, it’s true.

BUT, the cake was a great success and I’ve been invited back for dinner since, which is great. Because they’re family dinners involve gay men singing Beyonce, bagpipes and a lot of bourbon. And, of course, a room full of the loudest laughs I’ve ever heard.

I didn’t end up posting about that cake at the time, but Jordan asked for breakfast foods the other day and apparently carrot cake counts (?) so I thought I’d bust out this recipe again. And when he brought some into work and got seriously into the good books of his boss! I love happy endings.

Carrot Cake

2 cups Sugar

1 1/2 cups Vegetable Oil

4 Eggs

2 cups All Purpose Flour

2 tsp Baking Soda

2 tsp Baking Powder

1 tsp Cinnamon

1/2 tsp Nutmeg

1 tbsp Vanilla

3 cups Grated Carrots

Preheat oven to 325F

Butter and flour a bundt pan, or 3 8 inch round pans.

Mix oil and sugar

Stir in your eggs.

Add in the carrots and hazelnuts, if using.

Sift in your dry ingredients and carefully fold them in, being sure not to overmix.

Pour into your prepared pan and bake until an inserted skewer comes out with only a few moist crumbs, about 45 minutes.

Flip out of the pan and allow to cool completely.

Icing

8oz Cream Cheese, softened

1/2 cup Butter, softened

3 cups Icing Sugar

Beat together butter and sugar,

Add in cream cheese until just combined

(Sorry, I forgot to take pictures of this part!)

Now ice it how you like, be it a simple bundt cake or a 3 layer wedding cake.

Lemon Meringue Cake

When I was about 7 or 8 and at the height of my Fimo Clay stage (before the water colour phase but after the decoupage stage, and concurrent with the make your own hair clips phase) my sister was at the height of her Martha Stewart phase.

Oh Martha.

I’m not sure an 11 year old has ever loved Martha like my sister.

So, when the Easter edition of the magazine came out that year with Peter Rabbits Garden cake on the cover, a simple carrot cake, with Oreo crumbs on top and carefully placed vegetables made out of marzipan in artful rows, we knew we had met our match.

Nina baked the cake and made the fondant white picket fence while I painstakingly dyed all the veggies (we couldn’t find paste food colouring so I would mix the colours really brightly and then let them dry out for a few hours and then go back to making them so the consistency would be better.) I painted the bottoms of cabbages a deep purple and let the edges stay a crisp green, I laboured for weeks on that cake.

When it was done we brought it over to our Aunt and Uncles house, and when it arrived to the table, my sister told them that she had done it all.

So I did what I always did in such occasions, I ran and locked myself in the bathroom crying hysterically and promising never to come out.

Which is all a long way of saying that every Easter after that my mom made a basic white cake in a cake mold shaped like a lamb and covered the whole thing with shredded coconut and called it a day.

So when I volunteered to bring desert for Easter dinner last week I had no idea what to bring. Was coconut cake traditional? There’s nothing fresh to make pies with, no fruits to fill layers of angel food cakes, no anything really. Until I realized of course that I have lemon curd in my fridge.

So it may not be overly festive but hot damn this cake was good.

It will last a day or two in the fridge so you can make it the day before and relax about it. It’s quite showy with the burnt edges but it’s really beautiful without, if you don’t have a blow torch, or the patience to do it all with a BBQ lighter. But most importantly, it’s fresh, and light, and not to sweet and not to heavy, so it makes a wonderful end to a big meal.

Lemon Meringue Layer Cake

Angel Food Cake- recipe follows

1 cup Lemon Curd- you can half this recipe for it.

Italian Meringue- Recipe follows

Angel Food cake

10 Egg whites

1 1/2 cups Sugar

1 cup Pastry Flour

1/2 tsp Salt

1/2 tsp Cream of tartar

1 1/2 tsp Vanilla

Zest of 1 Lemon

Tip: when your seperating this many eggs at once, have 2 bowls for your whites and one for your yolks. As you separate them, put the yolks in the bowl and then transfer the whites over individually. That way if one of the yolks breaks and it gets in the white, you only lose one egg instead of the whole batch.


Preheat oven to 350F

Sift 1 cup of sugar with the pastry flour and the salt.

In the bowl of a standing mixer fitted with the whisk attachment whisk the egg whites, cream of tartar, vanilla, and lemon zest until soft peaks.

Slowly add in the sugar teaspoon by teaspoon until all the sugar is incorporated and the when you bring the whisk up the egg stands at stiff peaks.

Carefully fold the flour into the meringue.

And pour it into an unlined ungreased 9 inch round pan without a detachable bottom.

Bake for about 30 minutes or until it has risen nicely and an inserted skewer comes out with only a few moist crumbs. Immediately turn the cake upside down and let it cool completely inside the the cake pan, upside down. When cooled remove.

Cut the cake into 3 layers.

Spread a thick layer of curd in between each layer.

Italian Meringue

3 Egg Whites

1/2 cup Sugar

Over a small pot filled with an inch of simmering water whisk the egg whites and the sugar until it is quite hot to the touch. (Sorry, I forgot to take a picture of this stage.)

Pour the mixture into the bowl of your standing mixer fitted with the whisk attachment and whisk until nearly cooled and very light and glossy.

Immediately smooth over cake.

Be generous in your icing and allow for lots of artful swoops.

Then carefully with a blow torch on medium or a BBQ lighter burn the edges of the cake.

And then eat!

Pop Tarts

I have never eaten a pop tart. I’ll even go further, I have never wanted a pop tart. Oh that’s probably not true, I’m sure they were popular for a while when I was in middle school or something but the point is, I can’t remember ever wanting one.

In a recent discussion about breakfast though I realized I am the only one in our household of two that way.

I am the only one in our household of two that feels that way about a lot of junk food. I’ll admit I’m a little evangelical about eating local, seasonal, unprocessed food.

But I am not unreasonable, friends. I do not allow pop tarts, McDonalds or powdered garlic into my house. BUT I will make pop tarts, burgers, and I am actively looking for a way to make powdered garlic that doesn’t  involve a dehydrator.

See? I’m a totally rational human being. I swear.

I made these pop tarts almost entirely from the recipe I found on Smitten Kitchen, which is a fantastic blog. The pastry is very flaky but also sturdy enough to hold as your running out the door with a coffee in your hand, which sounds like an oxymoron but I promise this works beautifully.

It’s crisp and light and great. Jordan thinks they are more like a toaster streudel. I’ve never eaten one of those either.

The dough is just like a pie dough but it has an egg in it so it holds its shape better and the filling is just jam with a little cornstarch to make sure the bottom pastry doesn’t get soggy. I made the jam (with local strawberries! Yeah!!)  but you could use any jam that you have with a little extra cornstarch, or even nutella inside if you don’t have the time.

I won’t judge.

Stawberry Filling:

1 quart Strawberries

1/2 cup Sugar

1 tsp Cornstarch

Cut up strawberries and get them in a pot on the stove

Let them simmer for about 15 minutes until nearly all the liquid is gone.

Add in the sugar and continue to simmer for another 20 minutes or so until it’s nearly dry again.

Mix the cornstarch with 1 tsp of water and then mix it into the jam. Bring to a boil and then take it off the heat and get it into a bowl in the fridge.

Pastry
2 cups (8 1/2 ounces) all-purpose flour
1 tablespoon sugar
1 teaspoon salt
1 cup (2 sticks or 8 ounces) unsalted butter, cut into pats, very cold.
1 large egg
2 tablespoons (1 ounce) milk

In the meantime make the pastry:

Mix the butter, sugar, and salt in a bowl. Cut in the butter. That means break it up with your hands until the butter is in pea sized pieces. It should look like this

Add in the egg and the milk. it should be quite dry but if it doesn’t come together add in another bit of milk.

On a lightly floured board push the dough into a flat rectangle and then fold it in half. Push it down, fold it in half and and keep doing it until it starts to feel a little tough and it doesn’t quite want to be folded. Then wrap it up and put it in the fridge.

Preheat the oven to 375F

After about half an hour in the fridge and once the jam is cold you can roll out your dough.

Roll it out into a long rectangle about 1/4 inch thick. Cut with a non-serated knife into rectanlges of your choice! I did mine about 4-3 inches.

Put a dollop of jam on top of half of the rectangles, about a teaspoon each. Brush some water on the bottom edges.  These will be the bottom pieces.

Cover the bottom pieces with the remaining rectangles.

Press down the edges with a fork. This will help make sure the jam doesn’t shoot out the sides. Poke the top of them too to let some steam out.

Get them on a tray and bake them! About 20 minutes, and they are deffinatly best served hot, or perhaps, out of a toaster.

Gluten Free and Better For it!

Gluten free has a bad name. And maybe rightly. There are so many terrible wheat free alternatives out there. Bread made with rice flour just isn’t good, I’m sorry celiacs it just isn’t. Foods that shouldn’t be gluten free but try almost always fall flat. However, there are lots of traditional french baked goods that aren’t supposed to have wheat, that use things like ground almonds that are amazing. They don’t try to be something that they aren’t, and they’re better for it. Such is the case for this sensational flourless chocolate hazelnut cake.

I have long debated putting this recipe up here because it isn’t my recipe, it is an extremely talented woman named Mary McIntyre who owns a wonderful cafe called Little Nest. But then I realized that she in fact has already published it in a a book which makes me feel that it’s okay.

I have made a couple changes, I use hazelnuts instead of almonds, and I use more vanilla extract. But this is a a very forgiving recipe, it’s super dark and intense without being fudgy, it’s still light somehow, its just generally wonderful. Seriously, make this cake.

Chocolate Hazelnut Cake

6 eggs, seperated

2 cups Brown Sugar

225g Butter

225g Good Dark Chocolate

1/2 cup Cocoa Powder

1/2 cup Hot Water

1 1/2 cup Ground Hazelnuts

Preheat oven to 350F

Line an eight inch round spring form pan with parchment paper

Melt butter and chocolate in a double boiler.

Add in the egg yolks.

Add in one cup of sugar, the ground hazelnuts, and cocoa powder.

Add sugar and hazelnuts.

In an electric mixer with the whisk attachment whip egg whites until soft peaks form. With the mixer still on slowly add in the brown sugar until it’s shiny and stiff peaks form.

Scoop one third of meringue into chocolate batter and fold in.

Add in the rest of the meringue and fold until barely combined.

Pour batter into prepared pan,

Cook until an inserted skewer comes out with only a couple moist crumbs about an hour.

Allow to cool in the pan. It will sink, do not panic!

Turn it upside down and your in business!

Cake and Roses


I have lived in Vancouver for 4 years now but I’d be lying if I said I didn’t miss Toronto sometimes. I miss the hot hot summers, the bustling streets and the art galleries and museums. But not even a tiny part of me misses Toronto in March. It is a hideous time in Toronto, all sludge and grey sky’s and, while we may have clouds in Van, we also have cherry blossoms. It is overwhelming how beautiful the streets of East Van are these days. Whole streets are pink with petals. East Vancouver may have a bad reputation but my goodness there is no nicer place on earth in early spring than the side streets of Commercial Drive.

So when I was asked to make a birthday cake this weekend I knew it would be have to be girly and floral, because all I can smell is flowers and all I can think of is summer. So here is a pound cake with vanilla rose buttercream. It’s unbelievably moist with lots of vanilla and just a hint of lemon. And a hint of rose too. Because it’s spring, and there’s something very romantic about spring.

Vanilla Pound Cake

1c Butter

2 1/4 cup Sugar

3 3/4 cup Pastry Flour

1 tsp Salt

2 tbsp Vanilla

Zest of 1 Lemon

3 Eggs

1 cup Buttermilk

Preheat oven to 350F

Butter and flour 2 7 inch cake pans

In a mixer with the paddle attachment cream Together butter and sugar until light and fluffy, about 5 minutes

Add in the eggs one at a time beating well between each addition.

Add in the zest and the vanilla extract beating again for another minute.

Add in one third of the dry ingredients, then half the buttermilk.

Repeat again until all the ingredients have been just combined, do not overmix.

Spoon into prepared pans

Vanilla-Rose Buttercream

1lb Butter, room temperature

8ox Sugar

4oz Egg Whites

2 Vanilla Beans

2 tsp Rose Water

Zest of one Lemon

Split the vanilla beans in half and scrape our the seeds out.

Break up the beans in a metal bowl with the sugar. Just squish them together, the abrasiveness of the sugar will do this easily.

Mix the egg whites into the sugar and set over a small pot of water on medium high heat on the stove. Whisk.

Keep whisking until it is frothy and is hot to the touch.

Remove from heat and pour mixture into the bowl of an electric mixer. Whisk on high for about 5 minutes or until stiff peaks appear and the mixture is very glossy.

On medium speed whisk in butter knob by knob. If it starts to look split don’t panic, just add in a big chunk of butter and it should come back. Add in the lemon zest, the rose and a bit of vanilla if you think you need more. Taste and make sure the rose is strong enough for you (sorry I forgot to take a picture at this point)

Now cut the cakes in half lengthwise.

Put a dob of icing down on your cake stand and put your first layer of cake down. put a thick layer of icing on top and spread it out with a spatula.

Then coat the outside with a thin layer of icing and refridgerate until cool and solid.

Now ice it however you’d like!

Morning Pastries in a Pinch

Is there anything better then morning pastries hot out of the oven? The smell of brioche waiting to be dripping in butter and jam, the perfect crispiness of fresh croissants, the steam as you open a hot cinnamon bun?

The only problem with morning pasties is that you need to prep for a couple hours the night before and relinquish your sleep in to let them proof and bake. Which in my books is a big problem. I want to sleep in, read the Sunday paper for a bit and then skip over to the kitchen throw something together and have it smell like a bakery. Which may not be realistic.

But I can sleep in, bake for 30 minutes, read the Sunday Times and half an hour later have fresh apple strudels, which is a pretty okay compromise I think.

Strudels are not hard to make. You make a very easy dough and let it sit for half an hour. While its sitting you chop up a few apples and stew them in some sugar and cinnamon until they get nice and translucent. Then you roll out the dough very thin which is surprisingly easy, it’s a very easy to work dough. You top on your apples roll the whole thing up and put it in the oven.

And then the smell starts.

The cooking dough, caramelizing apple breakfast pastry smell.

And you just sit there and read your paper and drink your coffee until the smell gets almost overwhelmingly wonderful. And then you pop it out of the oven and let it cool just a little and theny ou slice it up and eat it and feel like the queen of the universe. Or maybe that’s just me.

Dough

1/4 teaspoon salt
1 1/2 cups flour
1 egg, slightly beaten
1/3 cup warm water
1/2 cup butter, melted

Mix all ingredients together with a wooden spoon or spatula.

Knead like bread until dough begins to come together, I did this in my mixer with the dough hook but you could easily do it by hand. Don’t go to crazy, just knead for a couple minutes.

Put it aside, somewhere warm, maybe near your oven.

In the meantime make your apple filling.

Apple filling

4 cooking apples, I used ambrosia but whatever kind you like best.

1/2 cup sugar

1 tsp Cinnamon

Slice up your apples put them in a pot and simmer until they start to simmer a bit.

Add in the sugar and cinnamon and cook a bit longer. Don’t worry if it’s a bit soupy, you can take leave the liquid behind and just use the slices.

Preheat the oven to 400F

Now roll the dough into a long rectangle.

It will be very easy to roll and roll it as thin as you possibly can. I could easily see the wood grain of my counter top through the dough.

Spoon the apple mixture into a line all along the dough along one of the long ends.

Carefully fold the dough over the apples

 and then roll the dough with the apples until all the dough is wrapped around the filling.

Carefully transfer to your baking sheet.

Cut the ends and score the top to allow steam to escape.

Now bake for 20 minutes, turn the oven down to 300 and bake for twenty more.

Then get it on a cuttin board, slice them up and it it while its still hot and glorious!

That wasn’t so bad was it? And seriously how good does your house smell….

More Rhubarb


Are you sick of rhubarb recipes yet friends. I’m not! I know I know, I’ve posted about it 2 times already this month but rhubarb season is so fleeting and I think it will still be a couple more weeks before we start seeing local strawberries and blueberries and other kinds of fruit that, when I first see them, make me start dancing in the aisles of my local green grocers.

Which is all to say that there are another couple weeks, if we’re​​​ being optimistic, it would probably be more realistic to say a month or so but I am nothing if not an optimist, before we have any other fruit and so I feel a huge need to make the most of rhubarb season.

This is a tart that I`ve been making for a long time. My first ever restaurant job introduced me to both brown butter, butter that`s been cooked until the milk solids turn a pretty walnut colour and it starts to smell like hazelnuts, and brown butter pastry, when you mix that wonderous stuff with eggs and sugar and vanilla and a tiny bit of flour to hold it all together .

Some of you may be intimidated by the short crust pastry, or pie dough, but I really encourage you to try it. It is way easier then you think, and I made sure to take pictures at every step so you have a visual.

​​​

Tart Dough

1 cup (half a pound) of Cold Unsalted Butter, cut into chunks

2 cups of AP Flour

about 1/4 cup ice cold water

Cut the butter into the flour. That means break it up into pieces. Your not trying to mix the butter and flour, your simply trying to get chunks of butter throughout. If your worried about it, err on the side of making it to big.

Add in the water, just a tablespoon at a time until it is just barely barely combined. It’s best to have it on the dry side, but if you add a little to much just add a little more flour.

Now flour your counter space and carefully press it into a rectangle. The fold it in half and do it again.

And again, and again, until it starts to feel firm. Your adding layers at this point, making your tart almost in between a pie dough and a puff pastry, which is to saw your making your dough delicious.

Now get it in the fridge for at least an hour, or until it really sets up.

In the mean time:

Roasted Rhubarb

4 cups of chopped rhubarb, about 10 stalks

1 1/2 cups sugar

Preheat the oven to 400F

Lay the rhubarb on a parchment lined tray.

Sprinkle the sugar ontop.

Get it in the oven! Roast it until it starts to get soft but before it breaks down, anywhere between 12-25 minutes depending on the size of your rhubarb

Now make the brown butter pastry

1/2 cup Sugar

2 Large Eggs

1/4 cup AP Flour

1/2 cup Butter

1 tbsp Vanilla

Get your butter in a pot, not a frying pan, it will sizzle up, and cook it on medium heat.

It will get all foamy, then it will get clear again. The it gets foamy again, and you won’t be able to see the bottom well but swirl the pan around and smell it lots. The smell will be like hazelnuts and the bottom will start to get a pretty brown. As soon as this happens get it out of the pot and into a bowl, or it will burn

In another bowl get the eggs and the sugar combined. Add in the vanilla.

Add in the butter and then the flour

And now your ready to assemble!

Roll out the dough and cut it out. I didn’t have a round cutter that was big enough so I used a bowl

Put about a tablespoon of brown butter mix in the center of the circles. The fill up the space with rhubarb. Make sure you leave space to fold the edges over.

Now fold up the edges

And then finish and put them back in the fridge for another twenty minutes

Beat an egg and brush it on the tops of the pastry, then sprinkle some sugar on top.

and bake it up! The pastry will get a lovely brown the rhubarb will caramelize and you will be in pastry heaven!