Leftovers

The inimitable MFK Fisher who revolutionized food writing from the 1930’s all the way to 1990’s wrote a wonderful essay about leftovers. Of course now that I am looking for it to quote it, it is lost somewhere in a book shelf and I can’t give you anything concrete but the basic idea of it was, that anyone can go to the store, buy ingredients, follow a good recipe and make a good meal. And this is true. But, she argues, it takes a good creative cook to look into her fridge and say, “Well, I’ve got a little bacon, some leftover squash, a tomato, and half a bottle of wine” and turn it into something delicious. And then, in her wonderful honest, not at all pretentious way, tells us that its a better way to cook, a more exciting way to cook, and a more satisfying way to cook.

Ever since reading that I think about it all the time. It’s so nice to make a meal out of things you thought you might throw away!

So yesterday when I looked in my fridge and saw half a bag of frozen blueberries, three quarters of a tub of ricotta that expires in 2 days, a lemon past it’s prime and 4 things of butter with a few tablespoons in each, I knew I could make it into something. In fact, I might just start keeping these things around to make this cake again but it was seriously good.

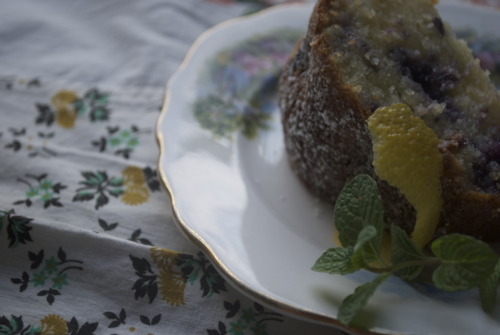
It is very very moist, not to sweet from the lemons, and the blueberries add a little something that makes it taste like summer.
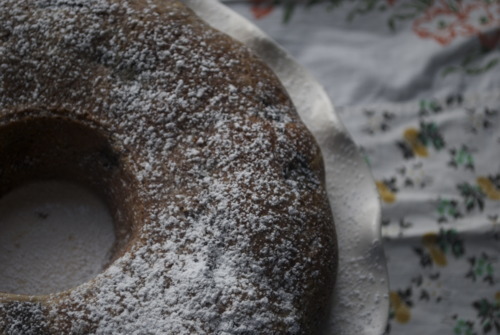
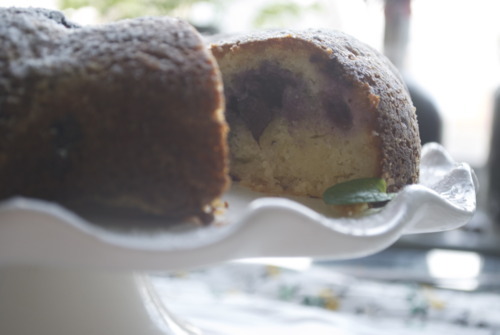
So here it is, Blueberry Ricotta Bundt Cake.

3/4 cup Butter, Softened

1 1/2 cup Sugar

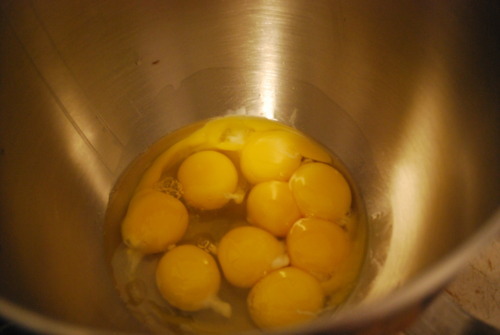
3 Eggs

1 cup Ricotta

1 1/2 cup AP Flour

1 tbsp  Baking Powder

1 tsp Baking Soda

Juice of 2 Lemons

Zest of 1 Lemon

Cream butter and sugar until light and fluffy
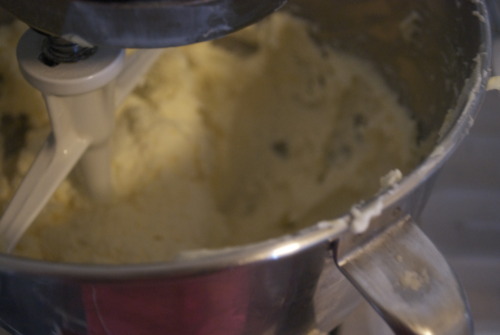
Add in ricotta and lemon zest.
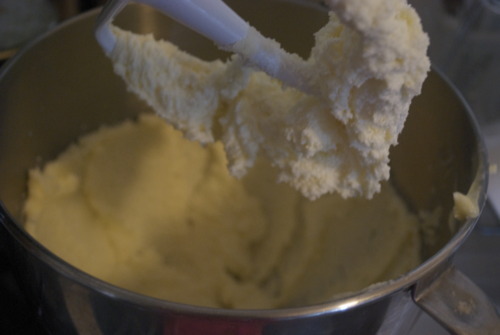
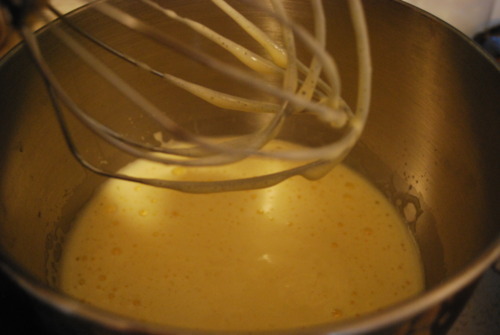
Add in the eggs one at a time, scraping down the sides of the bowl in between each addition.

Add in the ricotta and the lemon zest.
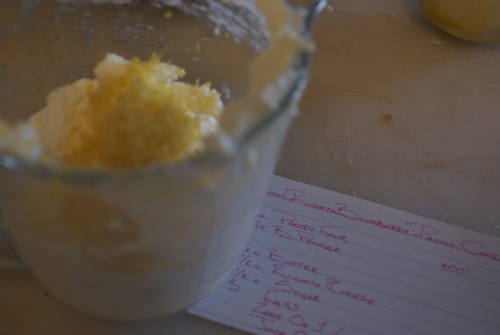
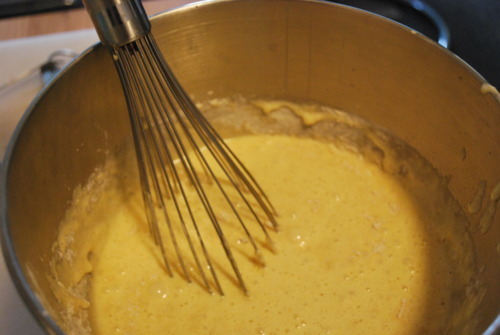
Add in the lemon juice, and then the dry ingredients. Do not over mix.
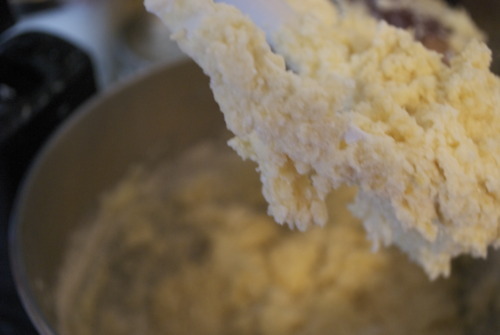
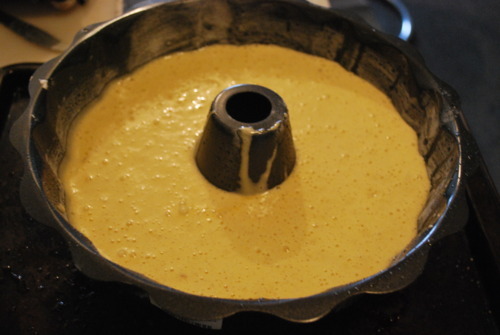
Mix in the blueberries and spoon into the prepared pan.
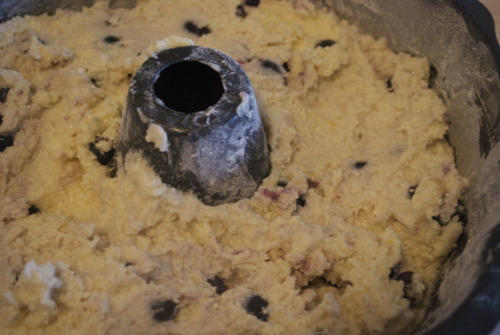
Bake until an inserted skewer comes our with only a few moist crumbs, about 45 minutes.
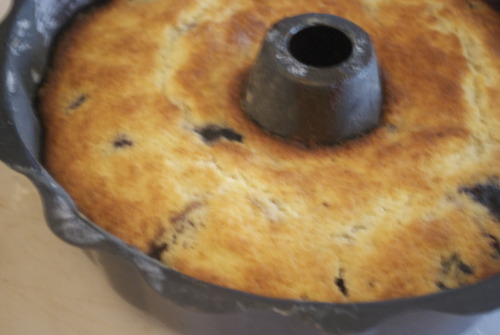
Flip it out onto a a plate and let cool, slice it and eat it up!
Pop Tarts

I have never eaten a pop tart. I’ll even go further, I have never wanted a pop tart. Oh that’s probably not true, I’m sure they were popular for a while when I was in middle school or something but the point is, I can’t remember ever wanting one.

In a recent discussion about breakfast though I realized I am the only one in our household of two that way.

I am the only one in our household of two that feels that way about a lot of junk food. I’ll admit I’m a little evangelical about eating local, seasonal, unprocessed food.

But I am not unreasonable, friends. I do not allow pop tarts, McDonalds or powdered garlic into my house. BUT I will make pop tarts, burgers, and I am actively looking for a way to make powdered garlic that doesn’t  involve a dehydrator.

See? I’m a totally rational human being. I swear.

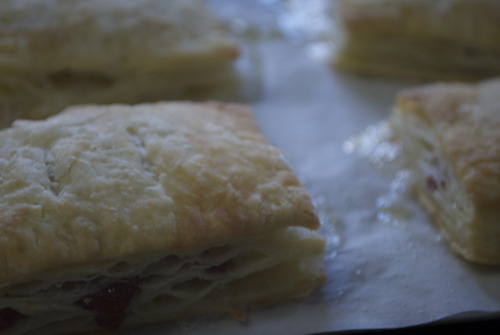
I made these pop tarts almost entirely from the recipe I found on Smitten Kitchen, which is a fantastic blog. The pastry is very flaky but also sturdy enough to hold as your running out the door with a coffee in your hand, which sounds like an oxymoron but I promise this works beautifully.

It’s crisp and light and great. Jordan thinks they are more like a toaster streudel. I’ve never eaten one of those either.

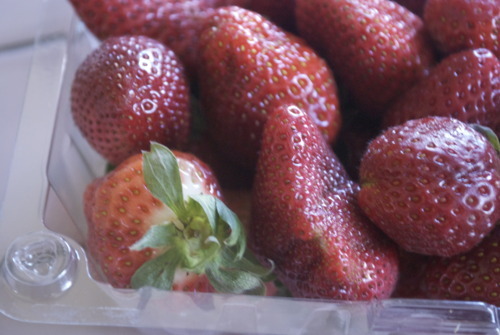
The dough is just like a pie dough but it has an egg in it so it holds its shape better and the filling is just jam with a little cornstarch to make sure the bottom pastry doesn’t get soggy. I made the jam (with local strawberries! Yeah!!)  but you could use any jam that you have with a little extra cornstarch, or even nutella inside if you don’t have the time.

I won’t judge.

Stawberry Filling:

1 quart Strawberries

1/2 cup Sugar

1 tsp Cornstarch

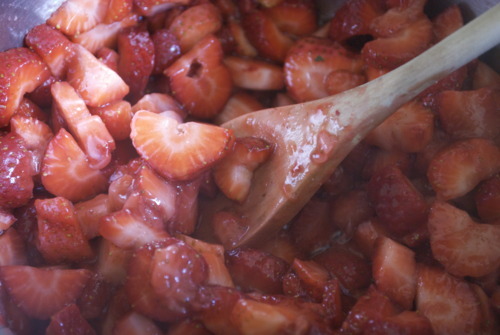
Cut up strawberries and get them in a pot on the stove

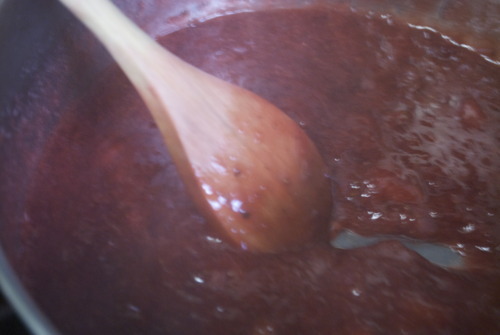
Let them simmer for about 15 minutes until nearly all the liquid is gone.

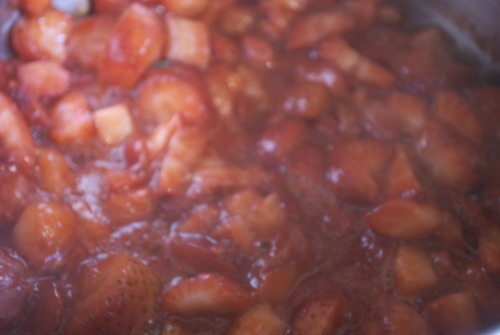
Add in the sugar and continue to simmer for another 20 minutes or so until it’s nearly dry again.

Mix the cornstarch with 1 tsp of water and then mix it into the jam. Bring to a boil and then take it off the heat and get it into a bowl in the fridge.

Pastry
2 cups (8 1/2 ounces) all-purpose flour
1 tablespoon sugar
1 teaspoon salt
1 cup (2 sticks or 8 ounces) unsalted butter, cut into pats, very cold.
1 large egg
2 tablespoons (1 ounce) milk

In the meantime make the pastry:

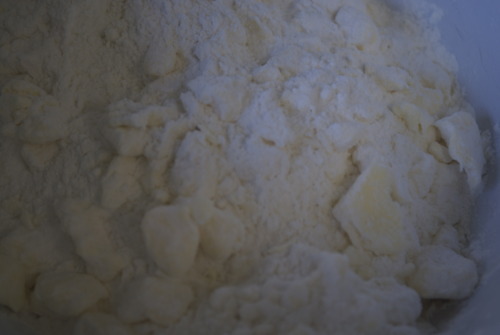
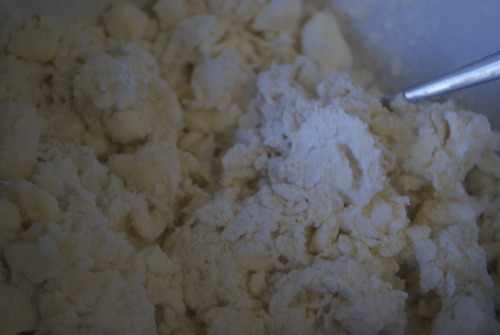
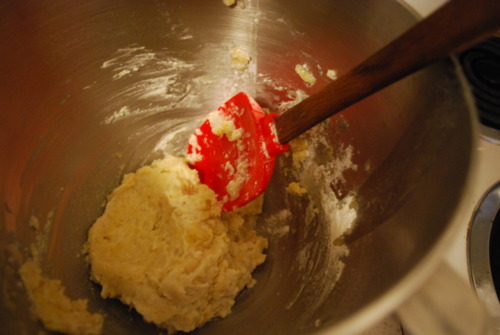
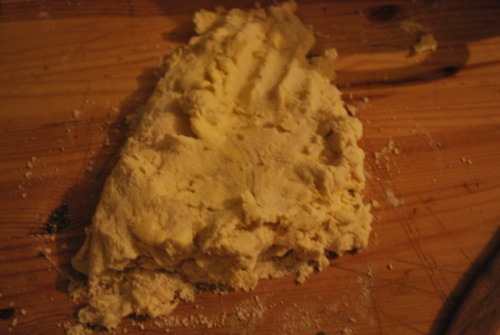
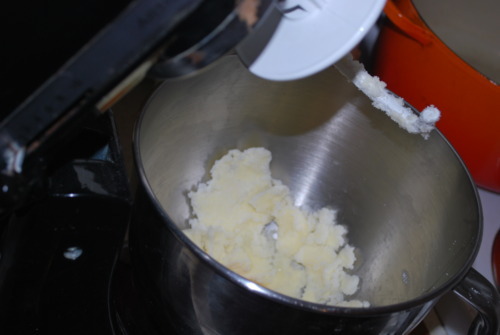
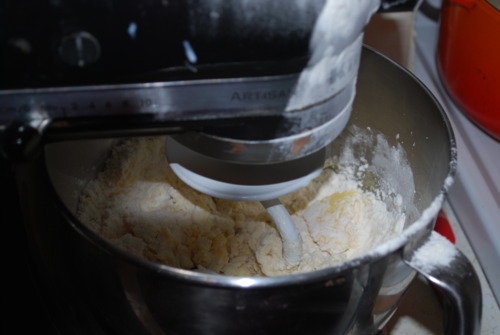
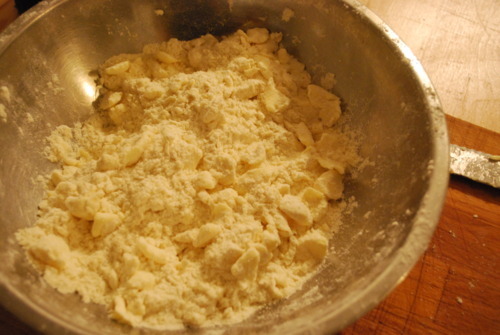
Mix the butter, sugar, and salt in a bowl. Cut in the butter. That means break it up with your hands until the butter is in pea sized pieces. It should look like this

Add in the egg and the milk. it should be quite dry but if it doesn’t come together add in another bit of milk.

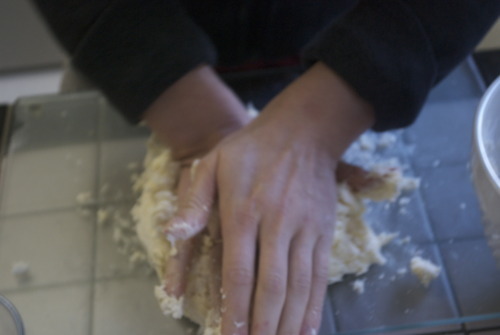
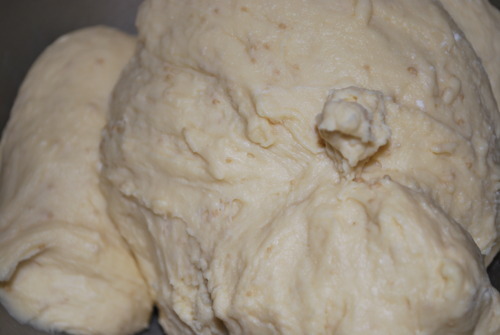
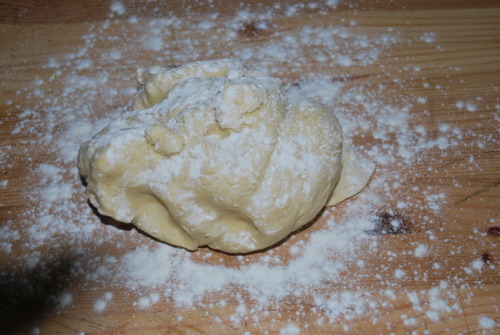
On a lightly floured board push the dough into a flat rectangle and then fold it in half. Push it down, fold it in half and and keep doing it until it starts to feel a little tough and it doesn’t quite want to be folded. Then wrap it up and put it in the fridge.

Preheat the oven to 375F

After about half an hour in the fridge and once the jam is cold you can roll out your dough.

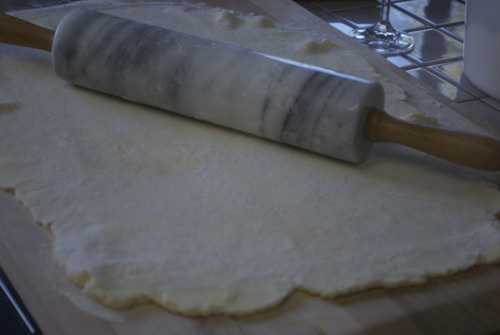
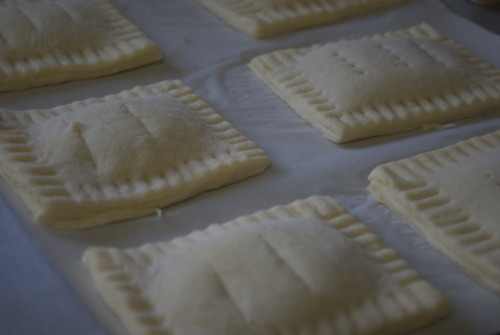
Roll it out into a long rectangle about 1/4 inch thick. Cut with a non-serated knife into rectanlges of your choice! I did mine about 4-3 inches.

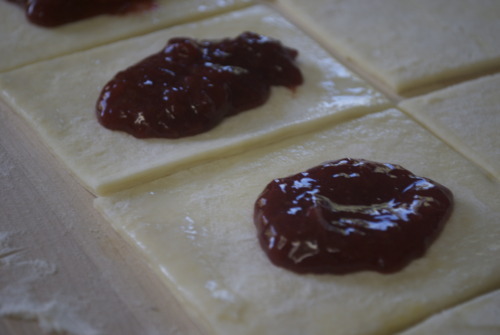
Put a dollop of jam on top of half of the rectangles, about a teaspoon each. Brush some water on the bottom edges.  These will be the bottom pieces.

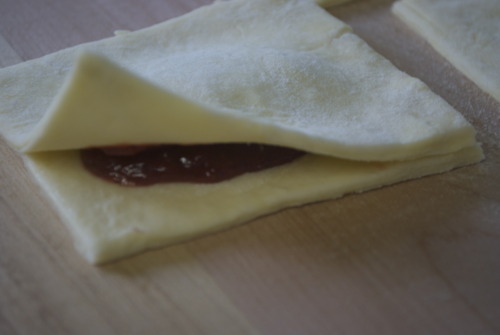
Cover the bottom pieces with the remaining rectangles.

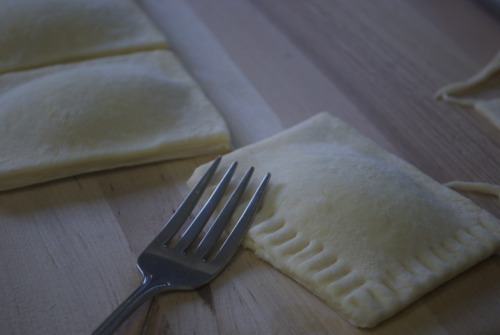
Press down the edges with a fork. This will help make sure the jam doesn’t shoot out the sides. Poke the top of them too to let some steam out.

Get them on a tray and bake them! About 20 minutes, and they are deffinatly best served hot, or perhaps, out of a toaster.

Morning Pastries in a Pinch

Is there anything better then morning pastries hot out of the oven? The smell of brioche waiting to be dripping in butter and jam, the perfect crispiness of fresh croissants, the steam as you open a hot cinnamon bun?

The only problem with morning pasties is that you need to prep for a couple hours the night before and relinquish your sleep in to let them proof and bake. Which in my books is a big problem. I want to sleep in, read the Sunday paper for a bit and then skip over to the kitchen throw something together and have it smell like a bakery. Which may not be realistic.

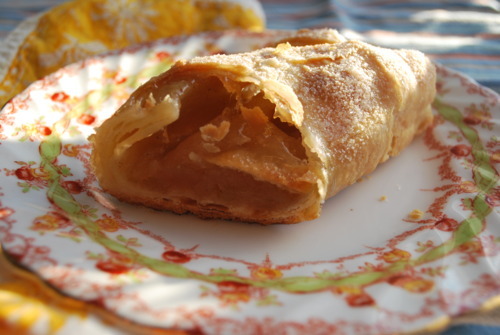
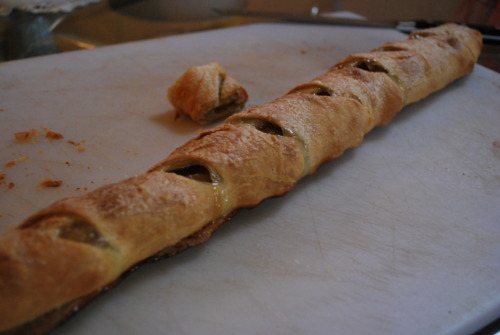
But I can sleep in, bake for 30 minutes, read the Sunday Times and half an hour later have fresh apple strudels, which is a pretty okay compromise I think.

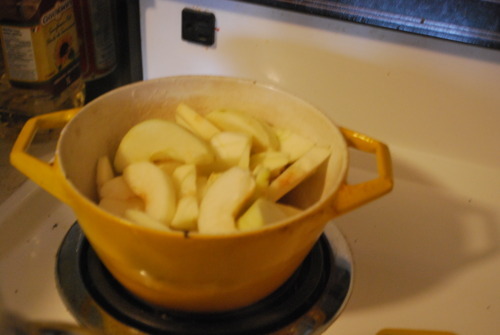
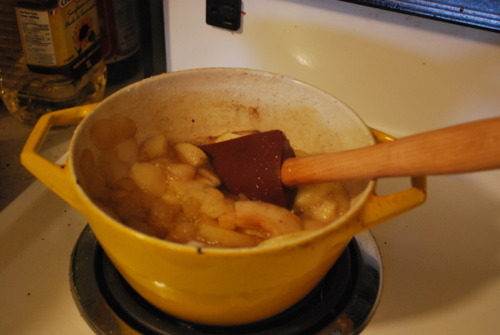
Strudels are not hard to make. You make a very easy dough and let it sit for half an hour. While its sitting you chop up a few apples and stew them in some sugar and cinnamon until they get nice and translucent. Then you roll out the dough very thin which is surprisingly easy, it’s a very easy to work dough. You top on your apples roll the whole thing up and put it in the oven.

And then the smell starts.

The cooking dough, caramelizing apple breakfast pastry smell.

And you just sit there and read your paper and drink your coffee until the smell gets almost overwhelmingly wonderful. And then you pop it out of the oven and let it cool just a little and theny ou slice it up and eat it and feel like the queen of the universe. Or maybe that’s just me.

Dough

1/4 teaspoon salt
1 1/2 cups flour
1 egg, slightly beaten
1/3 cup warm water
1/2 cup butter, melted

Mix all ingredients together with a wooden spoon or spatula.

Knead like bread until dough begins to come together, I did this in my mixer with the dough hook but you could easily do it by hand. Don’t go to crazy, just knead for a couple minutes.

Put it aside, somewhere warm, maybe near your oven.

In the meantime make your apple filling.

Apple filling

4 cooking apples, I used ambrosia but whatever kind you like best.

1/2 cup sugar

1 tsp Cinnamon

Slice up your apples put them in a pot and simmer until they start to simmer a bit.

Add in the sugar and cinnamon and cook a bit longer. Don’t worry if it’s a bit soupy, you can take leave the liquid behind and just use the slices.

Preheat the oven to 400F

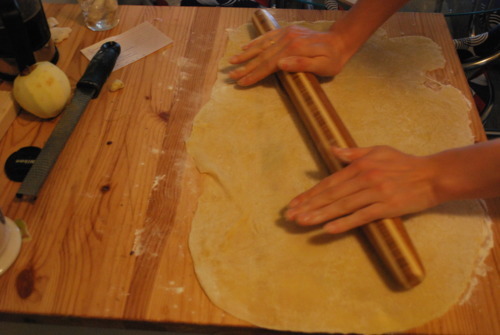
Now roll the dough into a long rectangle.

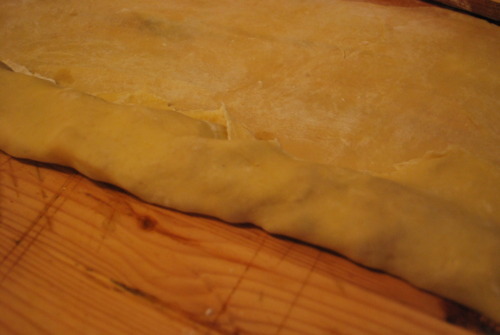
It will be very easy to roll and roll it as thin as you possibly can. I could easily see the wood grain of my counter top through the dough.

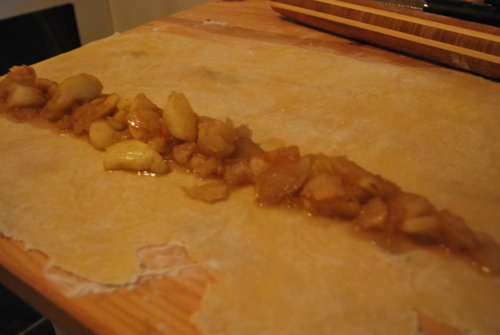
Spoon the apple mixture into a line all along the dough along one of the long ends.

Carefully fold the dough over the apples

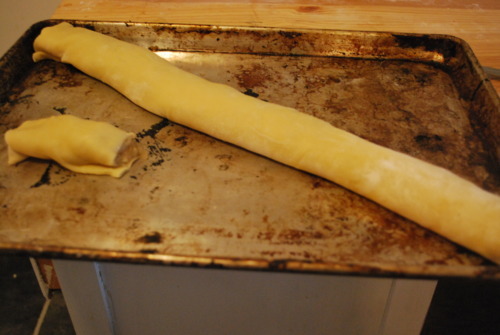
 and then roll the dough with the apples until all the dough is wrapped around the filling.

Carefully transfer to your baking sheet.

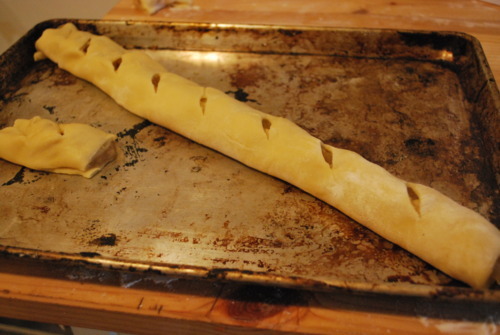
Cut the ends and score the top to allow steam to escape.

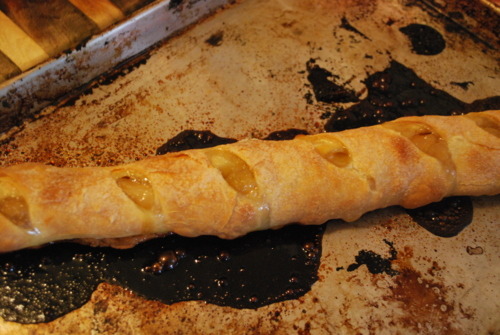
Now bake for 20 minutes, turn the oven down to 300 and bake for twenty more.

Then get it on a cuttin board, slice them up and it it while its still hot and glorious!

That wasn’t so bad was it? And seriously how good does your house smell….

More Rhubarb


Are you sick of rhubarb recipes yet friends. I’m not! I know I know, I’ve posted about it 2 times already this month but rhubarb season is so fleeting and I think it will still be a couple more weeks before we start seeing local strawberries and blueberries and other kinds of fruit that, when I first see them, make me start dancing in the aisles of my local green grocers.

Which is all to say that there are another couple weeks, if we’re​​​ being optimistic, it would probably be more realistic to say a month or so but I am nothing if not an optimist, before we have any other fruit and so I feel a huge need to make the most of rhubarb season.

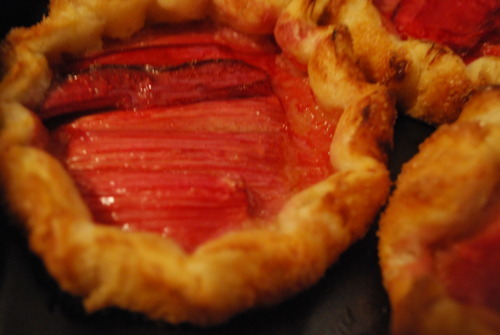
This is a tart that I`ve been making for a long time. My first ever restaurant job introduced me to both brown butter, butter that`s been cooked until the milk solids turn a pretty walnut colour and it starts to smell like hazelnuts, and brown butter pastry, when you mix that wonderous stuff with eggs and sugar and vanilla and a tiny bit of flour to hold it all together .

Some of you may be intimidated by the short crust pastry, or pie dough, but I really encourage you to try it. It is way easier then you think, and I made sure to take pictures at every step so you have a visual.

​​​

Tart Dough

1 cup (half a pound) of Cold Unsalted Butter, cut into chunks

2 cups of AP Flour

about 1/4 cup ice cold water

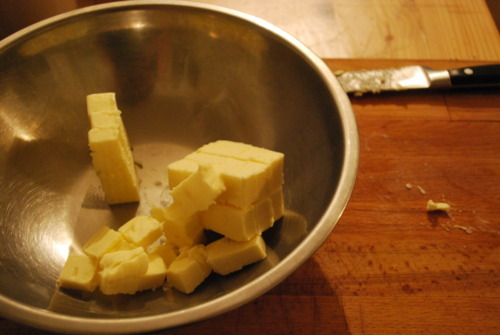
Cut the butter into the flour. That means break it up into pieces. Your not trying to mix the butter and flour, your simply trying to get chunks of butter throughout. If your worried about it, err on the side of making it to big.

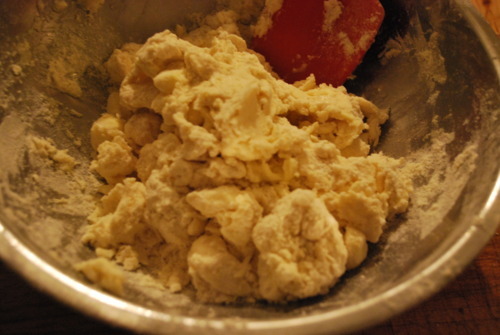
Add in the water, just a tablespoon at a time until it is just barely barely combined. It’s best to have it on the dry side, but if you add a little to much just add a little more flour.

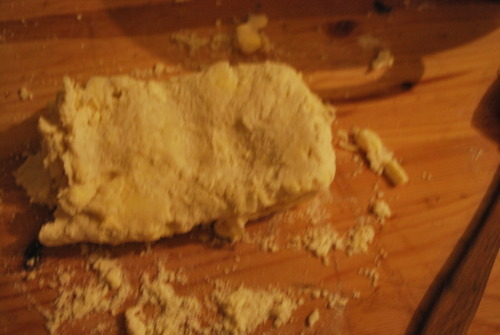
Now flour your counter space and carefully press it into a rectangle. The fold it in half and do it again.

And again, and again, until it starts to feel firm. Your adding layers at this point, making your tart almost in between a pie dough and a puff pastry, which is to saw your making your dough delicious.

Now get it in the fridge for at least an hour, or until it really sets up.

In the mean time:

Roasted Rhubarb

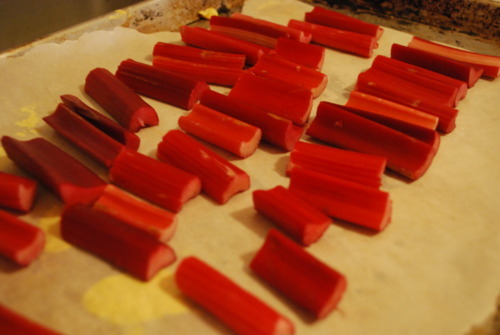
4 cups of chopped rhubarb, about 10 stalks

1 1/2 cups sugar

Preheat the oven to 400F

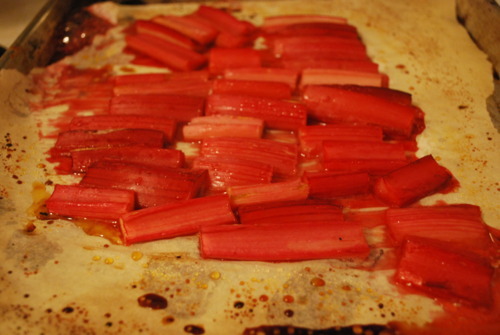
Lay the rhubarb on a parchment lined tray.

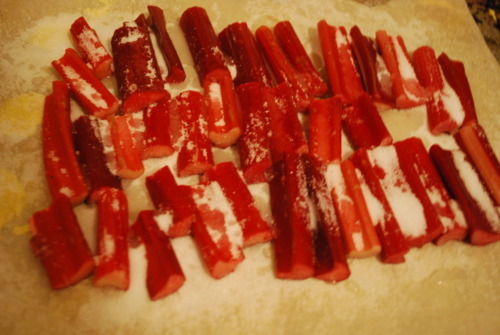
Sprinkle the sugar ontop.

Get it in the oven! Roast it until it starts to get soft but before it breaks down, anywhere between 12-25 minutes depending on the size of your rhubarb

Now make the brown butter pastry

1/2 cup Sugar

2 Large Eggs

1/4 cup AP Flour

1/2 cup Butter

1 tbsp Vanilla

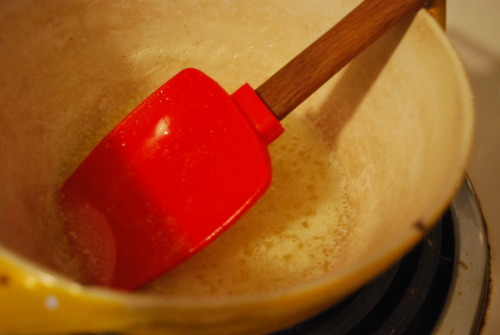
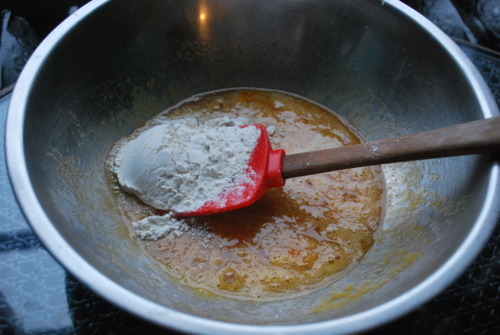
Get your butter in a pot, not a frying pan, it will sizzle up, and cook it on medium heat.

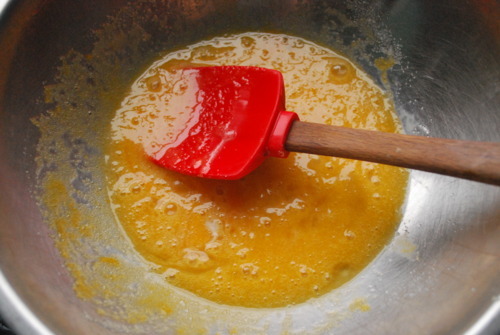
It will get all foamy, then it will get clear again. The it gets foamy again, and you won’t be able to see the bottom well but swirl the pan around and smell it lots. The smell will be like hazelnuts and the bottom will start to get a pretty brown. As soon as this happens get it out of the pot and into a bowl, or it will burn

In another bowl get the eggs and the sugar combined. Add in the vanilla.

Add in the butter and then the flour

And now your ready to assemble!

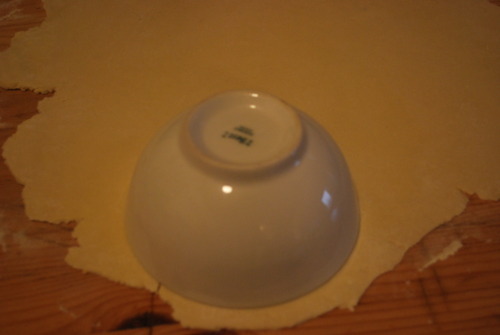
Roll out the dough and cut it out. I didn’t have a round cutter that was big enough so I used a bowl

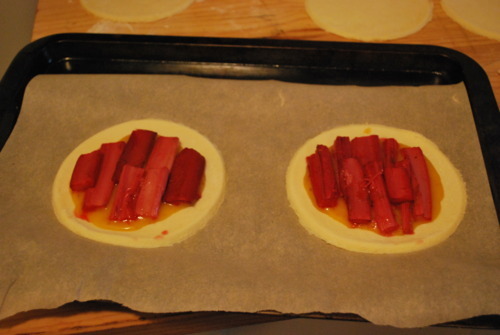
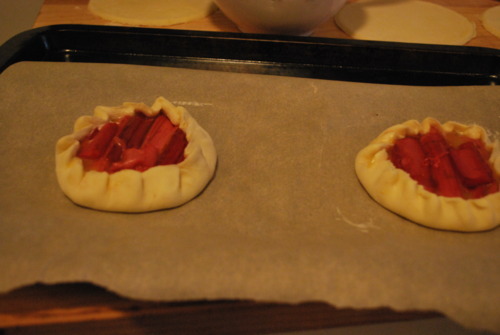
Put about a tablespoon of brown butter mix in the center of the circles. The fill up the space with rhubarb. Make sure you leave space to fold the edges over.

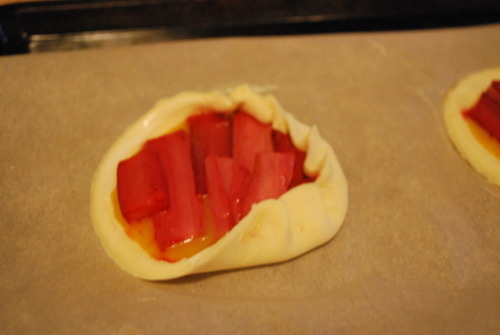
Now fold up the edges

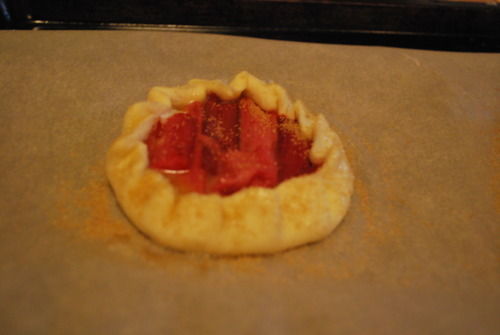
And then finish and put them back in the fridge for another twenty minutes

Beat an egg and brush it on the tops of the pastry, then sprinkle some sugar on top.

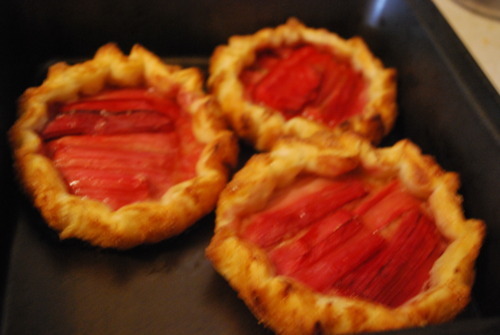
and bake it up! The pastry will get a lovely brown the rhubarb will caramelize and you will be in pastry heaven!
Olive Oil


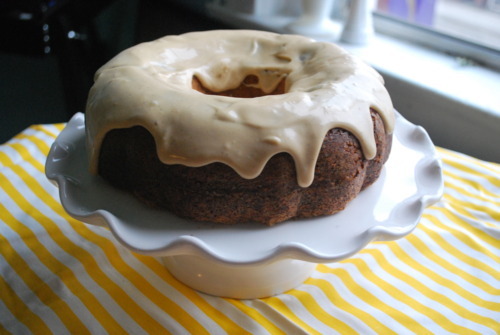
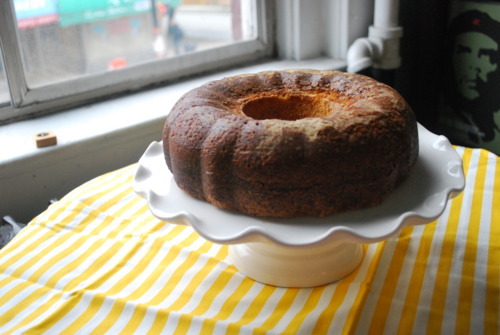
Sometimes I worry that, despite never gaining weight, Jordan will die at 35 from eating to much butter and salt. I have low blood pressure, so I am okay in the salt department but, I do eat an alarming amount of butter. But it’s better with butter! It is. But sometimes I think maybe I should eat more vegetables and exercise more. I was thinking this the other day as I struggled into my skinny jeans. So I decided to make olive oil cake. Practically health food right? I mean olive oil helps prevent heart disease. Genius.

So instead of spending 17 dollars to go to hot yoga I spent 14 on good fruity olive oil and baked a cake. Yes friends, I am not only healthy but also frugal.

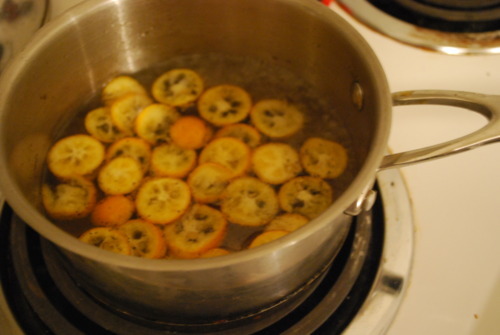
Then I made a really amazing icing with some kumquats because I am the sort of person who keeps kumquats handy, just in case. But if you are not similarly obsessive regular old oranges would be lovely too. I didn’t plan on it being a burnt orange frosting but, well, I burnt it, and it smelled so good burnt I just decided to go with it. And I’m glad I did.

1 cup extra-virgin olive oil
3/4 cup all-purpose flour
2-1/2 teaspoon baking powder
1/2 cup flour
1/2 teaspoon salt
1/4 cup brandy
3 extra-large eggs
6 extra-large egg yolks
2 cup sugar
1 tsp vanilla extract

Preheat oven to 350F

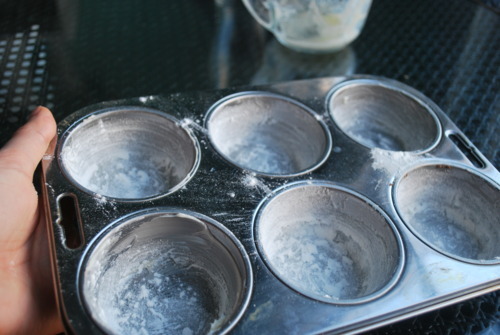
Butter and flour a bundt pan or a 8 inch round cake pan

Sift together dry ingredients.

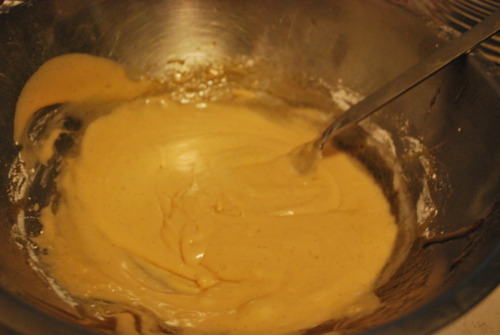
In an electric mixer fitted with the whisk attachment mix eggs and yolks and beat on high speed until light and fluffy, about 7 minutes.

Slowly pour in sugar and continue to beat for another minute

Very slowly pour the olive oil and brandy and vanilla into the the bowl, letting it drip against the side of the bowl to prevent it deflating as much as possible.

Remove bowl from mixer and fold in dry ingredients by hand.

Pour into prepared pan and bake until an inserted skewer comes out with only a few moist crumbs, about 35 minutes.

Let cool for about 5 minutes in the pan, the carefully invert it onto a wire rack and allow to fully cool before icing

Burnt orange frosting

1 cup sugar

2 cups water

5 Kumquats, sliced, or the zest of 2 Oranges peeled with a vegetable peeler into thick strips.

1 cup Icing sugar

3-4 tbsp Whipping Cream

1 vanilla bean split in half and seeds scraped.

Bring sugar and 1 1/2 cups of water to a boil. Add in kumquats or oranges and vanilla bean and seeds and cook on high heat.

Let oranges begin to soften and become translucent.

After about 20 minutes the mixture will begin to caramelize.

Don’t stir it! Let it get a deep amber and the oranges start to get dark

Take off the heat and immediately add in the remaining half cup of water. Be careful, it will boil up!

Strain and allow to cool.

Mix in the icing sugar and as much cream as needed to get to the right consistency.

Drizzle over cake and serve it up!
Marmalade Muffins

It’s been mentioned a couple times recently by a certain somebody who lives in this apartment that it’s beginning to look a little like a candy shop. That maybe we eat too much cake. That perhaps I should blog about some bread or breakfast foods, or maybe make something out of something in the fridge because there is actually no space left to put vegetables. That maybe vegetables wouldn’t be such a bad idea, would they?

To which I say rubbish.

Except that there really is no room in the fridge and I would actually like to put things in the fridge, even though they are more of jam or chocolate variety.

So I’m being oh so generous and making muffins (breakfast!) with marmalade (stuff in the fridge!) but really, I’m making them because that sounds delicious to me.

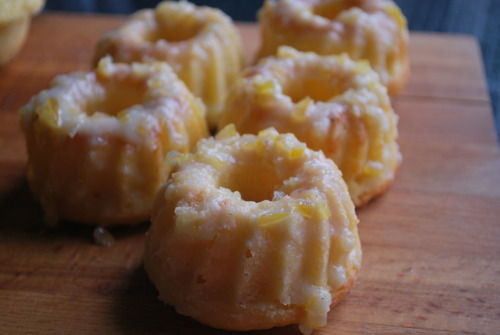
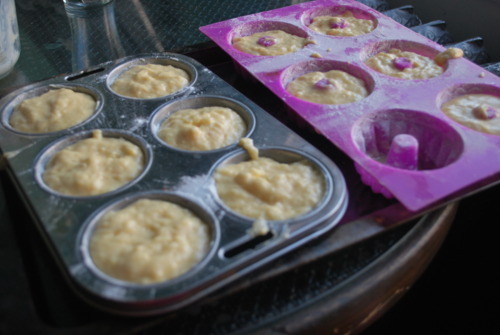
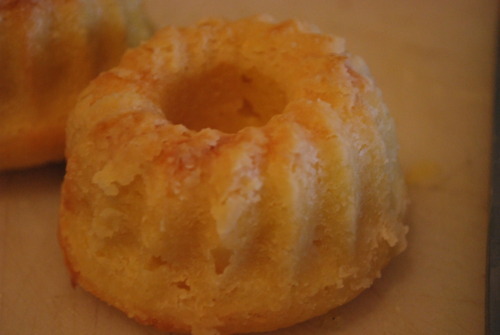
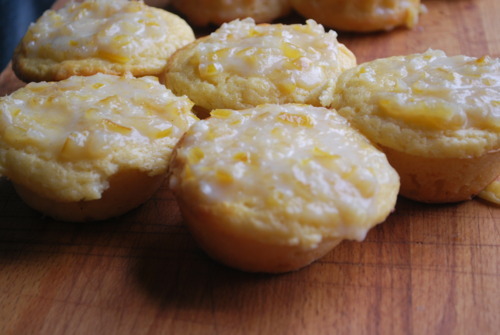
These are beyond simple to make, but the glaze is really what makes them extra special. Just yogurt and marmalade in it but it elevates the muffins into fancy tea food. In fact, I made some in my mini Bundt pans to use as teacakes, because they are so delicious I don’t think I will have any trouble at all eating them once in the morning and once in the afternoon. No trouble at all.

Yogurt Muffins with Marmalade Glaze

1 ½ cup All Purpose Flour

½ tsp Salt

2 tsp Baking Powder

1cup Sugar

1 cup Yogurt

3 Eggs

1 tbsp Vanilla Extract

½ cup Butter

Zest of 1 lemon

Glaze

½ cup Marmalade

¼ cup Yogurt

Preheat oven to 350F

Butter and flour 12 muffin cups or mini bundt pans, or a loaf pan if you’re feeling crazy

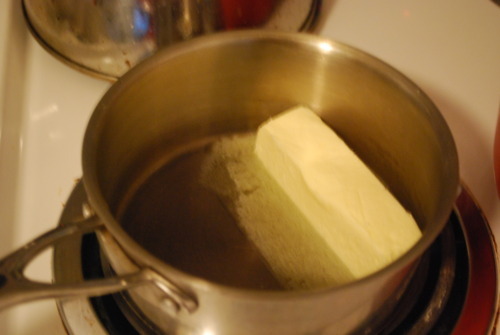
Melt butter

Whisk together dry ingredients in a bowl to remove any lumps

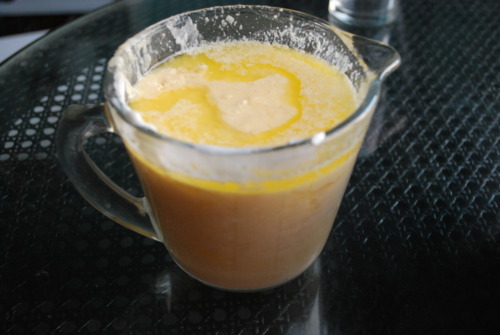
Whisk together all wet ingredients until combined, I mix it all in my measuring cup so I don’t have to dirty another dish.

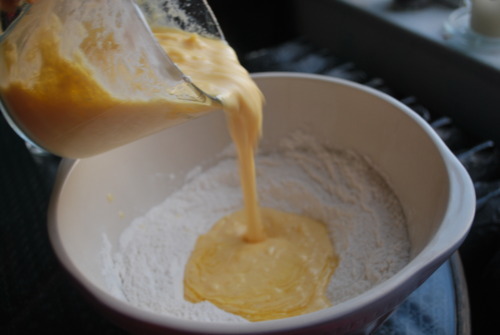
Mix together until just combined, a couple lumps never hurt anyone so don’t worry if there are a few.

Fill muffin cups ¾ full

Bake until an inserted skewer comes out clean, about 25 minutes


Glaze:

Melt marmalade over the stove

Take off heat and stir in yogurt.


An Easy Way To Make Friends

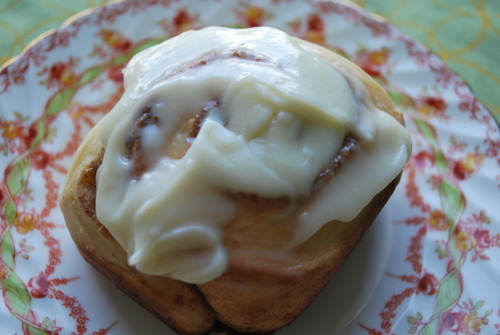
When I was in high school I fell hopelessly in love with a boy. He was handsome and charming and I was smitten from the start. And then I was inconsolably devastated when he suddenly moved across the province leaving me all alone. We ran into each other a couple of years later at a party in and I was once again head over heels. I went to visit him the next weekend in Montreal with my cutest outfits, overwhelmingly high expectations, and a tray of proofing cinnamon buns. I brought the dough and the cinnamon sugar mix on the side and woke up early the next morning to roll and bake them. The whole apartment smelled of fresh bread and cinnamon. Needless to say they were a serious hit.

I learnt 3 things that weekend:

  1. There is a big difference between being mysterious and being emotionally unavailable.

  2. Montreal is an unbelievably great city.

  3. There is no easier way to get in the good books of a guys friends then to bake cinnamon buns in their house.

The boy I was into was not into me. I would be lying if I said there weren’t tears shed on the train ride home, but man oh man, his room mates loved me.

Now, I like to think I am not quite so desperate these days. I have a wonderful man who I’ve been with for nearly 4 years and I am far past the point of trying that hard to make people like me. And yet… This weekend we have one of Jordan’s friends who I don’t know very well staying with us for the weekend and I made cinnamon buns. I guess some things never change.

6 1/2 tablespoons (3.25 ounces) granulated sugar

1 teaspoon lemon extract or zest

1 1/2 tsp Cinnamon

1 teaspoon salt

1/2 cup (2.75 ounces) shortening or unsalted butter, room temperature

2 large egg, slightly beaten

3 1/2 cups (16 ounces) unbleached bread or all-purpose flour

2 teaspoons (.22 ounce) instant yeast

1 to 1 1/4 cups (9 to 10 ounces) whole milk or buttermilk, room temperature

3/4 cup Light Brown Sugar

1 1/2 tsp Cinnamon

Fit a standard mixer with a dough hook attachment

Cream butter and sugar together, this will be a little hard with the dough hook so you can get in there with a spatula if you need to.

Mix in your eggs. It will be split and not pretty. Don`t panic!
Just add in all your dry ingredients except the sugar and the cinnamon.

Slowly add in the milk, first 1 cup, then more if you need to.

Work the dough until it comes together and follows the dough hook around. It should still feel a little tacky but if you break a piece off and stretch it should  become transparent. If it doesn`t keep mixing for a while until it does.

Cover the bowl with a cloth. If you plan on baking them today put them in a warm spot to proof. It will take about 2 hours for them to double in size. If you want to bake them tomorrow put the bowl in the fridge.

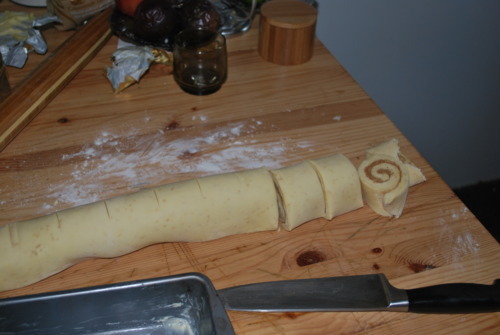
Roll out the dough. It should be a square about a foot and a half each way. I didn’t roll mine thin enough, I prefer lots of thin cinnamon-y pieces on mine generally. Then cut them into pieces and put into a buttered pan!

Let it proof until doubled in size. If you chilled it overnight it will take about 2 hours, if it`s room temp it should only take about an hour.

Preheat oven to 375F

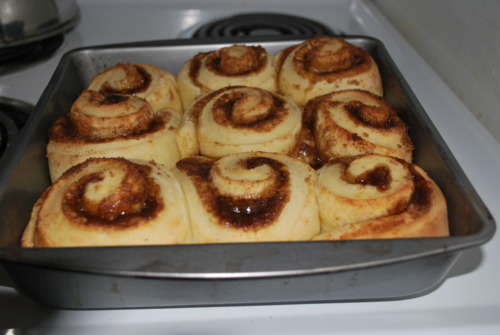
Bake for about 20 minutes or until just starting to brown on top and your house smells absolutly heavenly.

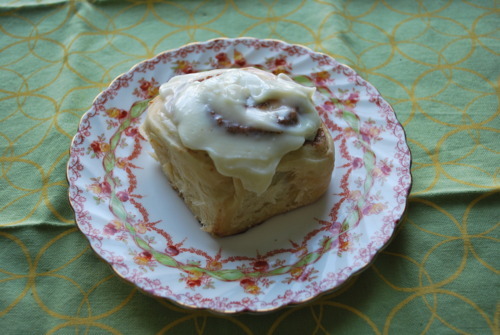
Spread lightly with Cream Cheese Glaze:

Beat 2 tbsp Cream Cheese with 3/4 cup Icing Sugar. Thin with a tablespoon or two or whipping cream.