S'Mores Cupcakes

A few years ago, after working at a very good restaurant for an extremely talented chef who made me cry every day for 8 months, I took a hiatus from cooking. To pay the bills I took a job as a hostess for a summer. The catch was that they promised me full time work and only gave me two shifts a week, which would have been way more manageable except that then I got dumped. And that would have been easier if I had lived in the city for longer and had more friends but I didn`t. And so I spent my days applying for jobs and not getting the jobs I`d applied for and crying, and feeling rejected and just generally having a really rough go. And so everyday I woke up and made cupcakes. Everyday. Compusively. I made blueberry cupcakes, raspberry caramel cupcakes, dolce de leche cupcakes, maple pecan cupcakes. I made an insane amount of cupcakes. I gave them to people at work (which might be why they ended up giving me more shifts) and I gave them to my one good friend (who obliging took them everyday, even though shes very food concious) occasionally I gave them to boys I went on dates on, but they were rarely worth it. Fortunately that phase is through and my life has sorted itself out and I have since decided I am over cupcakes. I am cupcaked out. But today I had to go to a beach party and bring dessert, and I realized why people started making cupcakes in the first place. It`s cake, that doesn`t involve cutlery, or plates. And then I realized there was one kind of cupcake I`d never made before. S`mores cupcakes. I`m telling you, you really ought to make these. Yes there are multiple steps and yes it`s a little time consuming, but really. It`s S`mores cupcakes. You know you`re going to.

Graham Cracker Cupcakes:

1 1/2 cups graham cracker crumbs (about 15 crackers)

1/2 cup all purpose flour

1 tbsp Baking Powder

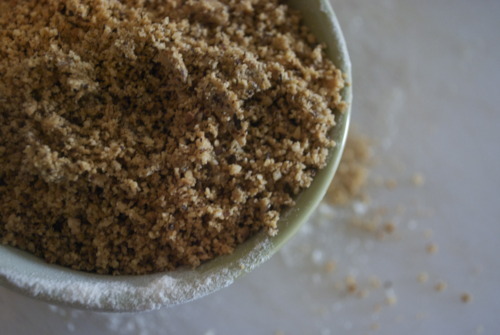
3/4 cup Brown Sugar

2 Large Eggs

1/2 cup Butter, softened

3/4 cup Milk or Buttermilk

Ganache:

3/4 cup Milk Chocolate

2/3 cup Heavy Cream

Marshmallow Topping:

3 Large Egg Whites

2 tbsp Sugar

1/2 cup Water

1/2 cup Corn Syrup

3/4 cup Sugar

1 tsp Vanilla Extract

To make Ganache

Bring the cream to a boil

Pour on top of chocolate

Stir until smooth (sorry! i forgot to take a picture of this step!)
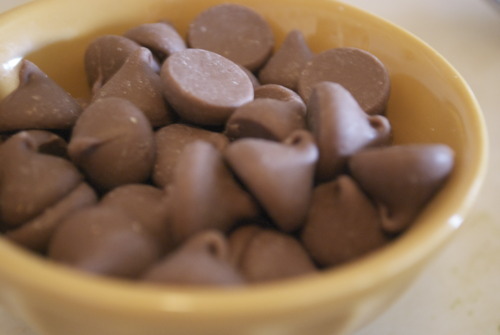
To Bake Cupcakes

Preheat oven to 350F

Line with cupcake liners or butter and flour 1 dozen cupcake tins, or 3 dozen mini cupcake tins.

Whisk together your dry ingredients
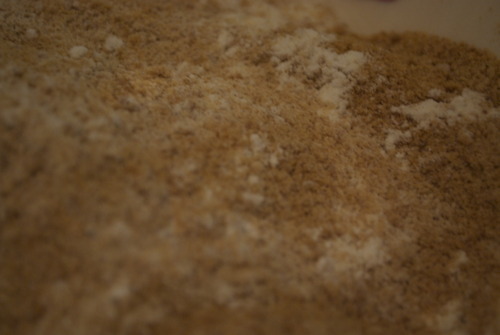
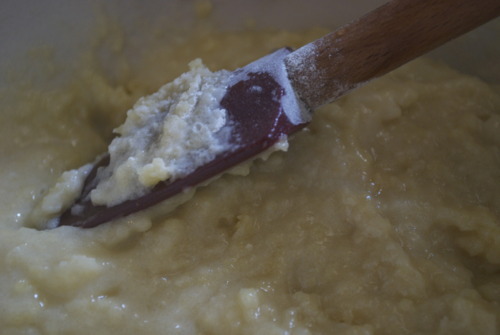
Cream together butter and sugar until light and fluffy. Add in the eggs one at a time beating well between each addition.
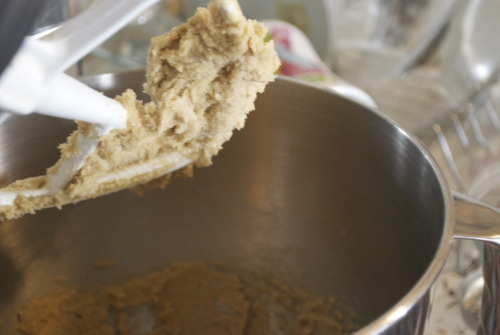
Alternate in the dry ingredients and wet ingredients beginning and ending with the dry.

Spoon the batter 3/4 of the way up the cupcake liners.
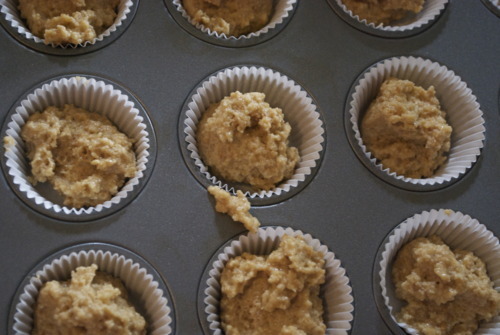
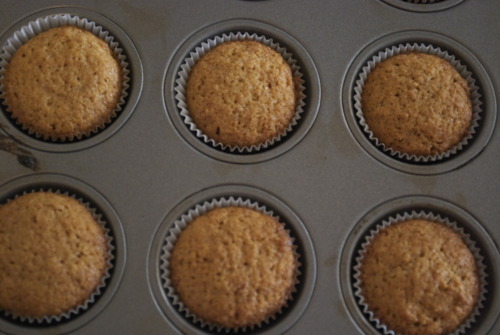
And bake them until they’re beautiful and slighly browned and an inserted skewer comes out with only a few moist crumbs, about 15 minutes for mini cupcakes.
To Make Marshmallo Topping

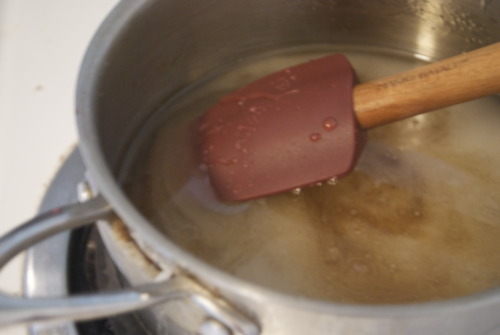
Put 3/4 cup sugar, corn syrup, and water in a pot over medium heat and stir until the sugar is dissolved. Remove spoon and bring to a boil and with a candy thermometer let it comet ot he firm ball stage, 246Degrees F.
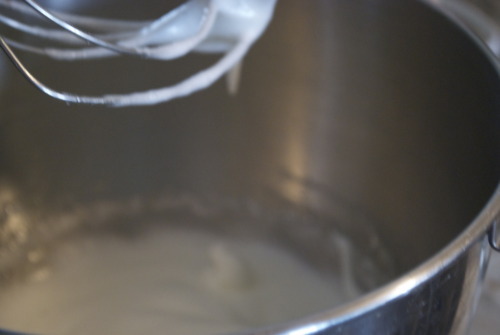
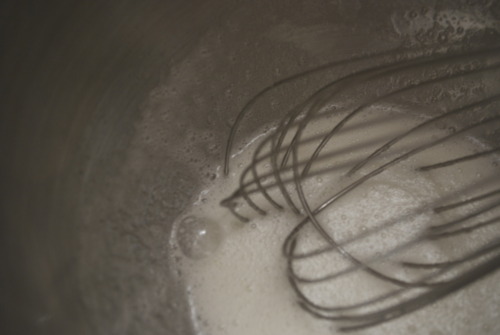
While it’s boiling put the egg whites and the vanilla in the bowl of a standing mixer with the whisk attachment. Whisk on high speed until soft peaks form. Add in the 2 tablespoons of sugar slowly until stiff peaks form.

When the sugar is up to temperature slowly pour it into the whites while whisking on high speed. Keep whisking until the bowl is cool and the meringue looks very marshmallowy! Put into a piping bag right away.
To Assemble:

Crank up the oven to 425F

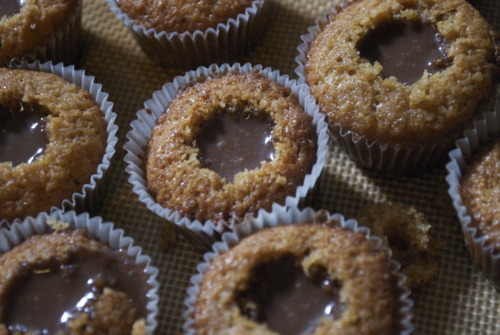
With a pairing knife cut a little hole out of the middle of the cupcakes.
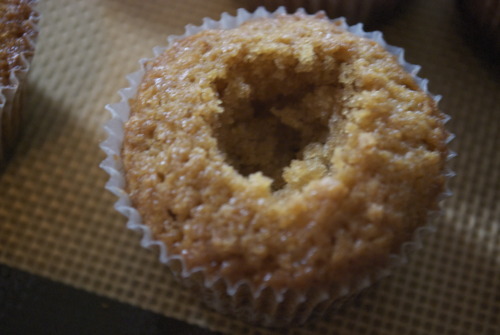
Put the ganache into a piping bag and pipe it into the holes in the cupcakes (the consensus was that there wasn’t enough chocolate in the ones I made so don’t hesitate to load em up!)
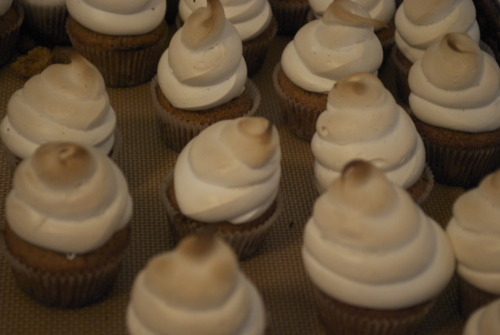
Pipe the marshmallow topping on top of the whole thing!
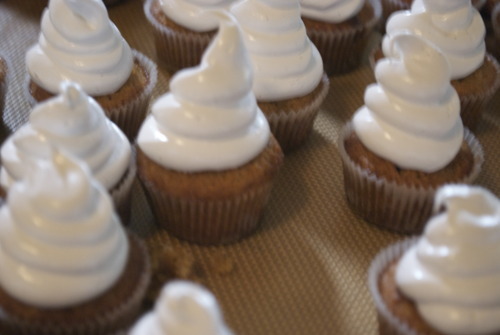
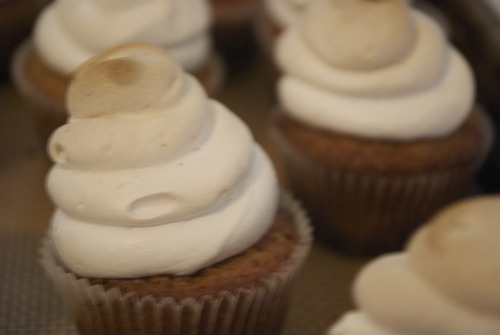
Now throw the whole things in the oven for a couple minutes until the tops just get golden. If you leave them to long they will not only burn but shrivel up a bit as the night goes on, so don’t worry about leaving them fair.
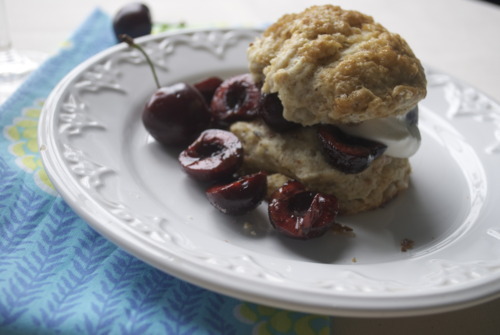
Hazelnut Scones with Macerated Cherries and Vanilla Whip Cream

A few years ago I ran the kitchen of a wonderful cafe called Little Nest. It’s a small restaurant with a full kitchen that makes only breakfast and lunch, and about half the menu changes daily. I had never run a kitchen before, never written my own specials before, never done the ordering before, never done the hiring before. To say I was in over my head was a serious understatement.

And while everyone was very patient in my slow understanding of how it all works, it’s important when your feeling entirely under qualified for a job to have a trick or two up your sleeve.

I call this the Amelia Bedelia.

You know the kids book about the maid who takes everything literally? She puts sponges in sponge cakes, and when asked to dress the turkey she puts it in childrens clothes. She absolutely makes a mess of her employers house BUT she always has just a little bit of extra time and she always bakes the most amazing pies. So. When the Mr. And Mrs. Rogers come home and freak out they eat the pie and all is forgiven. I think this book had an alarmingly large effect on me as a child.
So at Little Nest my Amelia Bedelia was pasta. It changed everyday but it was always dang good. And I gave one to the owner and manager nearly every day for a month and they decided I would be okay in the end.

Thank God.

So for the last few months I’ve been running on nearly nothing but adrenaline because I’ve been working so much and I will admit some very stupid mistakes have been made. Silly silly things, so silly I’m to embarassed to tell you, BUT fortunately I make killer scones. You know, they are super light and fluffy and with layer upon layer of butter flakeyness and that my friends, is my Amelia Bedelia.

Even though, my boss certainly doens’t always notice them, I do, and it give me the confidence when I feel dreadful (and maybe put coriander into the 10 times batch of cardamon cookies accidentally) I know that at very least I can do one thing very well. And that means that with some practise I can do other things very well.

I hope.

So, now that I’ve quit my second job and am focusing on not making stupid mistakes at the one job that’s actually important to me, I thought I’d make some scones for a girlfriend who came over for brunch the other day.

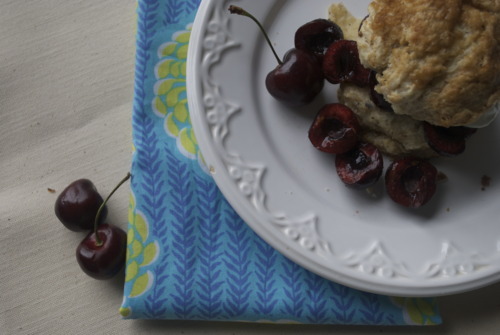
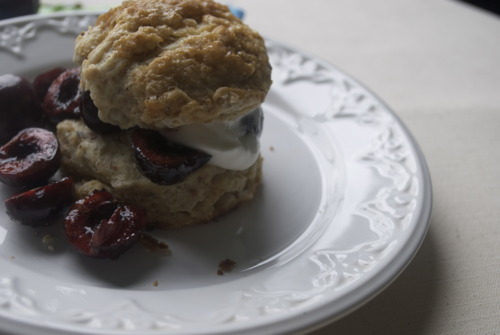
Light fluffy, flakey scones, these ones full of hazelnuts and then cut in half and stuffed full of fresh cherries and whipping cream.

Because if that isn’t going to save your job and make you feel a hundred times better, well, I don’t know what will.

Hazelnut Scones with Macerated Cherries and Vanilla Whip Cream

For the Scones:

4 cups AP Flour

1 tbsp Baking Powder

1 tsp Baking Soda

1 1/2 cups Hazelnuts

1 cup Butter, very cold

1 1/2 cups Buttermilk

Vanilla Whip Cream:

1/2 cup Whipping Cream

2 tbsp Icing Sugar

1/2 Vanilla Bean, or 1 tsp Vanilla Extract

Macerated Cherries:

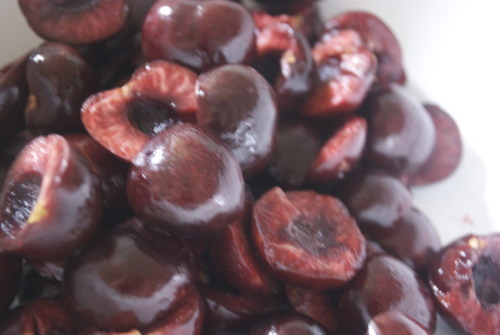
1 1/2 cups Good, Ripe Cherries, cut in half and pitted.

2 tbsp Granulated Sugar

To Make Scones:

Preheat oven to 375F

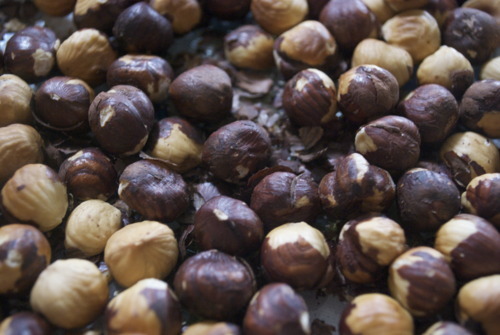
Put hazelnuts in a single layer on a tray and bake until they turn a pretty auburn colour and smell very fragrant.

Using a towel try to scrub off the loose pieces of skin.

Grind them up very fine in a food processor and then measure out 1 cup.

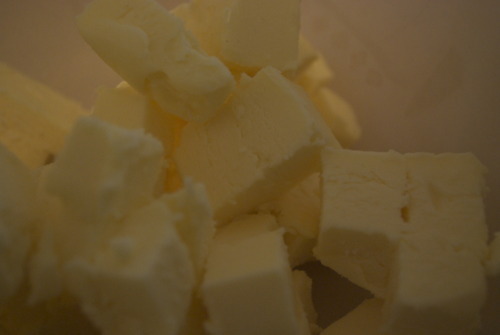
Cut up the butter into cubes

In a bowl mix all the dry ingredients and then cut in the butter, breaking it up with your hands until the butter is in chunks, roughly the size of your baby fingernail.

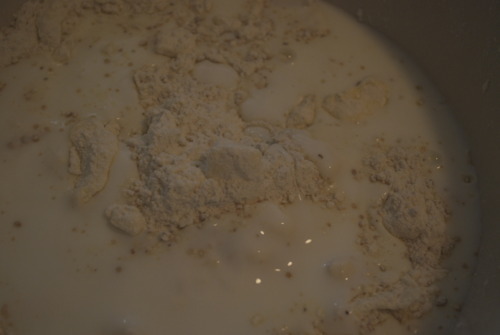
Pour in the buttermilk and mix gently until it is almost combined.

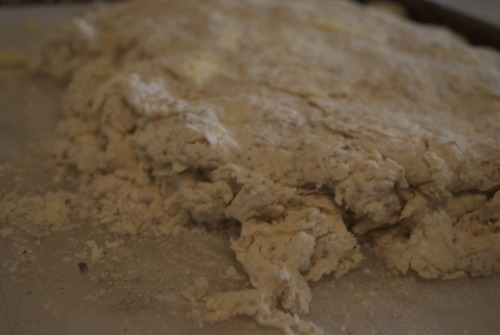
Then put it out onto a cutting board or counter and gently push it down, fold it in half, push it down, fold it in half until your dough is cohesive, but not at all tough. As soon as you start to feel a resistance, stop.

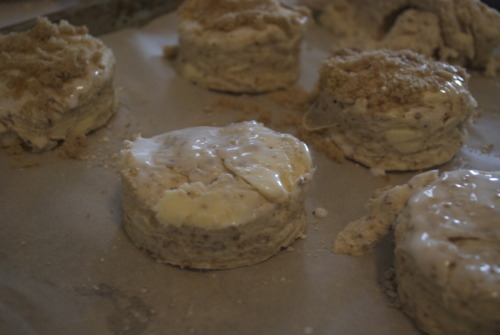
Cut into circles and put on a tray, then put the tray in the fridge to cool for at least 20 minutes. You get nice flaky scones because the big pieces of butter which are very cold go into the hot oven and the change of temperature makes the butter produce steam which causes the layers.  So it’s important to let them chill.

Brush with a little extra buttermilk or cream and sprinkle some brown sugar on top if you’d like.

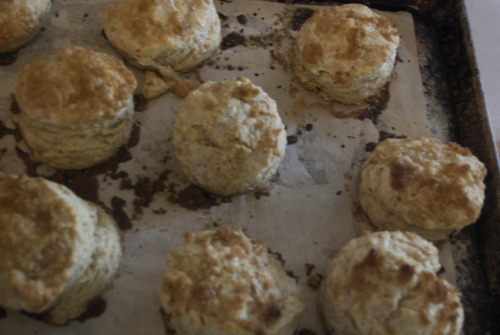
Get them into that oven right away and bake until the tops are nice and brown.

Meanwhile mix those cherries and sugar together and them sit and meddle and be happy together.

Whip the cream with the sugar and the vanilla (sorry i forgot to take a picture of that!)

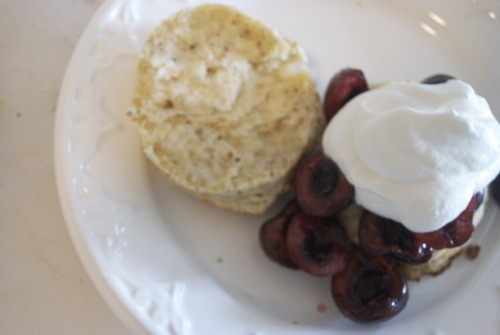
And then break a scone in half, plop some cherries down put a dollop of whip cream on top and top oit with the other half of scone and hot damn thats a good breakfast, lunch, or dessert.

Strawberry Shortcake

Lately I don`t get out much. I work a whole lot, I bake a whole lot, and I read quite a bit, but mostly when I read I fall asleep, in awkward places in awkward positions that make my neck hurt later.

I haven`t been seeing my friends as much as I should, but I have time to call them sometimes if I walk home instead of running home, which is usually a good enough of an excuse for me.

But sometimes I worry that my friends will all abandon me for being so boring.

So last weekend, for my dear dear friend Arlene`s birthday, I went out.

I wore a short skirt.

I baked a cake.

I drank to much sangria.

I watched some amazing flamenco dancing and cheered on a man named Jose, a 60 year old ladies man who sang Spanish love songs while beautiful women danced in front of him.

I pretended that I didn`t work at 5am the next morning.

I felt like the 23 year old that I am.

It was wonderful.

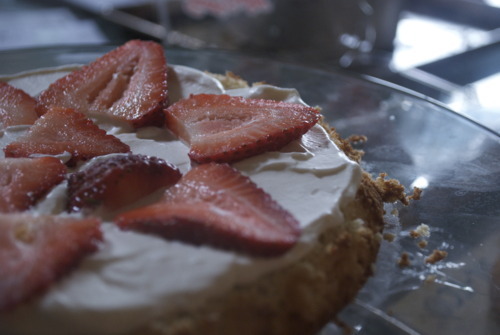
And on the theme of playful, fun, youthfulness and all those good things that go along with them, I made strawberry shortcake. It was light and fruity, it was summery and it was darn good if I say so myself.

Stawberry Shortcake

Adapted from a recipe from Epicurious

8 Large Egg Yolks

1 1/2 cups Sugar

1/4 cup Milk

1 tbsp Vanilla Extract

Zest of 1 Lemon

1 cup All Purpose Flour

1 tsp Salt

4 Egg Whites

Cream Frosting

2 cups Whipping Cream, very cold

1/4 cup Sour Cream

4 tbsp Icing Sugar

Zest of 1 Lemon

1 tbsp Rosewater

Rose Syrup

1/2 cup Sugar

1/2 cup Water

1 tsp Rosewater

1 lb Fresh Strawberries, cut into slices

Make Rose Syrup

Combine all ingredients in a pot and simmer until the sugar is disolved. Cool. (sorry, I forgot to take a picture of that!)

Make Cake

Preheat oven to 350F

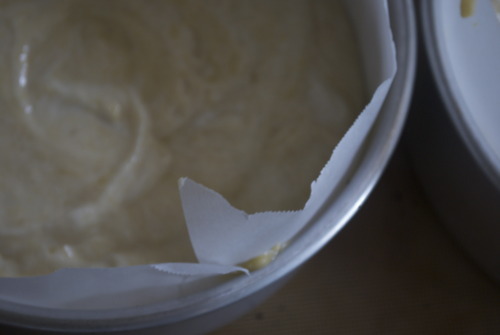
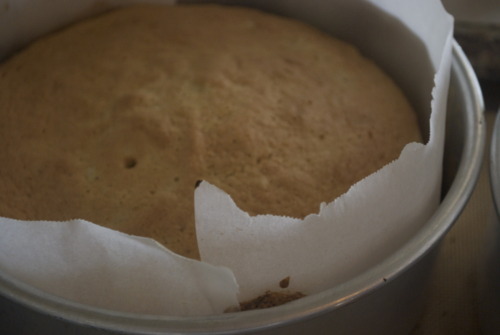
Line 2 8 inch round pans with parchment, do not grease pans! Worst case scenerio don’t use anything. They will come out with some patience.

Sift all the dry ingredients, reserving 1/2 cup sugar, into a bowl

Mix the yolks, vanilla, zest and milk into a small bowl

Add the yolk mixture to the flour mixture and mix until just smooth.

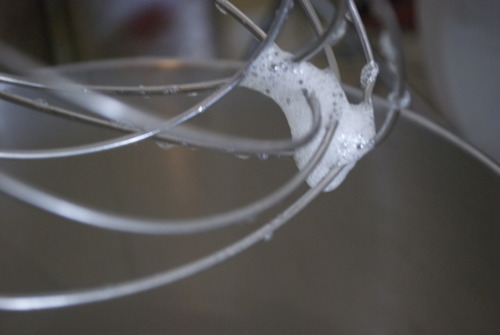
In the bowl of a standing mixer fitted with the whisk attachment whisk egg whites until frothy.

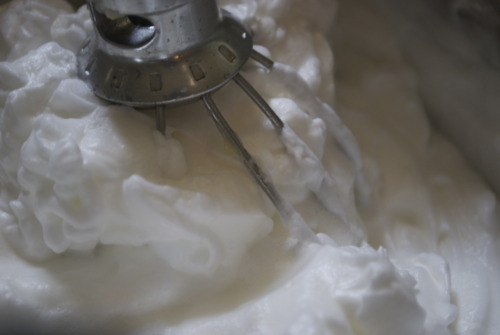
With the mixer still running slowly add in the remaining half cup of sugar, tablespoon by tablespoon, until the meringue is very shiny and holds stiff peaks.

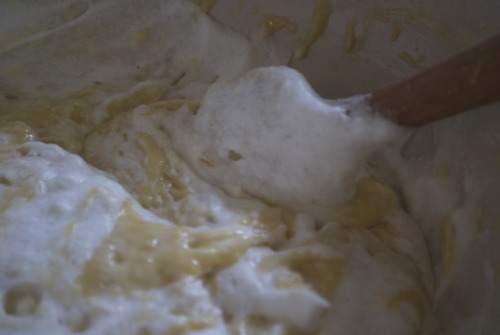
Gently fold the whites into the cake batter being careful not to over mix.

Pour the batter into your prepared pans.

Bake until an inserted skewer comes out with only a few moist crumbs, about 25-35 minutes.

Make Frosting:

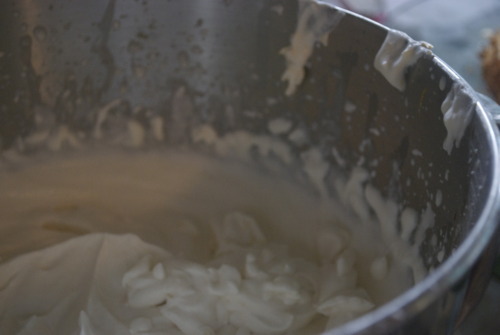
Mix all ingredients in a standing mixer fitted with the whisk attachment.

Whisk together until soft peaks form, about 5 minutes.

Assemble Cake:

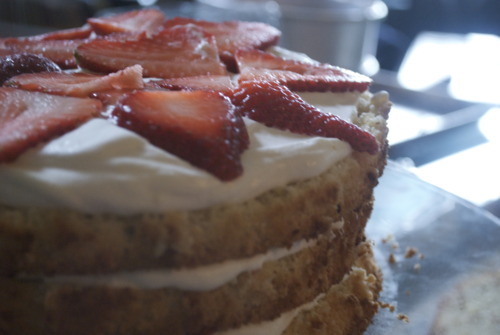
Slice Layers of cooled cake in half lengthwise.

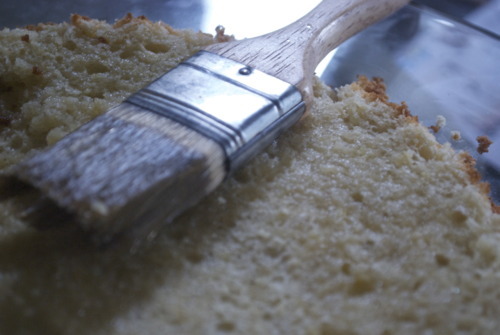
Put the first layer of cake on your cake plate and brush with the rose syrup.

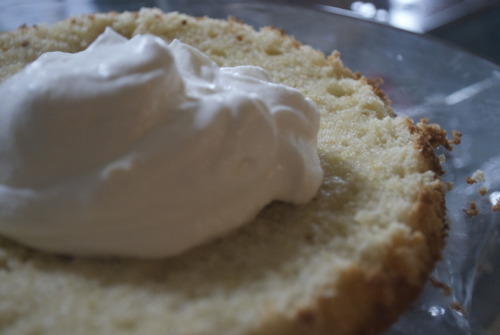
Dollop with a heafty spoon of cream and gently spread out to the corners.

Spread some slices of strawberries on top.

Continue until you’ve done all the layers

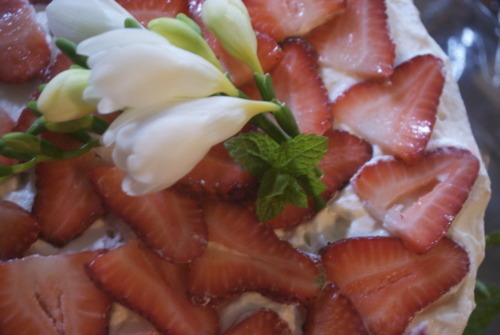
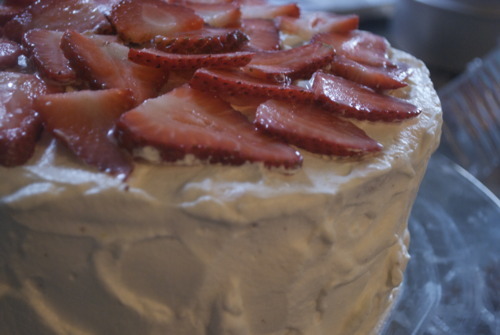
Then ice the outside and put strawberries on the top!

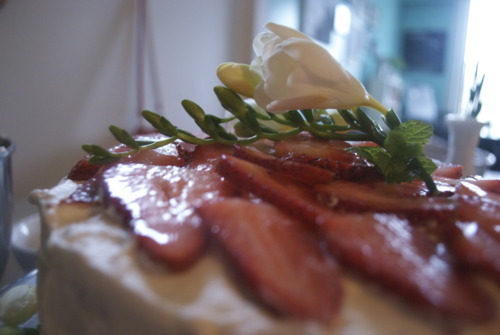
I put some flowers on top, because I’m just like that.

Darn Close to Perfect Macarons

I have made macarons many times before. I’ve made them with chocolate, with raspberries, with caramel. I’ve made them at work, at home and even in a classroom in Paris, and every time I’ve made them, I’ve done them the Pierre Herme way, which is much more complicated, because I’ve eaten macarons at Pierre Herme and that man knows a thing about macarons. Seriously.

But here’s the thing of it, I’ve made all these macarons in all these places, to great success, except in my own home. They never work.

Sometimes I blame myself, but mostly I blame my oven and the ridiculous rain in Vancouver, but I thought today that maybe I would try blaming the recipe and try another one.

I have never thought of myself as practical so this seemed like a totally logical solution.

BUT bam. Miracles do happen, and they worked.

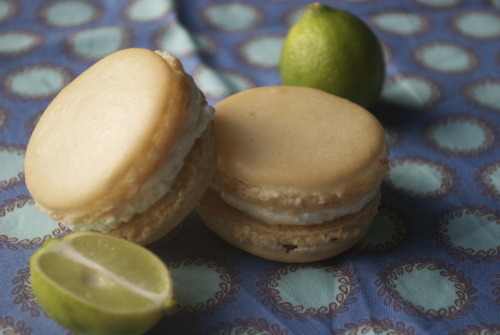
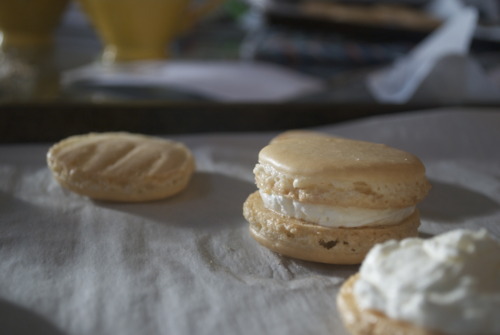
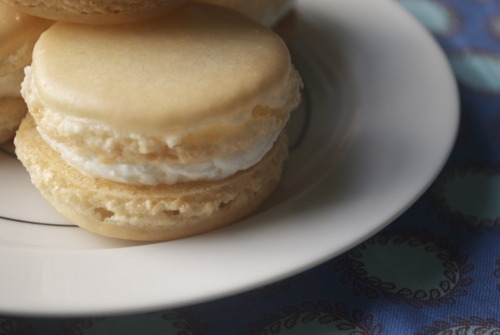
Maybe I was feeling the Cinco de Mayo feeling but I made them coconut and lime macarons, and they were darn good. I found fresh grated coconut at my Chinese grocer which gave them that really fresh coconut taste but these would also be lovely with dried coconut I reckon.

Macarons

2 cup Icing Sugar

1 cup Ground Almonds (sometimes called almond flour)

3 Egg Whites

2 tbsp Sugar

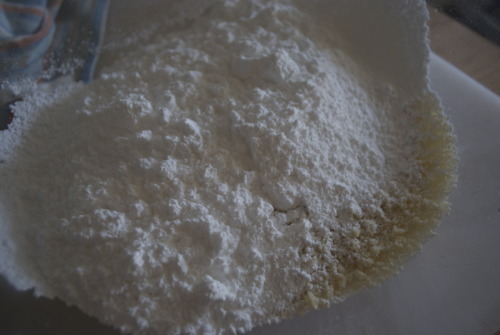
Sift together the almonds and the icing sugar into a bowl.

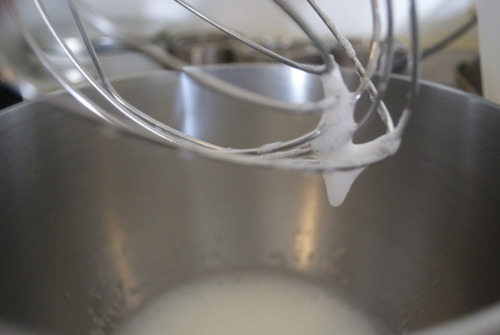
In your standing mixer fitted with the whisk attachment whisk the egg whites until frothy.

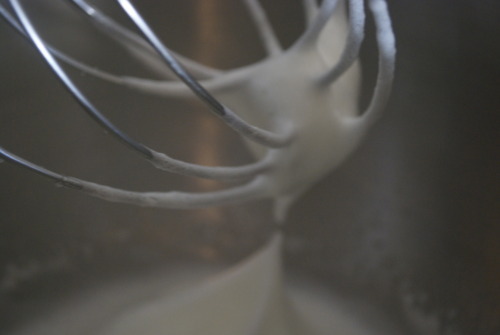
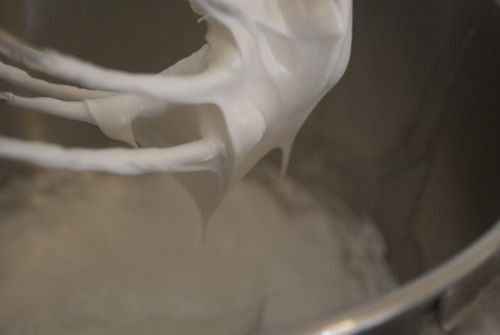
Slowly add in the sugar while whisking and then let run on high until stiff peaks form.

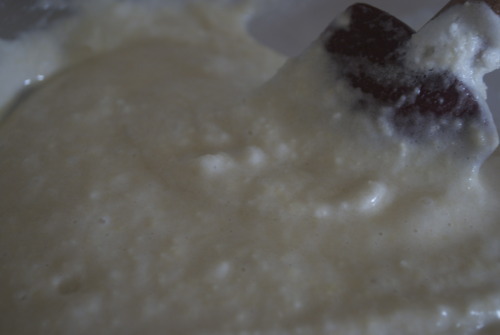
Carefully fold the egg whites into the almond mixture. This is really the only tricky part because you want to mix it until the batter is soft enough to spread out a bit when you stop stirring it.

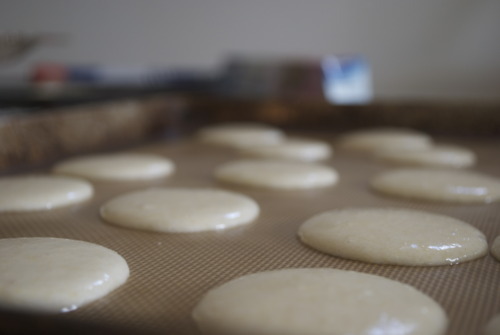
Put mix into a piping bag and pipe into 1 inch circles and spread about 1 inch apart, they will spread out a bit as they bake.

Let them sit at room temperature for at least 20 minutes or until a soft filmy skin has formed on the top the cookies.

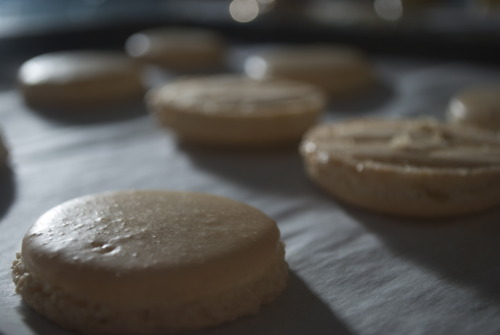
Preheat oven to 350F

While the cookies are cooling make the coconut buttercream.

Coconut Buttercream

1 Egg White

1/4 cup Sugar

1/2 cup Butter, room temperature

3 tbsp Freshly grated coconut or dried unsweetened coconut flakes

1 tbsp Coconut Cream

1/4 tsp Lime Zest

 Get a small pot of water on the stove with 2 inches of water in it.

In the bowl of a standing mixer mix together the egg white and the sugar

Place the bowl over the pot and whisk the egg mixture into it is hot to the touch.

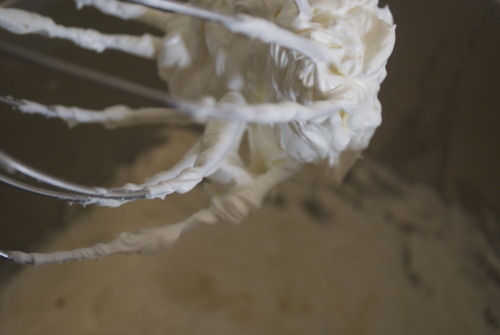
With your standing mixture fitted with the whisk attachment whisk the egg mixture until its smooth and glossy and holds stiff peaks

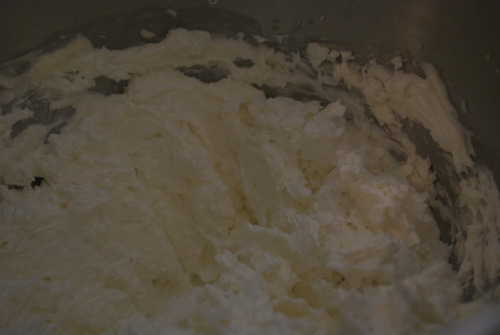
Slowly add in the butter, tablespoon by tablespoon until it’s all incorporated.

Add in the coconut and the lime zest.

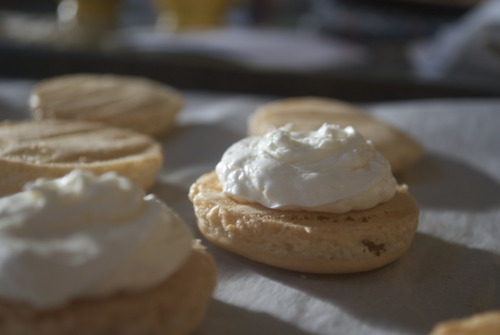
Put icing into a piping bag and carefully pipe onto half of the cookie shells

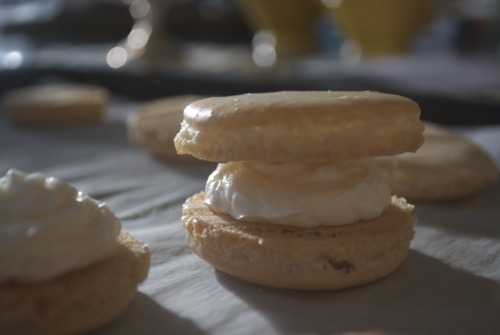
Place the top cookie on top.

Gently pick up the cookie and press both sides together, again gently.

If you have the patience, chill them overnight in the fridge and then bring back to room temperature the next morning, for the very best texture.

But of course, you can eat one now. They look too good not to don’t they?

Pop Tarts

I have never eaten a pop tart. I’ll even go further, I have never wanted a pop tart. Oh that’s probably not true, I’m sure they were popular for a while when I was in middle school or something but the point is, I can’t remember ever wanting one.

In a recent discussion about breakfast though I realized I am the only one in our household of two that way.

I am the only one in our household of two that feels that way about a lot of junk food. I’ll admit I’m a little evangelical about eating local, seasonal, unprocessed food.

But I am not unreasonable, friends. I do not allow pop tarts, McDonalds or powdered garlic into my house. BUT I will make pop tarts, burgers, and I am actively looking for a way to make powdered garlic that doesn’t  involve a dehydrator.

See? I’m a totally rational human being. I swear.

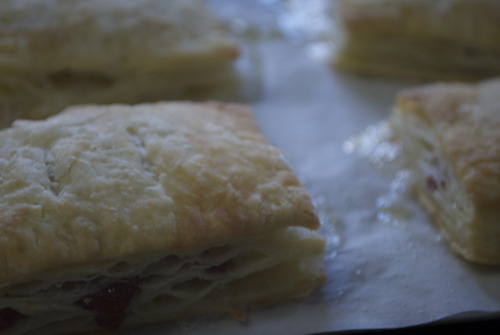
I made these pop tarts almost entirely from the recipe I found on Smitten Kitchen, which is a fantastic blog. The pastry is very flaky but also sturdy enough to hold as your running out the door with a coffee in your hand, which sounds like an oxymoron but I promise this works beautifully.

It’s crisp and light and great. Jordan thinks they are more like a toaster streudel. I’ve never eaten one of those either.

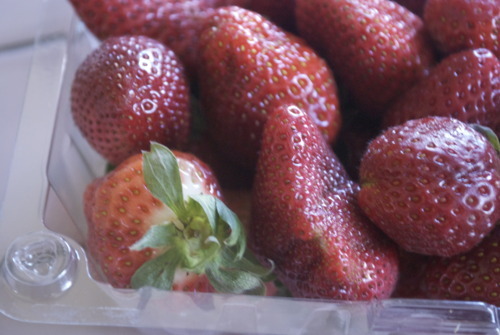
The dough is just like a pie dough but it has an egg in it so it holds its shape better and the filling is just jam with a little cornstarch to make sure the bottom pastry doesn’t get soggy. I made the jam (with local strawberries! Yeah!!)  but you could use any jam that you have with a little extra cornstarch, or even nutella inside if you don’t have the time.

I won’t judge.

Stawberry Filling:

1 quart Strawberries

1/2 cup Sugar

1 tsp Cornstarch

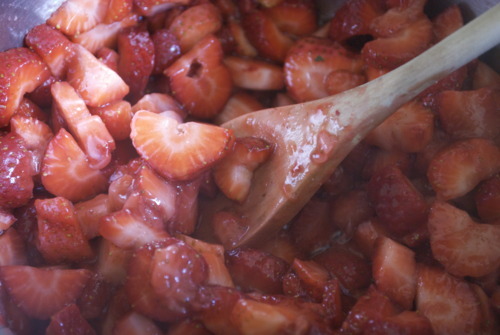
Cut up strawberries and get them in a pot on the stove

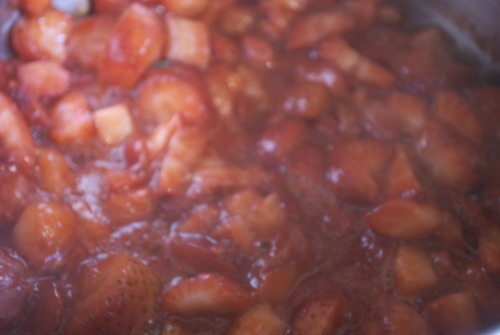
Let them simmer for about 15 minutes until nearly all the liquid is gone.

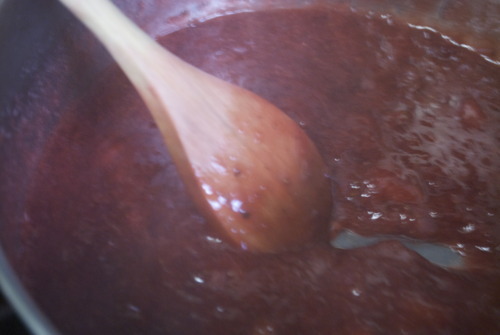
Add in the sugar and continue to simmer for another 20 minutes or so until it’s nearly dry again.

Mix the cornstarch with 1 tsp of water and then mix it into the jam. Bring to a boil and then take it off the heat and get it into a bowl in the fridge.

Pastry
2 cups (8 1/2 ounces) all-purpose flour
1 tablespoon sugar
1 teaspoon salt
1 cup (2 sticks or 8 ounces) unsalted butter, cut into pats, very cold.
1 large egg
2 tablespoons (1 ounce) milk

In the meantime make the pastry:

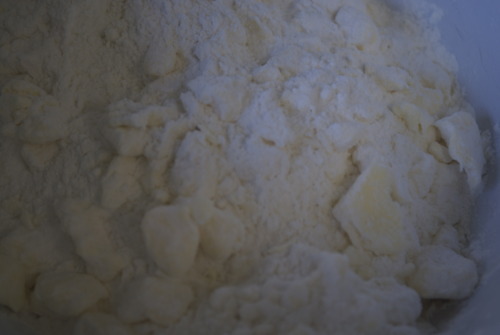
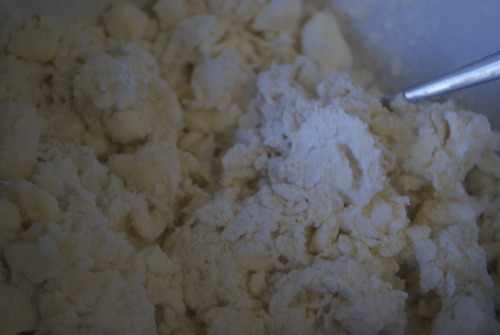
Mix the butter, sugar, and salt in a bowl. Cut in the butter. That means break it up with your hands until the butter is in pea sized pieces. It should look like this

Add in the egg and the milk. it should be quite dry but if it doesn’t come together add in another bit of milk.

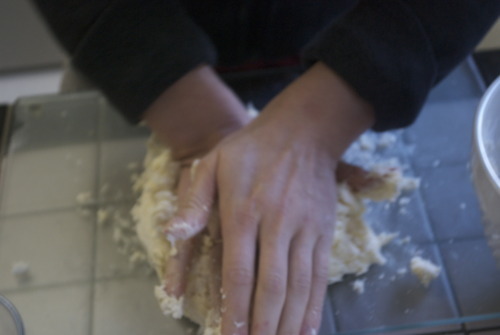
On a lightly floured board push the dough into a flat rectangle and then fold it in half. Push it down, fold it in half and and keep doing it until it starts to feel a little tough and it doesn’t quite want to be folded. Then wrap it up and put it in the fridge.

Preheat the oven to 375F

After about half an hour in the fridge and once the jam is cold you can roll out your dough.

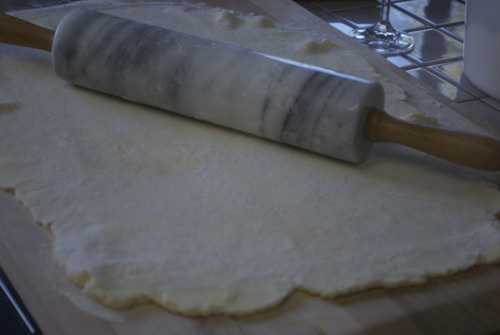
Roll it out into a long rectangle about 1/4 inch thick. Cut with a non-serated knife into rectanlges of your choice! I did mine about 4-3 inches.

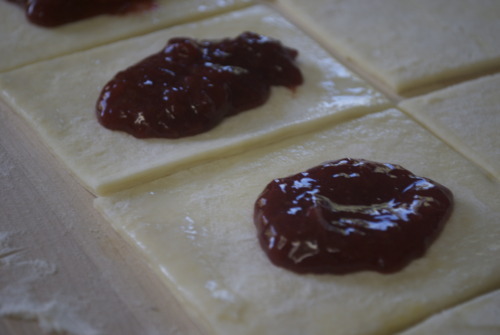
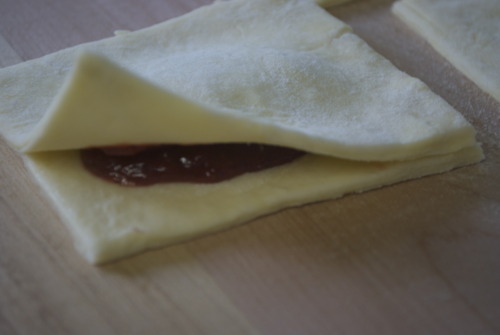
Put a dollop of jam on top of half of the rectangles, about a teaspoon each. Brush some water on the bottom edges.  These will be the bottom pieces.

Cover the bottom pieces with the remaining rectangles.

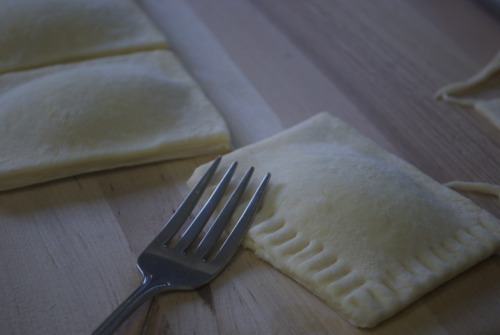
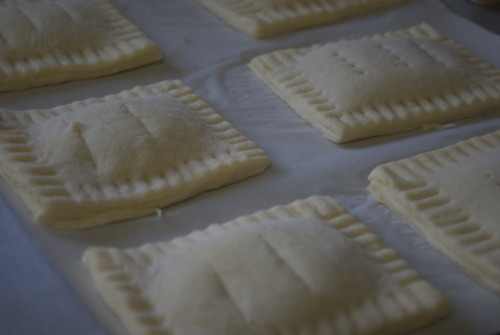
Press down the edges with a fork. This will help make sure the jam doesn’t shoot out the sides. Poke the top of them too to let some steam out.

Get them on a tray and bake them! About 20 minutes, and they are deffinatly best served hot, or perhaps, out of a toaster.

An Easy Way To Make Friends

When I was in high school I fell hopelessly in love with a boy. He was handsome and charming and I was smitten from the start. And then I was inconsolably devastated when he suddenly moved across the province leaving me all alone. We ran into each other a couple of years later at a party in and I was once again head over heels. I went to visit him the next weekend in Montreal with my cutest outfits, overwhelmingly high expectations, and a tray of proofing cinnamon buns. I brought the dough and the cinnamon sugar mix on the side and woke up early the next morning to roll and bake them. The whole apartment smelled of fresh bread and cinnamon. Needless to say they were a serious hit.

I learnt 3 things that weekend:

  1. There is a big difference between being mysterious and being emotionally unavailable.

  2. Montreal is an unbelievably great city.

  3. There is no easier way to get in the good books of a guys friends then to bake cinnamon buns in their house.

The boy I was into was not into me. I would be lying if I said there weren’t tears shed on the train ride home, but man oh man, his room mates loved me.

Now, I like to think I am not quite so desperate these days. I have a wonderful man who I’ve been with for nearly 4 years and I am far past the point of trying that hard to make people like me. And yet… This weekend we have one of Jordan’s friends who I don’t know very well staying with us for the weekend and I made cinnamon buns. I guess some things never change.

6 1/2 tablespoons (3.25 ounces) granulated sugar

1 teaspoon lemon extract or zest

1 1/2 tsp Cinnamon

1 teaspoon salt

1/2 cup (2.75 ounces) shortening or unsalted butter, room temperature

2 large egg, slightly beaten

3 1/2 cups (16 ounces) unbleached bread or all-purpose flour

2 teaspoons (.22 ounce) instant yeast

1 to 1 1/4 cups (9 to 10 ounces) whole milk or buttermilk, room temperature

3/4 cup Light Brown Sugar

1 1/2 tsp Cinnamon

Fit a standard mixer with a dough hook attachment

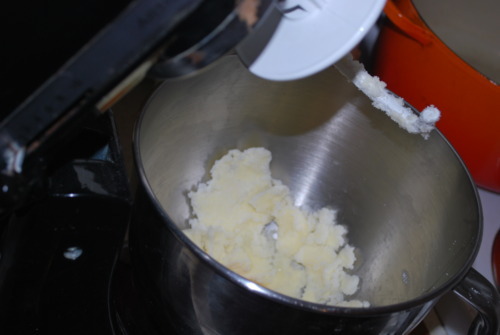
Cream butter and sugar together, this will be a little hard with the dough hook so you can get in there with a spatula if you need to.

Mix in your eggs. It will be split and not pretty. Don`t panic!

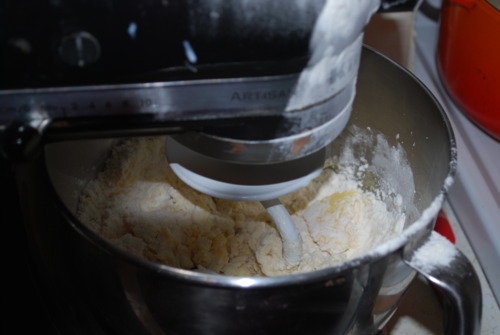
Just add in all your dry ingredients except the sugar and the cinnamon.

Slowly add in the milk, first 1 cup, then more if you need to.

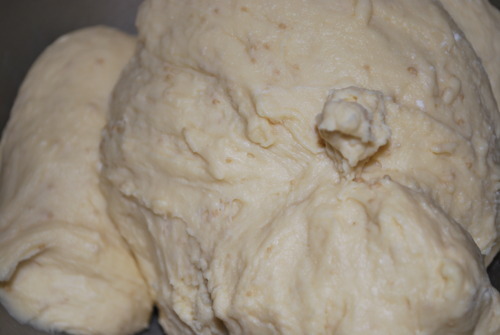
Work the dough until it comes together and follows the dough hook around. It should still feel a little tacky but if you break a piece off and stretch it should  become transparent. If it doesn`t keep mixing for a while until it does.

Cover the bowl with a cloth. If you plan on baking them today put them in a warm spot to proof. It will take about 2 hours for them to double in size. If you want to bake them tomorrow put the bowl in the fridge.

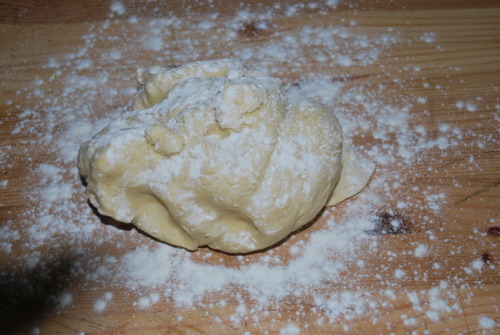
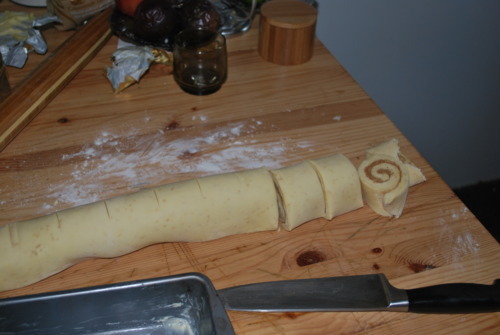
Roll out the dough. It should be a square about a foot and a half each way. I didn’t roll mine thin enough, I prefer lots of thin cinnamon-y pieces on mine generally. Then cut them into pieces and put into a buttered pan!

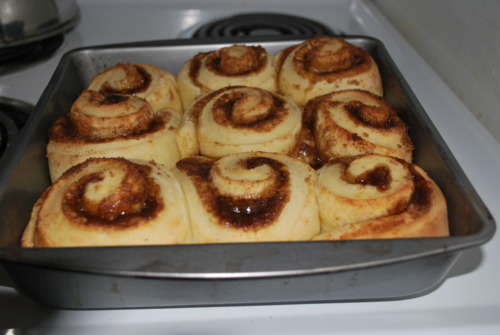
Let it proof until doubled in size. If you chilled it overnight it will take about 2 hours, if it`s room temp it should only take about an hour.

Preheat oven to 375F

Bake for about 20 minutes or until just starting to brown on top and your house smells absolutly heavenly.

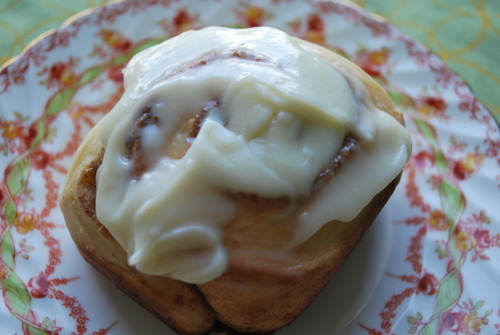
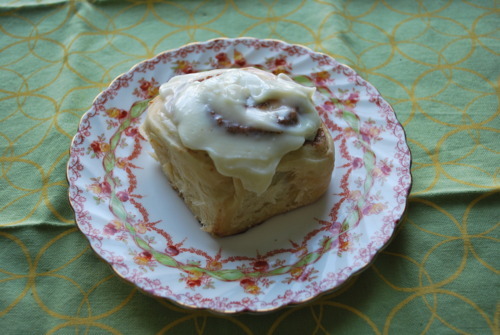
Spread lightly with Cream Cheese Glaze:

Beat 2 tbsp Cream Cheese with 3/4 cup Icing Sugar. Thin with a tablespoon or two or whipping cream.