While I am not a big fan of my birthdays, nearly ever, I get borderline obsessed with other peoples. I will always go overboard.
I love giving presents, I love cards (seriously, I can spend days this shop) and, not surprising to any of you I’d guess, I love making cakes. A lot.
So you can imagine that there is a serious amount of planning in making Jordan’s birthday cake.
I deliberate over flavours-it has to be chocolate, but chocolate hazelnut? Chocolate caramel? Chocolate pumpkin?
And textures, are we wanting dense and rich? Or light and whipped? Maybe with a crunchy layer somewhere, perhaps a praline?
Basically, I go on like this for a long time. I write notes, then I doodle pictures of what I want it to look like. I check online for inspiration, then later then I should, I make something and barely get it done in time, if I’m being honest here.
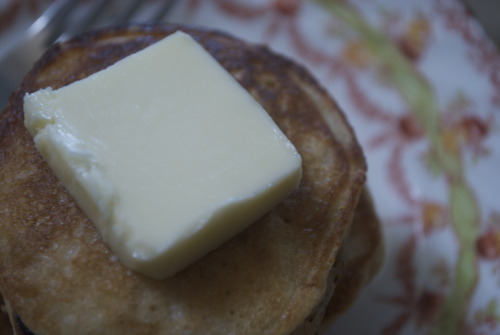
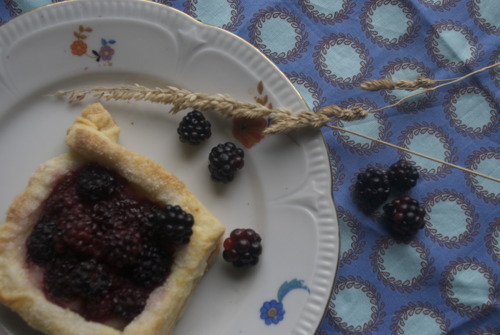
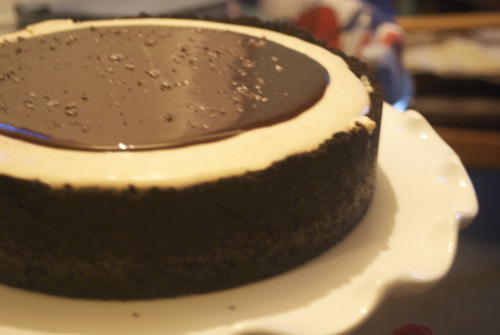
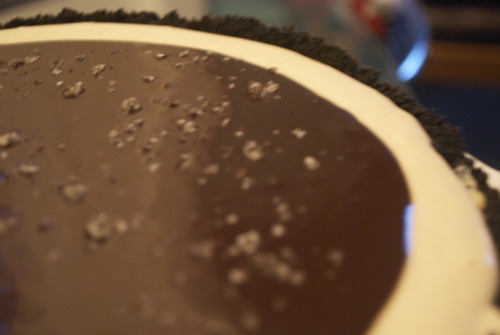
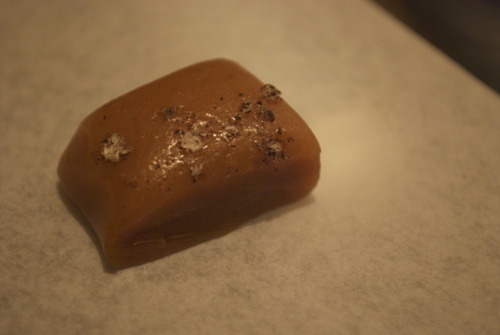
This year it wasn’t a cake per say, it was a mousse tart, a chocolate base, a thick layer of creamy caramel, a whipped mousse of peanut butter just firm enough to hold it’s shape when sliced, and topped with a layer of chocolate ganache gently sprinkled with maldon salt.
It’s an extremely grown up version of a Wunderbar, which just so happens to be Jordans favourite.
It’s also happens to be extremely good.
Wunderbar Tart/Peanut butter, Caramel Chocolate Tart
Adapted from this recipe
Crust
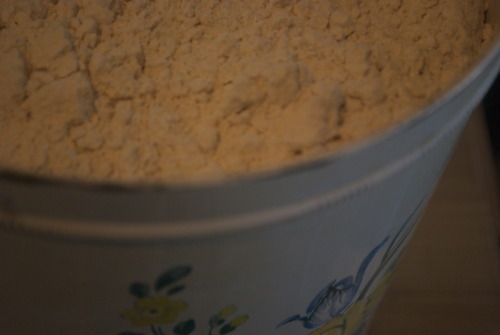
16 oz Chocolate wafers, or Oreo Crumbs
8tbsp Butter, melted
Caramel
1 cup Sugar
3/4 cup Whipping Cream
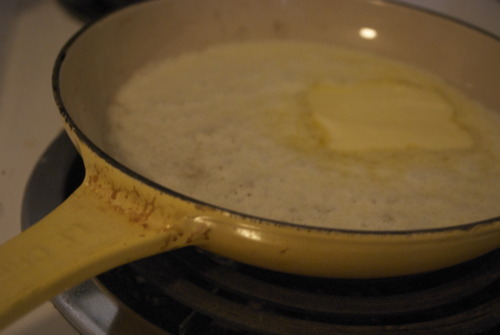
4 tbsp Butter
1 tbsp Vanilla Extract
Peanut Butter Mousse
1 cup Peanut Butter
3/4 cup Whipping Cream
4 tbsp Sugar
1 tbsp Vanilla Extract
Chocolate Mousse
8oz Chocolate
1/2 cup Cream
1tsp Salt-because I’m the sort of person who keeps vanilla salt around I used that and it was wonderful, but regular fleur de sel or maldon salt it lovely. Just make sure it’s a flaked salt not a chunked salt.
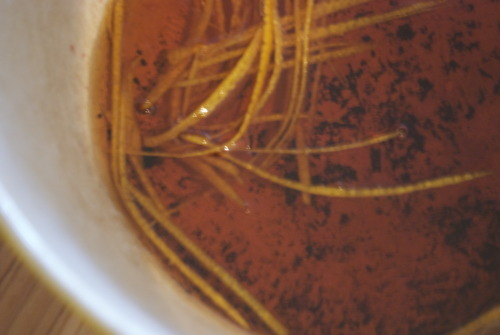
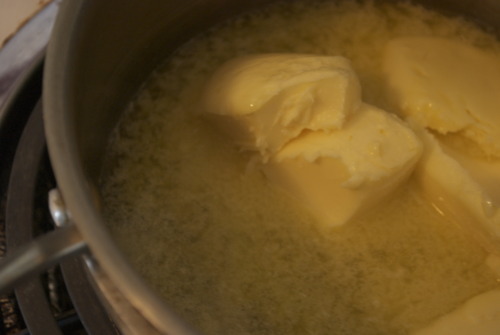
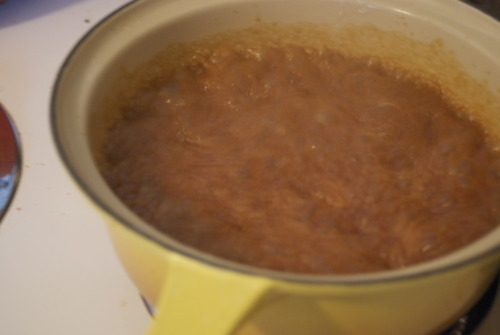
Caramel:
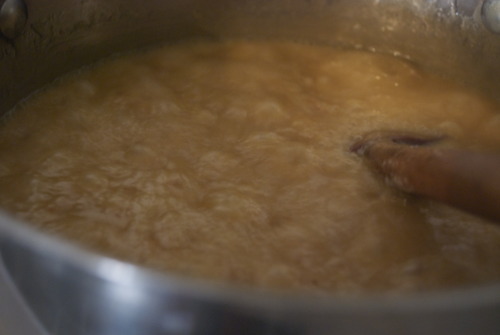
*Make sure you have everything you need for this measure out as caramel can go from light brown to black within seconds. Also, use an extremely clean pot.
Put sugar in pot with just enough cold water to give it the texture of wet sand.
On medium heat cook this mixture stirring occasionally until sugar dissolves.
Take out spoon and bring heat up to high. Shake pot occasionally and watch it carefully.

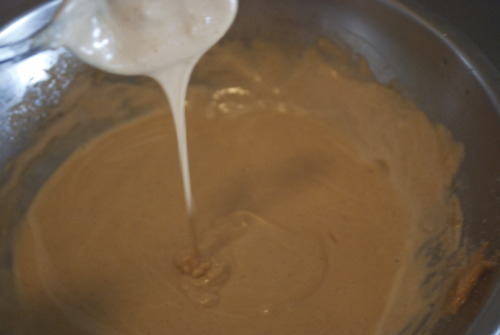
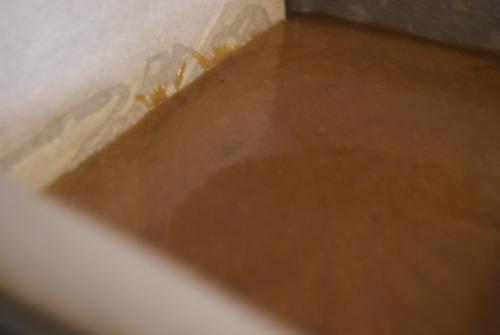
When it turns amber color immediately pour in the cream. It will bubble up and splatter so be careful!
Add in the butter and vanilla. Allow to cool completely.
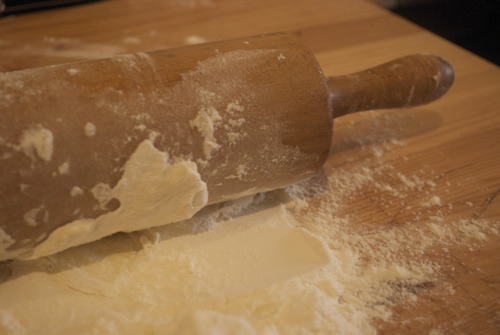
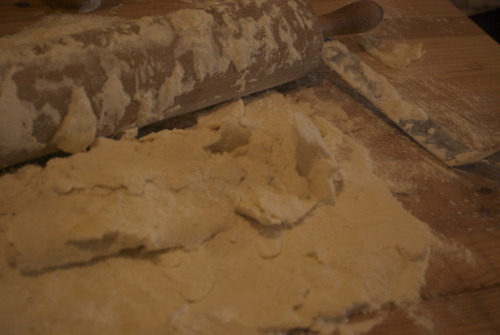
Make Crust:
Preheat oven to 350F
Mix butter and crumbs together
Press into a 10inch spring form pan, or a pan with a removable bottom, or 10 small tart shells
Bake until the crust just begins to firm, about 10 minutes. Cool completely.
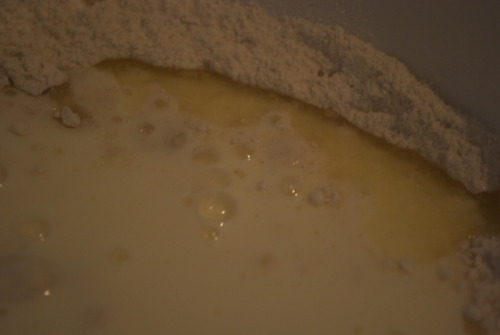
Make Mousse:
Bring a couple cups of water to a boil.
Slowly add the water a few tablespoons at a time to the peanut butter stirring well until it is smooth, easy to stir and forms slowly dissolving ribbons when you pick up a spoon and let the mixture fall back in. It took more water then I thought it would, don’t be alarmed!
Let cool.
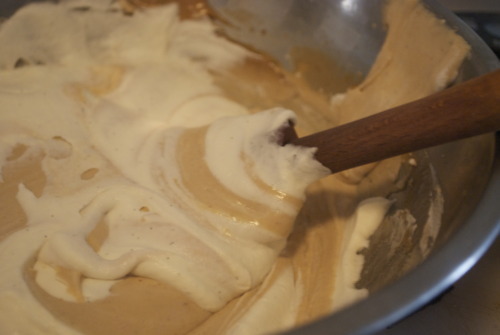
Meanwhile whip the cream and sugar to stiff peaks.
Once the peanut mixture is cooled fold in the whip cream and the vanilla.
Make Ganache:
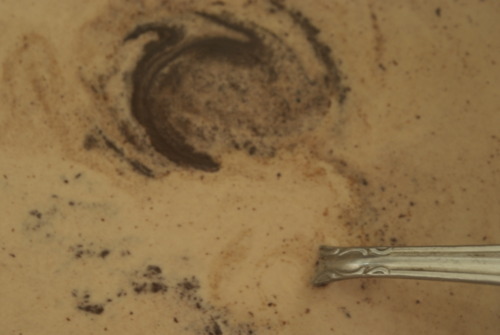
Bring cream to a boil
Pour over the chocolate and stir until it is smooth.
Assemble:
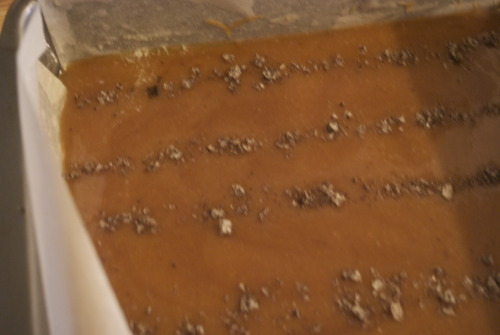
Pour the caramel into the cooled tart shell. Let it set in the fridge for at least 10 minutes.
Pour the mousse over the caramel and smooth with an offset spatula.
Pour the chocolate over the mousse and smooth.
Sprinkle with the salt.


 Blog posts on canned peaches, cauliflower soup, and plum cake all up very soon!