Marmalade Muffins
/
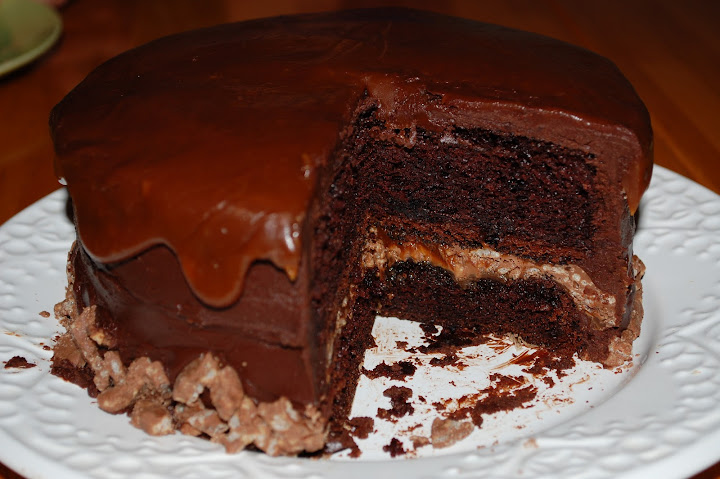
It’s been mentioned a couple times recently by a certain somebody who lives in this apartment that it’s beginning to look a little like a candy shop. That maybe we eat too much cake. That perhaps I should blog about some bread or breakfast foods, or maybe make something out of something in the fridge because there is actually no space left to put vegetables. That maybe vegetables wouldn’t be such a bad idea, would they?
To which I say rubbish.
Except that there really is no room in the fridge and I would actually like to put things in the fridge, even though they are more of jam or chocolate variety.
So I’m being oh so generous and making muffins (breakfast!) with marmalade (stuff in the fridge!) but really, I’m making them because that sounds delicious to me.
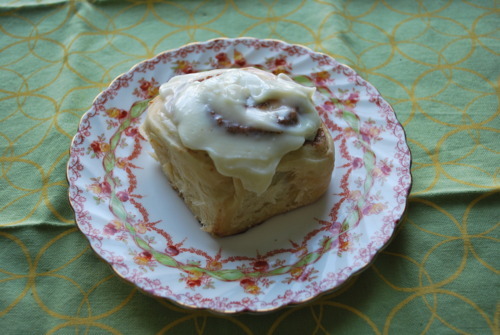
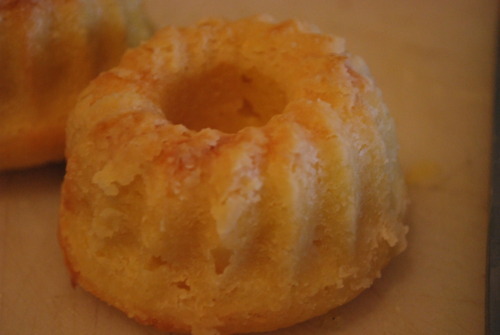
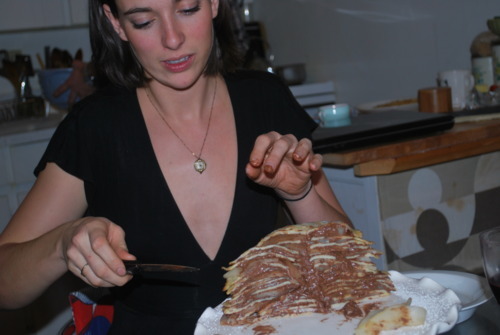
These are beyond simple to make, but the glaze is really what makes them extra special. Just yogurt and marmalade in it but it elevates the muffins into fancy tea food. In fact, I made some in my mini Bundt pans to use as teacakes, because they are so delicious I don’t think I will have any trouble at all eating them once in the morning and once in the afternoon. No trouble at all.
Yogurt Muffins with Marmalade Glaze
1 ½ cup All Purpose Flour
½ tsp Salt
2 tsp Baking Powder
1cup Sugar
1 cup Yogurt
3 Eggs
1 tbsp Vanilla Extract
½ cup Butter
Zest of 1 lemon
Glaze
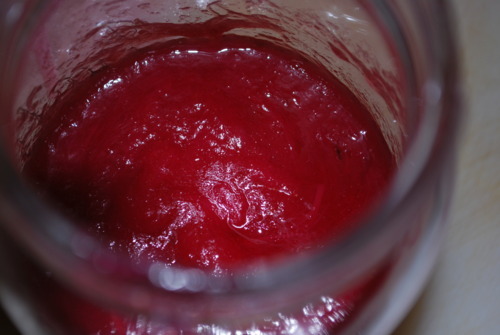
½ cup Marmalade
¼ cup Yogurt
Preheat oven to 350F
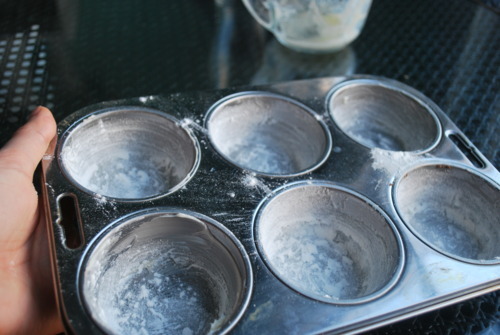
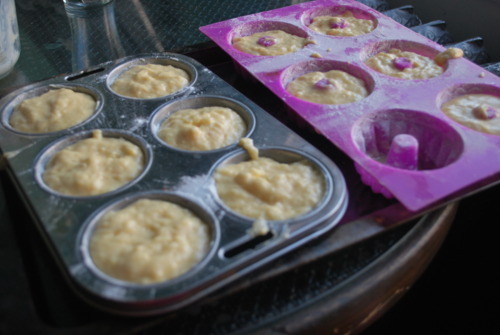
Butter and flour 12 muffin cups or mini bundt pans, or a loaf pan if you’re feeling crazy
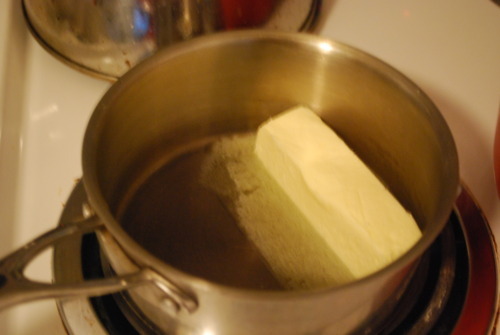
Melt butter
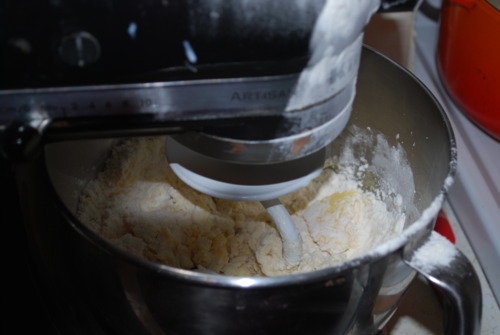
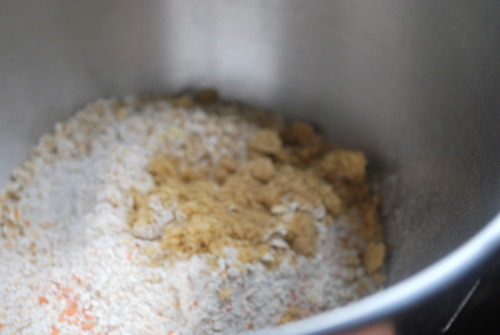
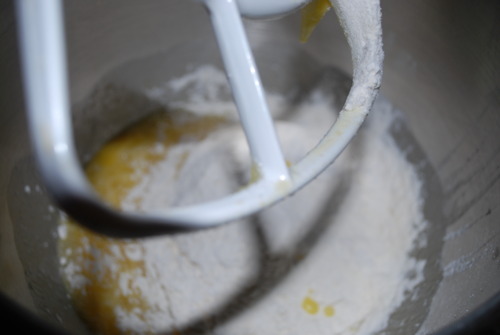
Whisk together dry ingredients in a bowl to remove any lumps

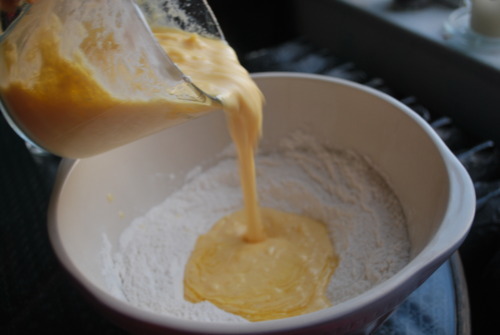
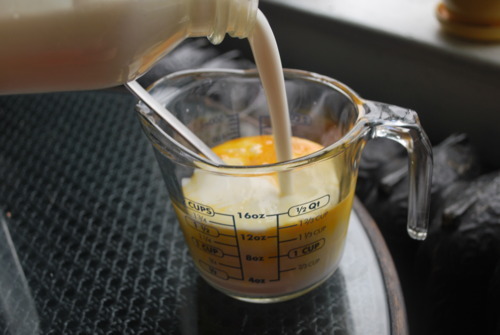
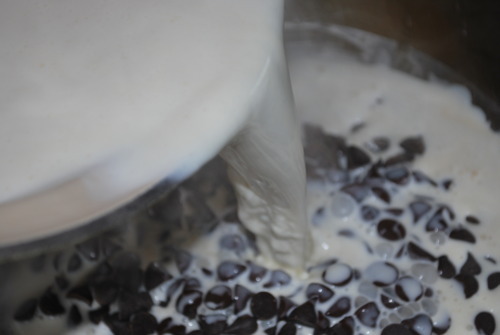
Whisk together all wet ingredients until combined, I mix it all in my measuring cup so I don’t have to dirty another dish.
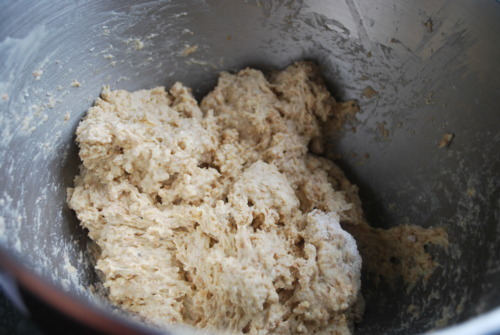
Mix together until just combined, a couple lumps never hurt anyone so don’t worry if there are a few.

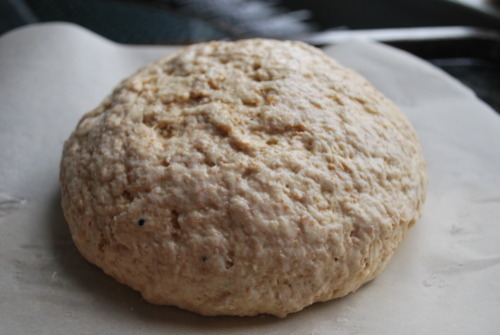
Fill muffin cups ¾ full
Bake until an inserted skewer comes out clean, about 25 minutes
Glaze:
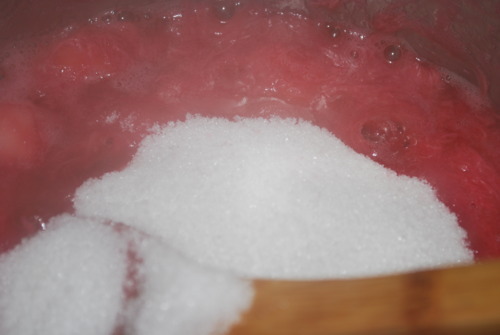
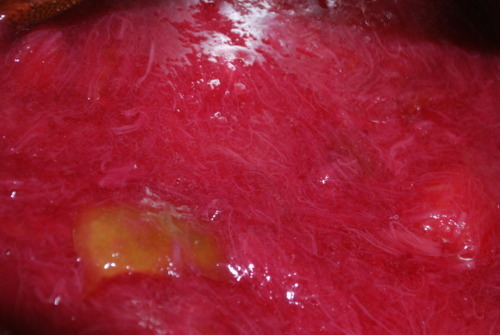
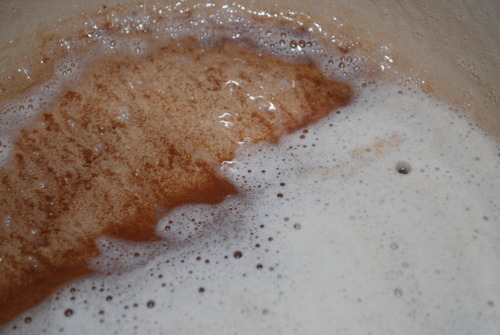
Melt marmalade over the stove
Take off heat and stir in yogurt.


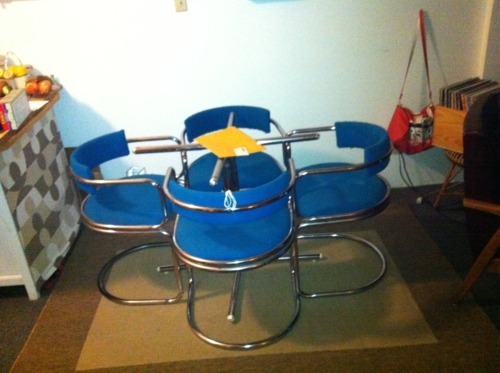
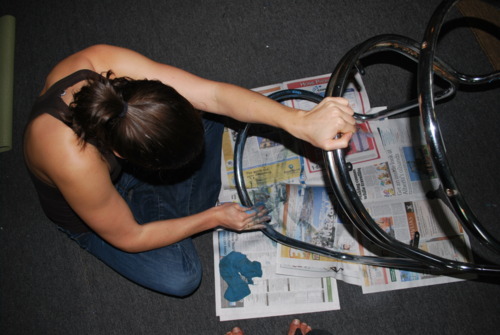
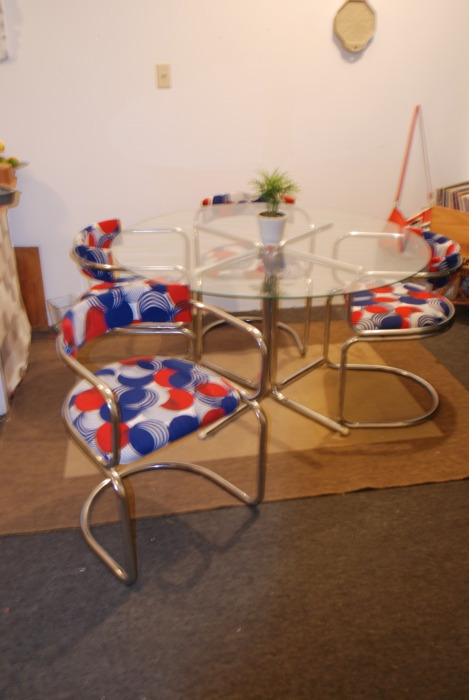
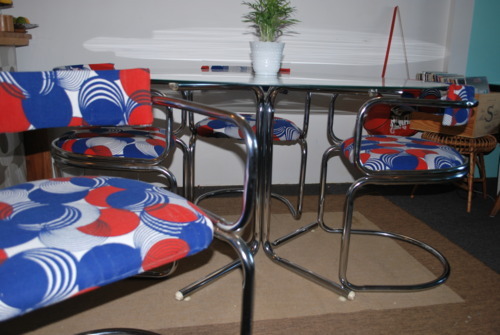 I smashed my dining room table a couple months ago. I feel compelled to say that it wasn’t very dramatic in fashion, I just put something hot on it forgetting it was glass and it shattered.