Sriracha +Maple Roasted Pecans
/
Here’s the thing: I have not been blogging enough lately. This little part of the internet has been in my thoughts so much these days, but I haven’t actually been writing and photographing and putting up here. It’s gotten a bit lost. I’ve been writing and photographing for other people. People like Edible Vancouver and the Vancouver Observer and HelloGiggles. But not here.
And I’ve been baking a lot too, for Merchants Oyster Bar, which just got a great review in the Globe and Mail, and even if the woman reviewing it made it sound like the chef was making the pastries, it was me, and she said nice things.
But mostly I’ve been baking for Livia Sweets the company. The super-exciting-can’t-contain-my-smile-when-I talk-about-it company that I own. That I make pastries for and sell. That people buy, and say nice things about on the internet. That fills me with so much joy I can barely handle it.
I’ve also been working hard with a design team to get this website spick and span with a new look, updated pages, lots more pictures of myself (which I’m a bit self conscious of truthfully) and that’s much more user friendly. You can leave comments again now! I can update the recipe index! I can add pages about my exciting new projects! It’s a lot of big improvements.
It’s been a very busy couple of months, the kind that knock you over sideways a bit and make you so exhausted that you end up getting strep throat that makes you cough so hard you have to take all sorts of herbs, and watch an entire season of Nashville in one week just get better.
But now I’m feeling pretty good. I’m feeling pretty on top of things. And I’m going to ease you into a recipe with this one because it’s so painfully easy it feels like a cheat to give it to you, except you would all hate me if I didn’t because it’s so darn good. It’s crunchy and salty and spicy, but also earthy and sweet and exactly what I want in a bowl of pecans on my table. And also on my friends table because I’ve already been enlisted to bring her some after she saw my instagram picture of them only a few minutes ago. They are wonderful. And so are all of you, thank you for your patience these last few weeks.
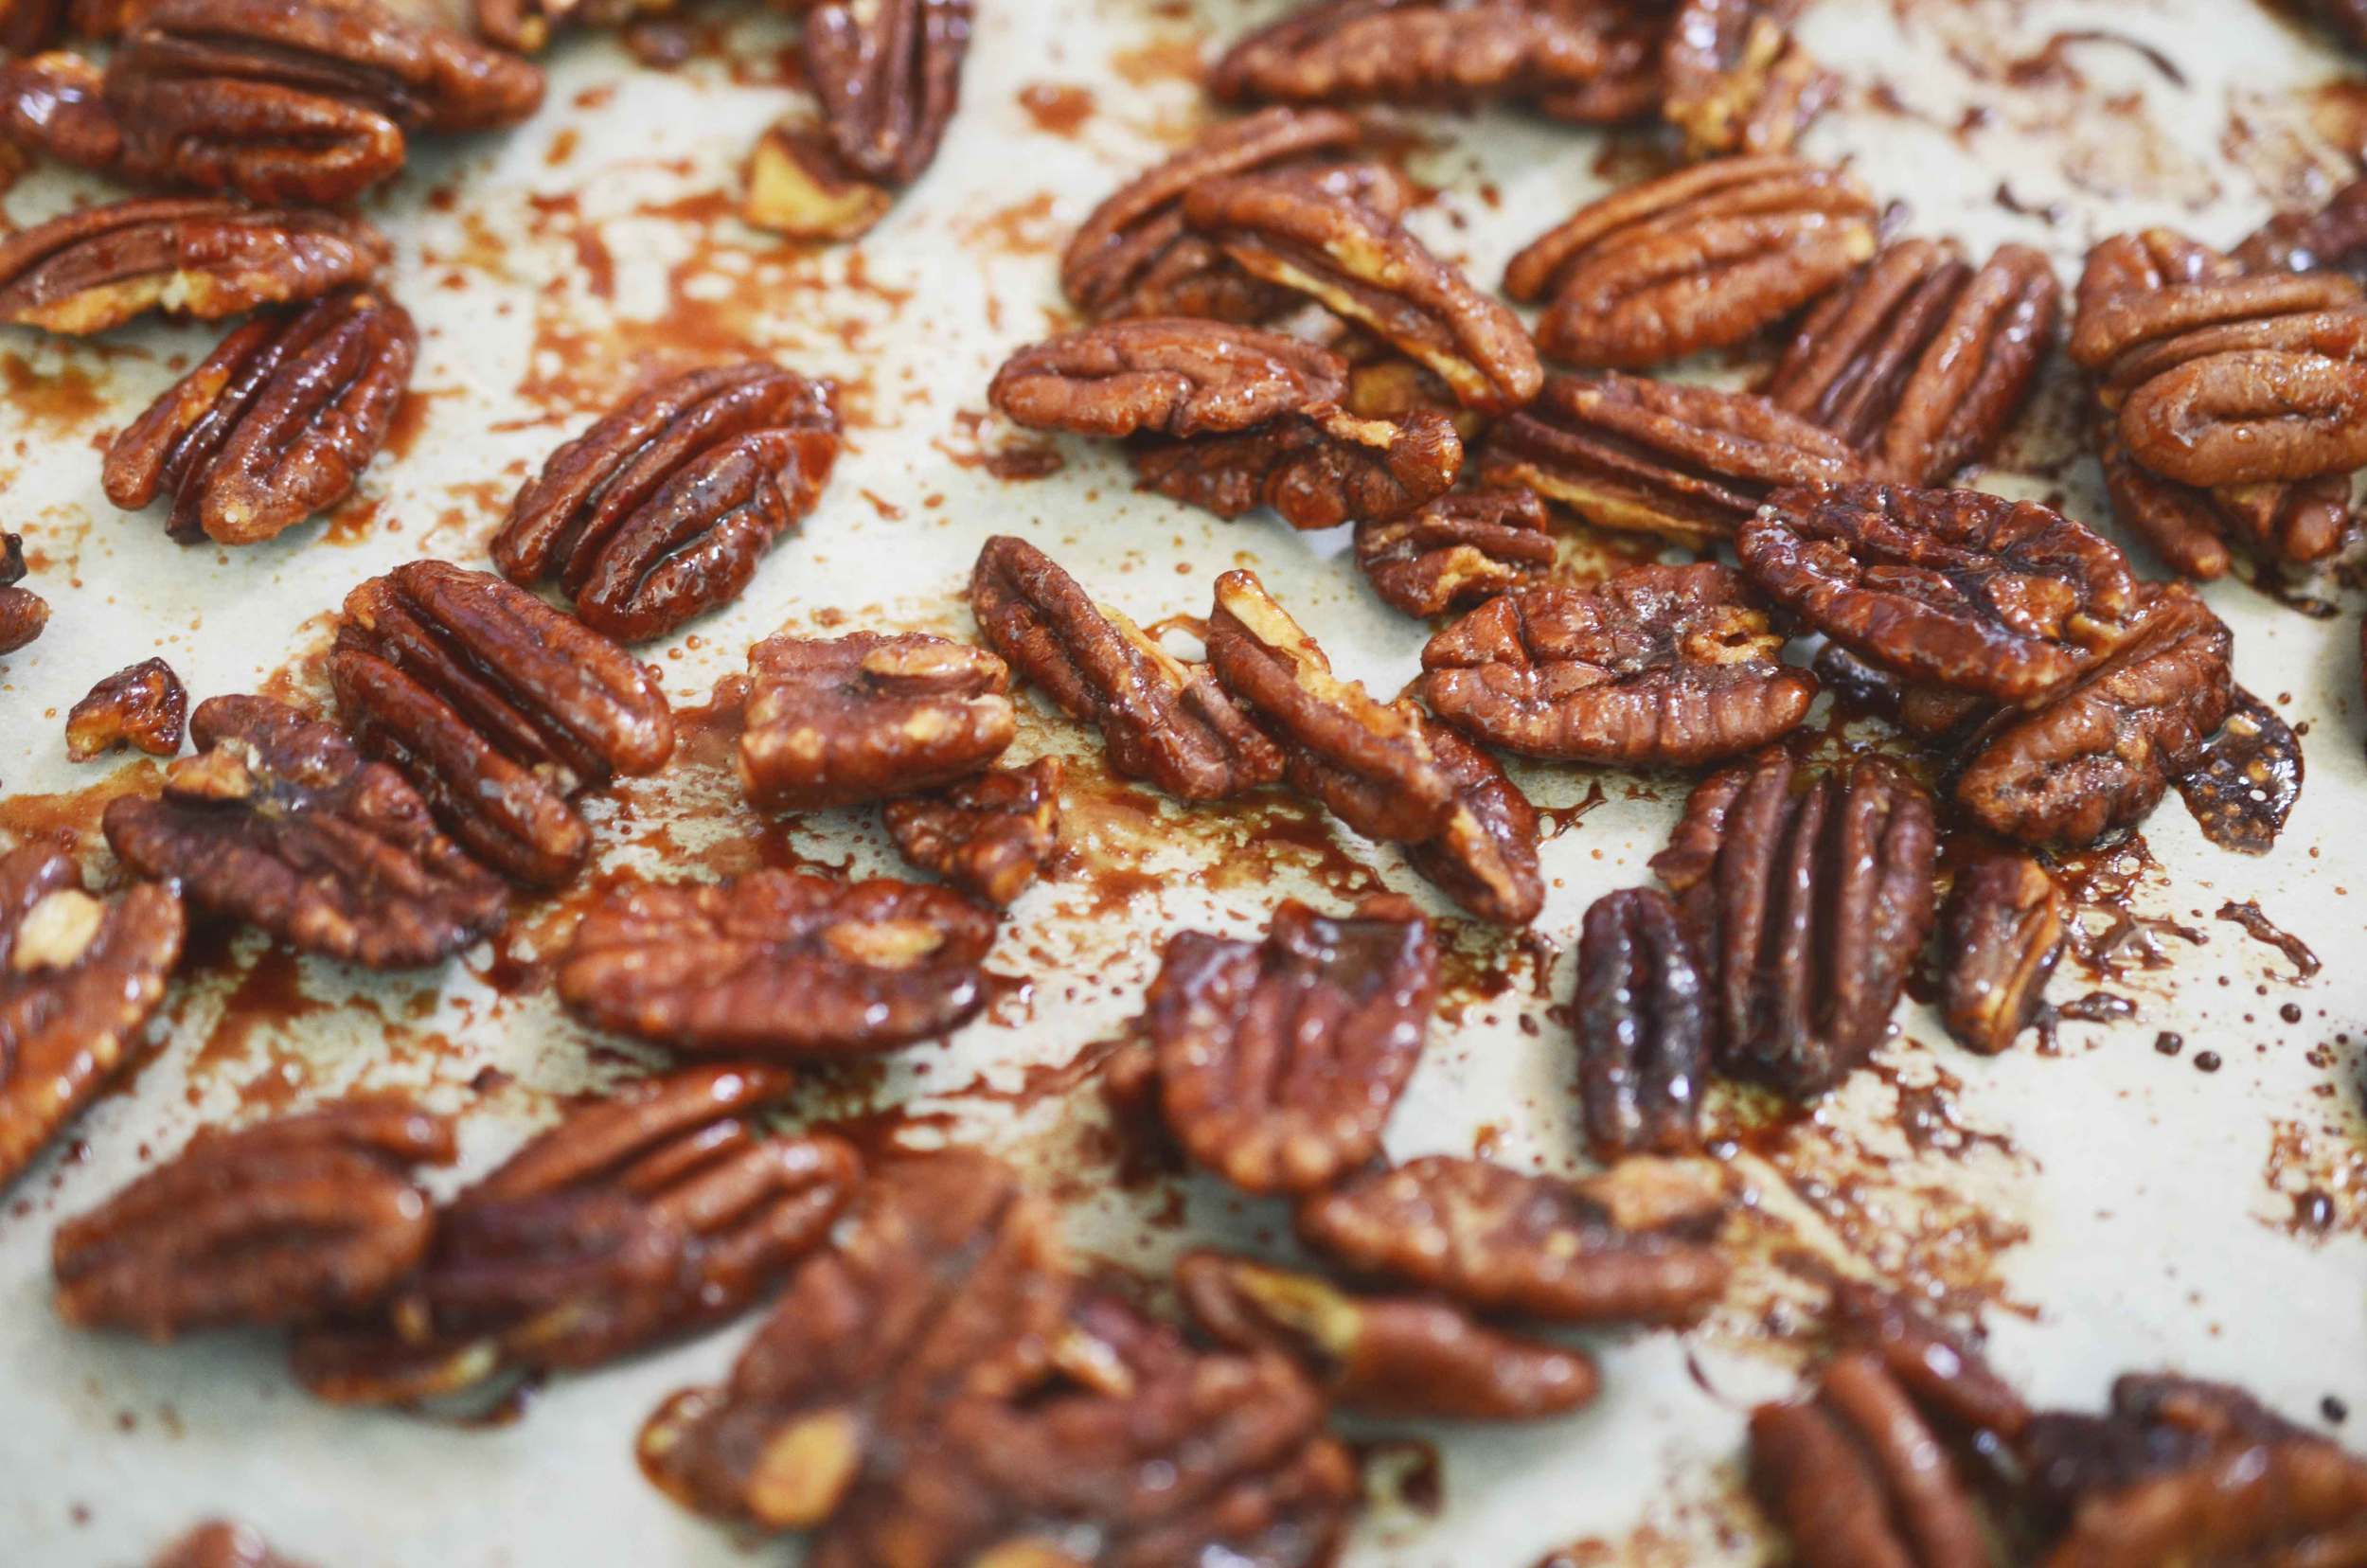
Sriracha and Maple Roasted Pecans
2 cups Pecans
½ cup Maple Syrup*
1 tbsp Sriracha
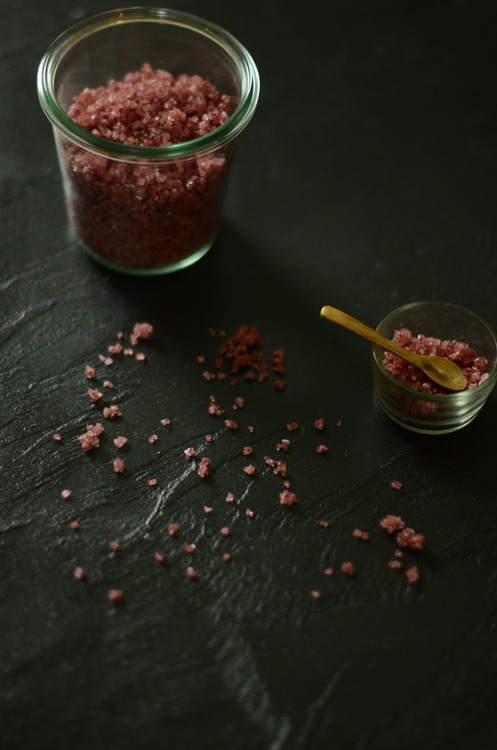
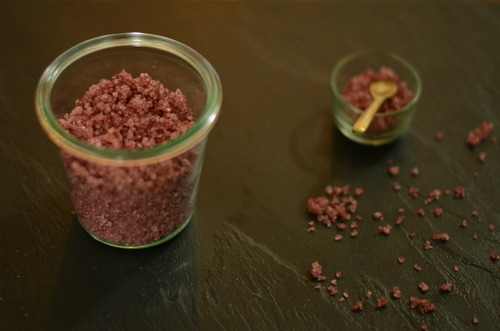
2 tsp Coarse Salt
*If you think maple syrup is a bit indulgent, or you just don’t have any kicking around, you can easily substitute honey or brown rice syrup, and it was be nearly as delicious.
Preheat your oven to 325F
Line a baking tray with parchment paper.
Mix together all the ingredients with your hands in a medium sized bowl and then sprinkle them out on the parchment lined tray and spread them out.
Bake for about 20 minutes, stirring every 5 minutes.
You’ll know they’re done when the sugar around them has stopped bubbling but instead looks crystallized onto the nuts.
Cool, and try not to eat them all in 5 minutes.

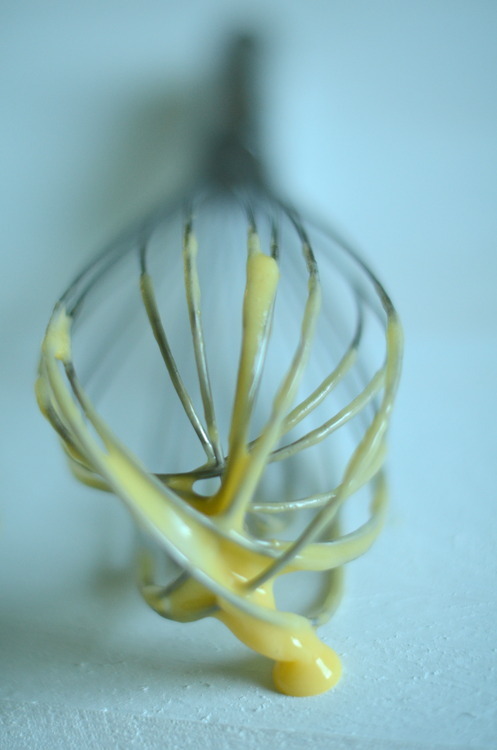
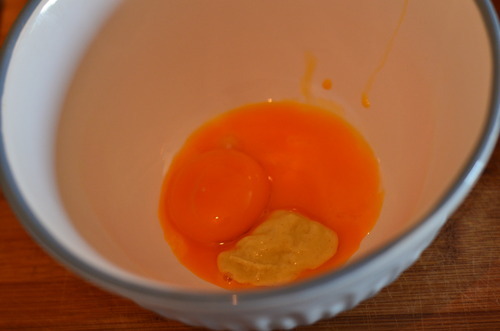
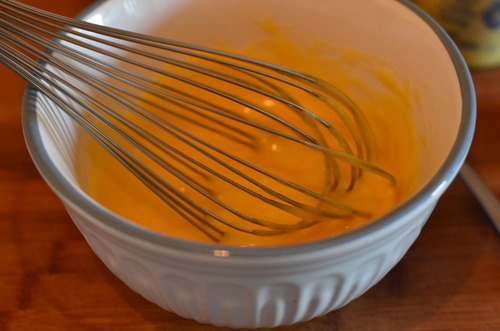
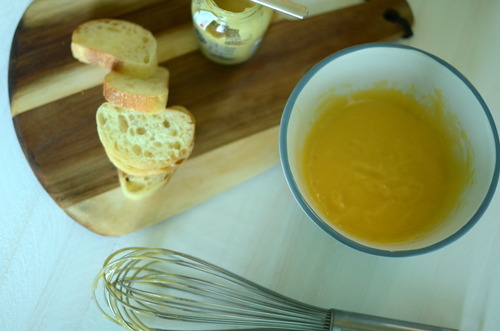
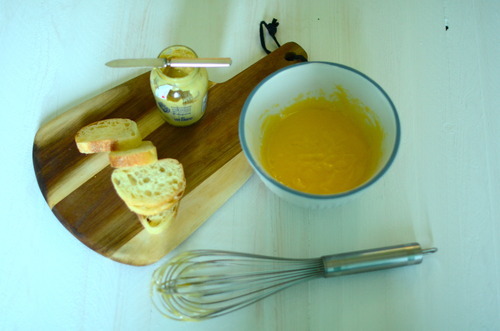 The very first thing I learnt at the very first restaurant I ever worked at, was how to make mayo. Specifically this herb laden, lemon spiked, garlicky mayo that we served with the frites. The sous chef at the time swears to this day that when he tried mine, and I had made it taste just like he showed me, he decided to take a chance on me and mentor me.