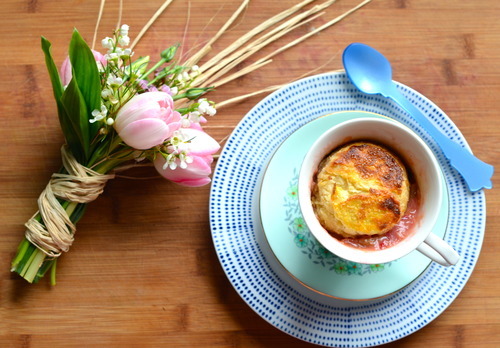
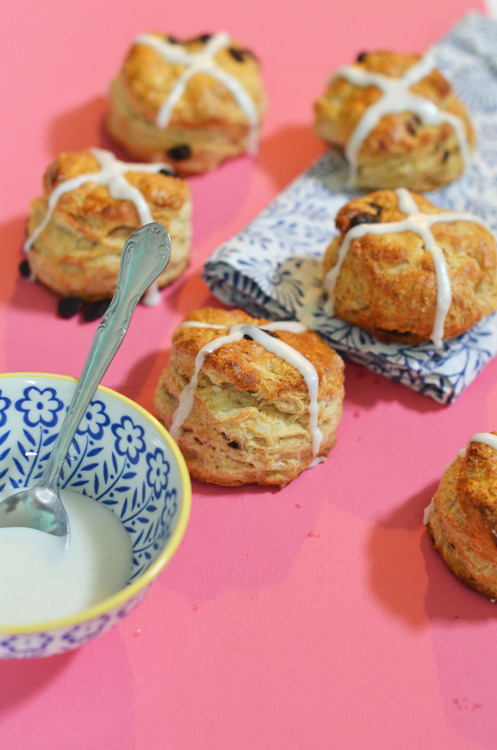
Hot Cross Biscuits
/
Apparently my Grammy made much more than just biscuits and pies and “Frenched” green beans. She also only served broccoli with hollandaise, always made her own bread and tended a beautiful garden that yielded an enormous bounty of fresh veggies. In the words of my mom, her adoring daughter “ My Mom grew up in poverty - emotional and financial - and her childhood home was chaotic. No-one cooked or cleaned and there was never enough food. So her home had to be perfect. She was remarkable.”

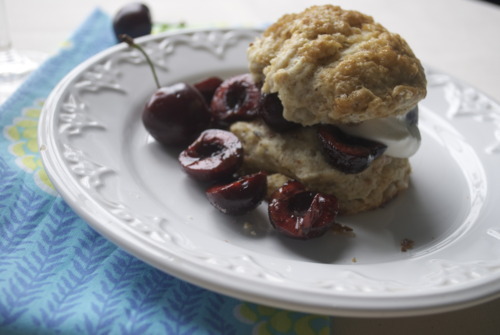
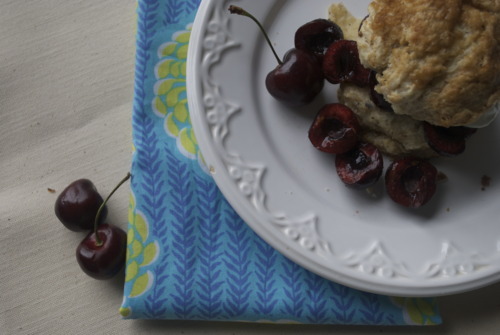
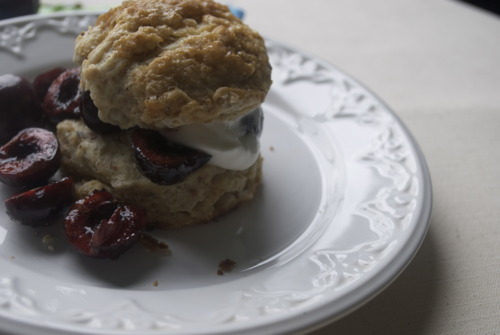
She was remarkable. And while she may have made a slew of other delicious foods, I will always think of her biscuits (“cloud biscuits” because they are heavenly and light). They were magnificent.
These are just a slight variation, I use butter instead of shortening, because I suspect she might have too, if it wasn’t for budgeting. And here of course, I’ve added some spices and currants to the mix, and topped them with an icing cross to be festive. But they are none the less my Grammy’s cloud biscuits, and they are remarkable, much like their creator.
[divider type="thin"]
Hot Cross Biscuit
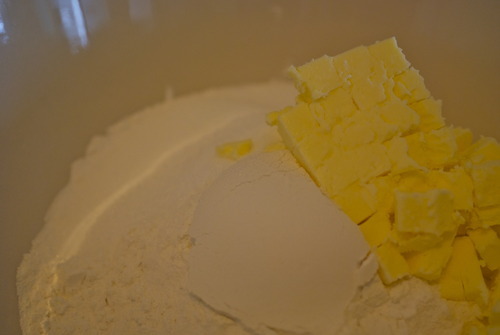
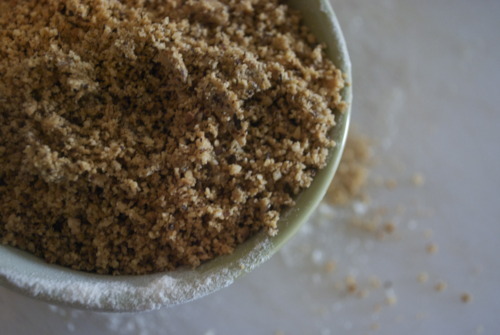
- 2 cups AP Flour
- ¼ cup Sugar
- 1 ½ tsp Cinnamon
- ½ tsp Ground Ginger
- ½ tsp Ground Nutmeg
- 4 tsp Baking Powder
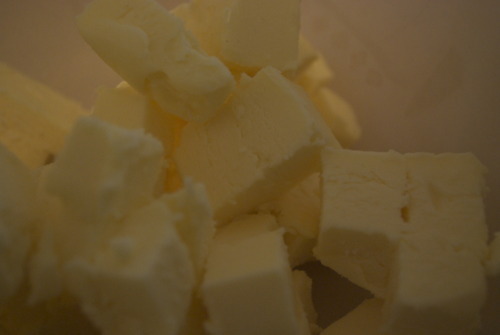
- ½ cup Butter, cut into small cubes.
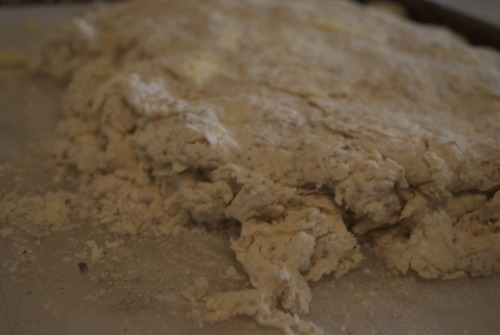
- ½ cup Currants
- 1 tsp Salt
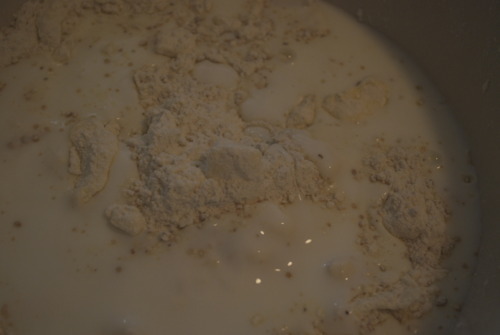
- 2/3 cup Buttermilk
- 1 Egg
- 1 Yolk
- 1 cup Icing Sugar
- 1 tsp Vanilla Extract
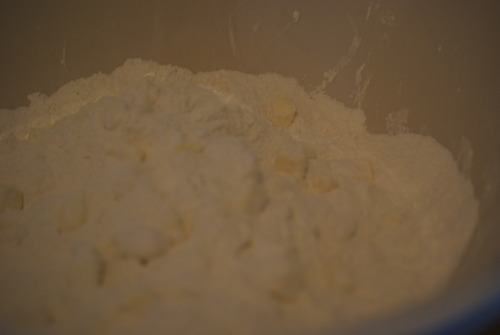
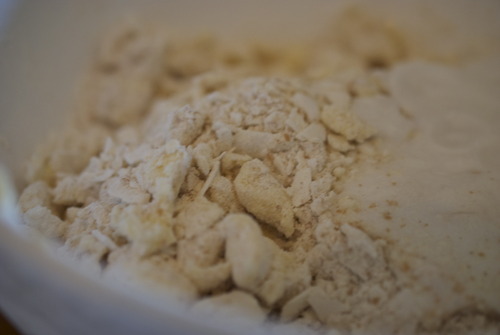
In a large mixing bowl mix together all of the dry ingredients.
Toss in the butter and using your hands (or a pastry cutter) and break the butter up into pea-sized pieces.
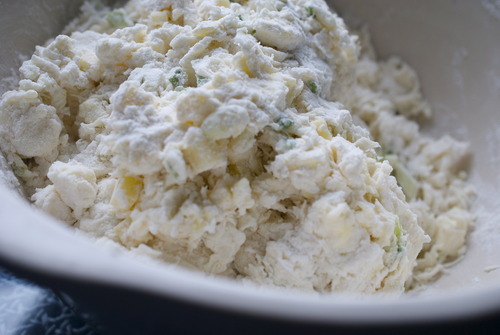
Add the egg to the buttermilk and whisk it until combined.
Add the liquids into the flour mixture and stir until it just starts to come together.
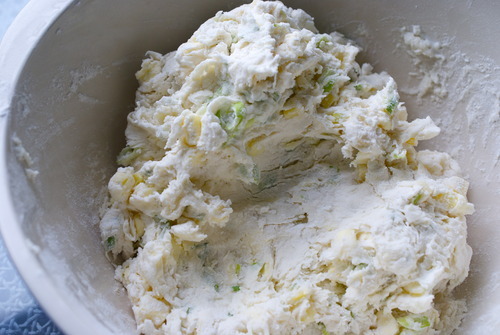
Add in the currants and press the dough out, and then fold it in half. Repeat this 5-10 more times until the dough has lots of layers and has formed a cohesive dough, but remains very soft- as soon as you start to feel the dough resisting stop.
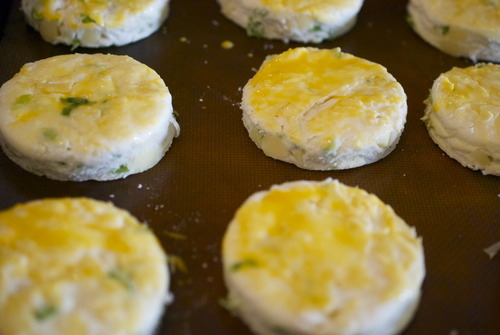
On a lightly floured surface press the dough down so that it is ¾ inch thick. Cut the dough into circles- do not twist when you do this! Go straight up and down!
Put the circles on a parchment lined tray and put them in your freezer for 20 minutes.
Preheat the oven to 400F.
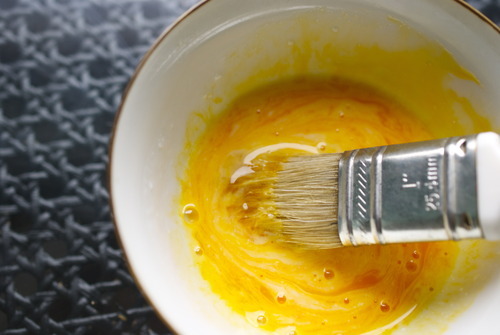
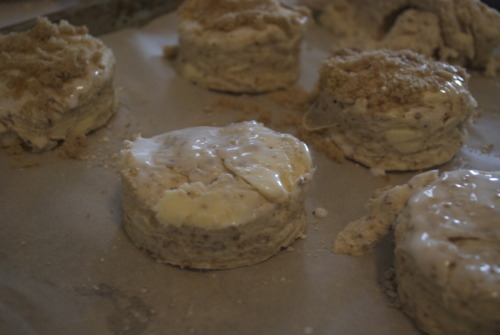
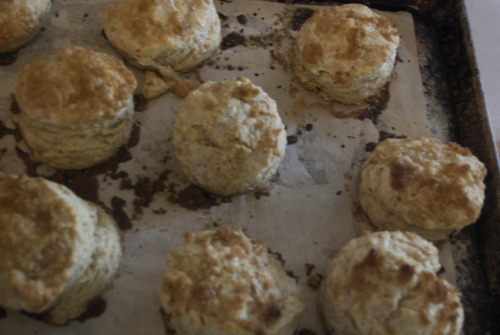
Mix the yolks with 1 tbsp of water. Brush the egg wash on all of the biscuits and bake for 20 minutes, or until the outsides are nicely browned. Allow to cool completely.
Meanwhile mix together the icing sugar and vanilla extract with 1 tsp of water. Put in a piping bag (or a Ziploc with a hole cut in it) and pipe on the crosses.
Eat immediately!