Technical Difficulties

Hi Friends, 

I’m not sure whats happening with my site right now, I just wanted to apologize, and tell you that I’m doing my best to have it fixed right away. I also wanted to let you know that tumblr, the hosting site here is planning on being down on Saturday (this Saturday! October 6th!) so if there is a message saying the site is completely down, it’s only temporary. Thanks for your patience with this, I hope to have it all sorted out in the very near future. 

xo, Claire

DIY- Grow your own micro greens in vintage tins!

Here’s the thing, at the end of the day, all I really want to do with my life is have a garden and make jam. That is my ambition. I would like to write about having a garden and making jam, and if people read what I wrote I would be on cloud 9. But that would be icing on the cake, and in a pinch I could live without it. What I long for and crave and yearn for, is a garden and a kitchen big enough to make jam.

Currently, I live in a 600 square foot apartment with a teeny tiny kitchen and no outdoor space.

I’m not trying to get your sympathy, honestly, I’m way to young to have my lifes ambitions fufilled yet. I know this. I mean, anyone who has it all figured out at my age must get so bored.

So I plug along in my little space, and I make jam for my friends and I plant herbs in tins and place them on my window sills and I’m pretty happy. Which is all one can ask for I suppose.
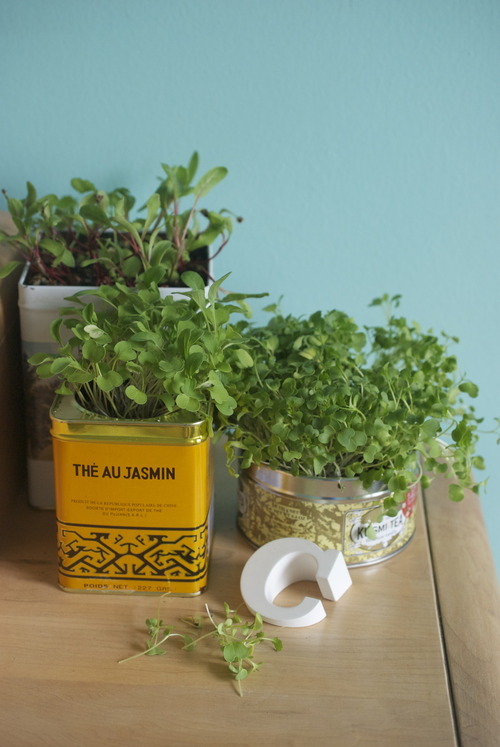
DIY Micro Greens in Vintage Tins

Heres a quick way to get those expensive microgreens from the farmers market at home for only a couple dollars! And they last longer.

Supplies

Potting Soil

Tins- vintage tins, tea tins, whatever you so wish.

Ziploc sandwhich bags

double sided tape

Seeds, arugula, mustard, swiss chard, sunflower, and romano beans are all good options,

Paper Towel

Pebbles.

Get 2 squares of paper towel damp and place them on a plate.

Sprinkle a tablespoon or so of seeds on it, and then cover with another damp piece of paper towel.

Keep this damp for a day or so until the seeds start to sprout.

Take your double sided tape and put a few pieces on the inside of your tin around the opening.

Place your ziploc bag inside the tin and press the edges into the double sided take getting it as close to the opening as you can without having the plastic come over the edge.
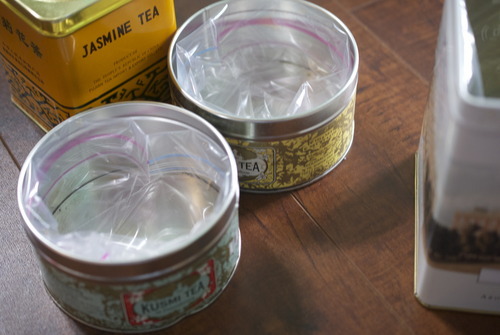
Place a small handful of pebbles at the bottom- this will allow for better drainage.

Put the potting soil on top and press it in so it is pretty well packed but not hard.

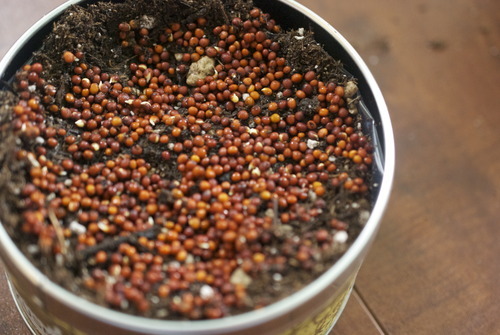
Sprinkle the sprouted seeds on top and water.

Keep the sprouts well watered and watch them rise up, once there a couple inches tall cut them and put them in salads, sandwiches, on top of fish or anywhere else you might like!
Hand Printed Tea Towel DIY

When I was in high school I became obsessed with a store called Peach Berserk on Queen West in Toronto. It was an outrageous store with very loud bright cloths that were all hand silkscreened. It was always out of my budget, but I had Peach Bekerk undies and scarves. At one point I inherited a skirt from my sister that made me unordinately happy.

So one year for my birthday my Mom had me go to a silkscreening workshop that the owner put on, and while my Mom even bought me the photoemulsion needed to silkscreen like a professional without a light table it was a hobby that fell by the wayside pretty quickly. Which is too bad because I love printed fabrics- I in fact have 3 beautiful handprinted tea towels framed on my walls.

I have accepted that my dreams of silkscreening are probably not going to happen in my 1 bedroom apartment but with all my free time in my new found unemployment I figured I could at least do some kind of fabric printing. And so I did.

If silkscreening as at the end of the spectrum that involves machinery and fancy chemicals than this is way on the other side. You make stamps out of cardboard and you could use nearly any fabric you have kicking around to make these. I used a soft canvas and though I’m thrilled with how it looks, but I think next time I’ll use something softer and more absorbent, like linen.

Materials

Soft and absorbent fabric cut to the size of a tea towel or an unprinted tea towel.

Fabric Paint

Cardboard

Tape

Hot Glue gun

Iron

Iron your fabric

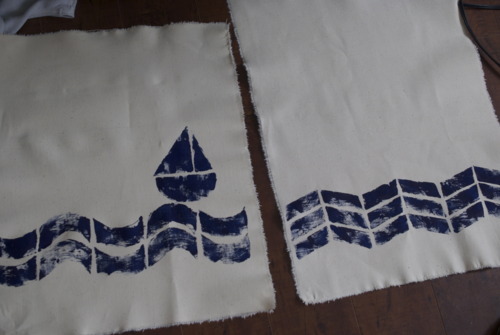
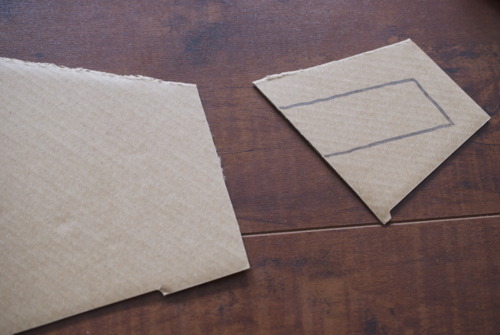
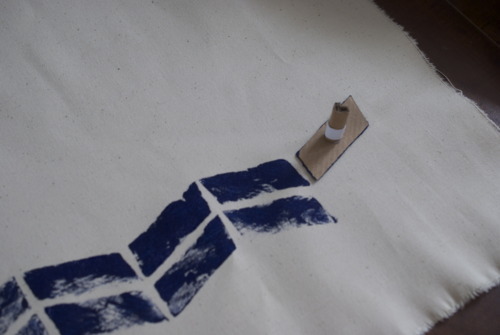
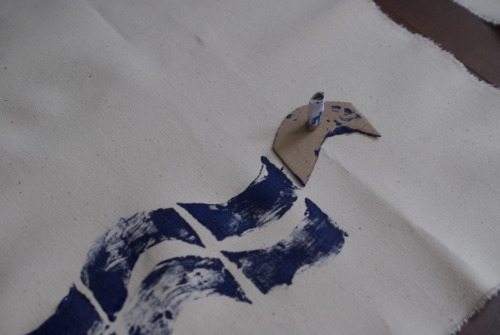
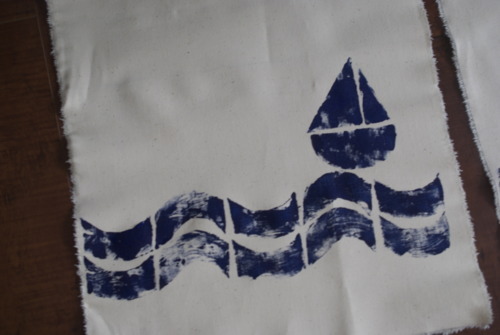
First decide on your design. I made a chevron pattern first and then made the waves with the boat, the shapes were all very simple.

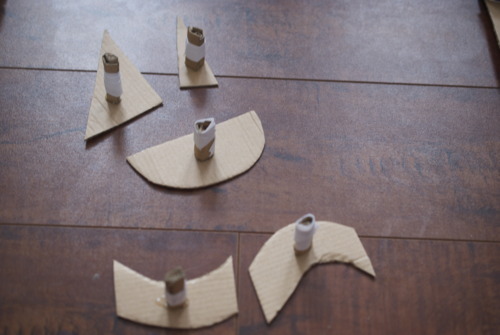
Draw them on the cardboard and then cut them out. 
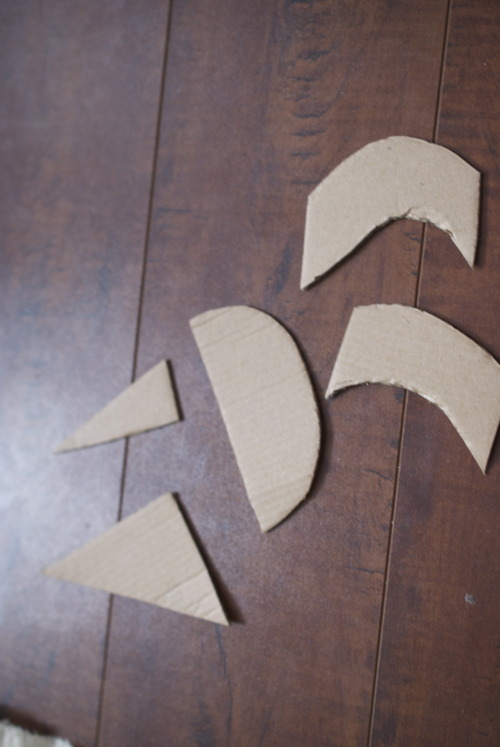
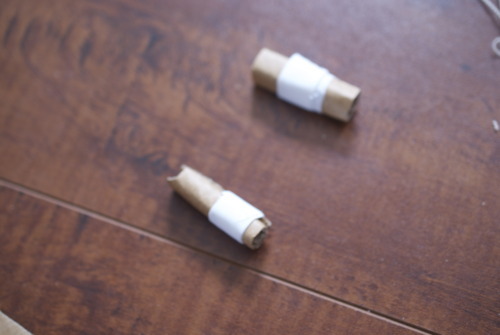
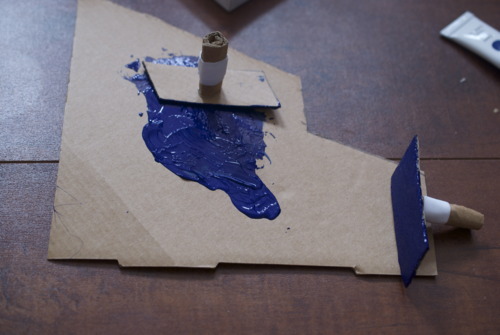
Take a thin piece of cardboard, roll it up, and tape it shut.

Use the glue gun to attach it to the backs of your stamps to use as a handle.

On a palate put down lots of paint and make sure it is really spread into every corner of the shapes.

Start stamping!

Let the paint dry for at least an hour and then iron it once again to seal the paint. And there you have it, hand stamped tea towels.

Key Lime Cordial

I relented and bought a new umbrella today. I thought that I wouldn’t need to replace my last lost one because it was May. Because the sun should be shining, and life should be swell but instead it rained all day. And all yesterday, and the day before that. There are these brief moments where the sun almost shines through the clouds and it’s almost like there isn’t a blanket of white and grey over us. And then the moment passes and the sun is completely invisble again. And I go back to day dreams of summer days and picnics on Wreck Beach and drinks on patios watching the sunset.

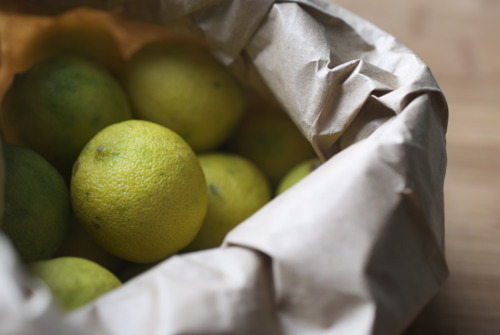
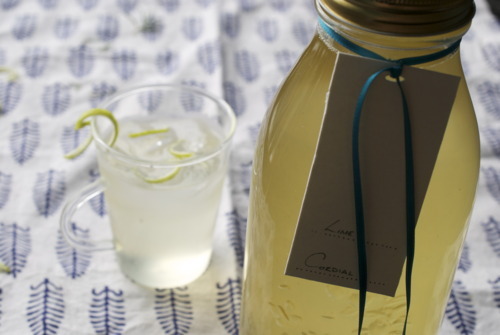
This is a recipe in preparation for those times, and it also makes use of one of the last reminants of the citrus season, the key lime. This makes an afternoon G & T into something glorious, this with a splash of vodka and some sparkling water is the perfect post work wind down drink. This means you never have to run out to the store to get lemons and limes before a party, because this is better. This is not the lime cordial you buy at the store with fruit juices from concentrate. This is so fresh you can hardly tell it wasn’t squeezed just for your drink. This you want in your house at all times.

Key Lime Cordial

Adapted from the Lime Cordial recipe by Stephanie Alexander. 

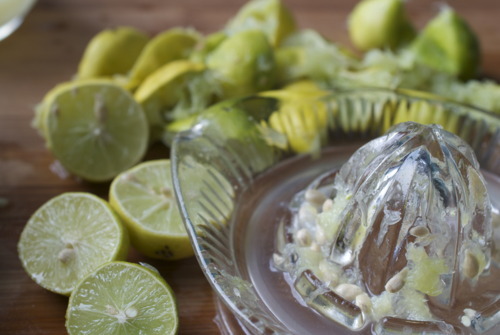
*You can make this with regular limes if you can’t find them of course, but there is a soft sweetness to a key lime that elevates this. I’ll admit that they take work, i had to squeeze 30 key limes but I also got over 2 litres of cordial, so that’s okay by me.

**I bought both citric and tartaric acids at a gourmet shop near me, but you can also buy them both at make your own wine stores.


300ml Key Lime Juice (about 30 key limes)*

2kL Sugar

1L Water

30g Citric Acid**

30g Tartaric Acid**

Bring a large pot of water to a boil

Wash 2x 1L jars or bottles carefully then place them and their lids in the pot of water and sterelize them.

In the meantime bring the water and sugar up to a boil.

When the sugar has totally dissolved add in the acids, and bring back to a boil.

Now add the juice and bring it back to a raging boil.

As soon as it hits that mark, turn off the heat. Take the jars out of the water and set them straight on a clean counter. Pour in the cordial leaving a 1/4 inch of head space and put on the steralized lids. It can be tricky to judge how much to pour in because of the bubbles, if your unsure add a little extra.

Allow to cool slowly at room temperature making sure the lids seal properly.

This will keep for ages, and if you don’t feel like sealing the jars it will last a long time in the fridge with a screw cap.  

Floating Vases DIY

Big changes are about to start happening around here. Not quite yet, but pretty soon. 

In preparation for this I’ve baked some cakes and had some pictures taken and I’ve been working with some very talented people. I’t pretty exciting.

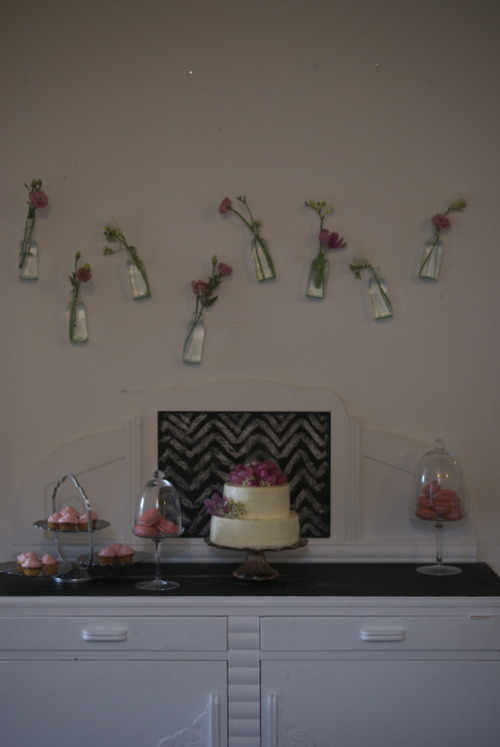
One of the things that will change soon are the wedding cake pictures, and so recently I filled my house with baked goods and crafted my little heart out, and had a friend come by and take some pictures. And while I’m not quite ready to but those up yet, here is a sneak peak and a little DIY!

I really wanted to have lots of flowers for the shoot, but I also really wanted to keep it looking clean and crisp and a little minimal. I’ve been seeing some floating vases lately and loved that idea but I didn’t have the right sized vases… and then…

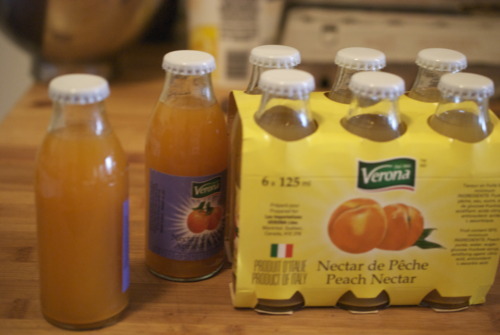
Sometimes you just need to look around! I found these at my local Italian grocery store, and they cost 79 cents each. So I bought 8 of them, poured out the juice (FYI the peach pulp+bubbly=bellini!), soaked them well and then washed them off, which was pretty easy actually. 

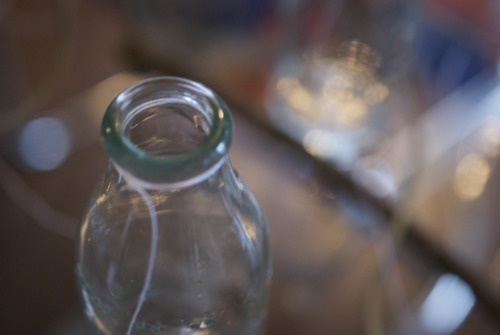
Then I tied a string around the lip of each of them.

Then I nailed a few holes in my wall. With very very thin nails. Sorry landlord.

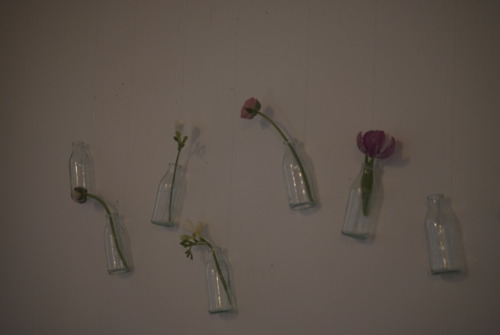
After that just tie them to the nails and the length you wish- I like them when they’re mis matched but that’s just me. Now fill them with water and flowers!

Waffle Party

It is no secret that I love planning parties. I love baking with a color theme, I love being able to actually use all the little pitchers and cake stands that I collect, and I love all the little crafty details. So I can’t tell you how pleased I was when my dear friend Beth called me up and said “I’ve decided I want to get all the girls together for mimosas and waffles for my birthday, and I’ve decided this should be at your house”.

I really do love making brunch (I ran a brunch restaurant for a couple years) and I also really love my friend Beth. It was great fun, and a total perk was that a few of the guests were photographers.

I’ll put up some of the recipes soon, I promise, but in the short term, here’s a glimpse at the day. Most of the photos are from my fabulously talented friend Shannyn , a couple are mine!

The spread:

For sauces I made coconut milk chocolate ganache, salted caramel sauce and maple syrup, and I served pots of preserves I made last summer, like vanilla soaked mandarins, earl grey canned peaches, and blackberry compote.

(c.o Shannyn Higgins Photography)

(c/o Shannyn Higgins Photography)

Coffee and a cookie:

(c.o Shannyn Higgins Photography)

The birthday girl:

(c.o Shannyn Higgins Photography)

More bubbly?

(c.o Shannyn Higgins Photography)

(c.o Shannyn Higgins Photography)

(c.o Shannyn Higgins Photography)

Saturday Morning Reading

A few things to read and look at before your weekend really begins.

I love finding out the history behind recipes, and if leads me to Hemmingways contemporaries in 1920’s Paris. You know I’m sold. This is a completely charming history of the Boulevadier- 1 part Manhattan, 1 part negroni, 2 parts totally sold. Click here for the story in the NYTimes.

As we redo our apartment all I find myself wanting is simple, natural, clean lined objects. (This may come as a shock to anyone who knows me but I really want to clutter out!) These elegant pieces from David Stark are just up my alley. 

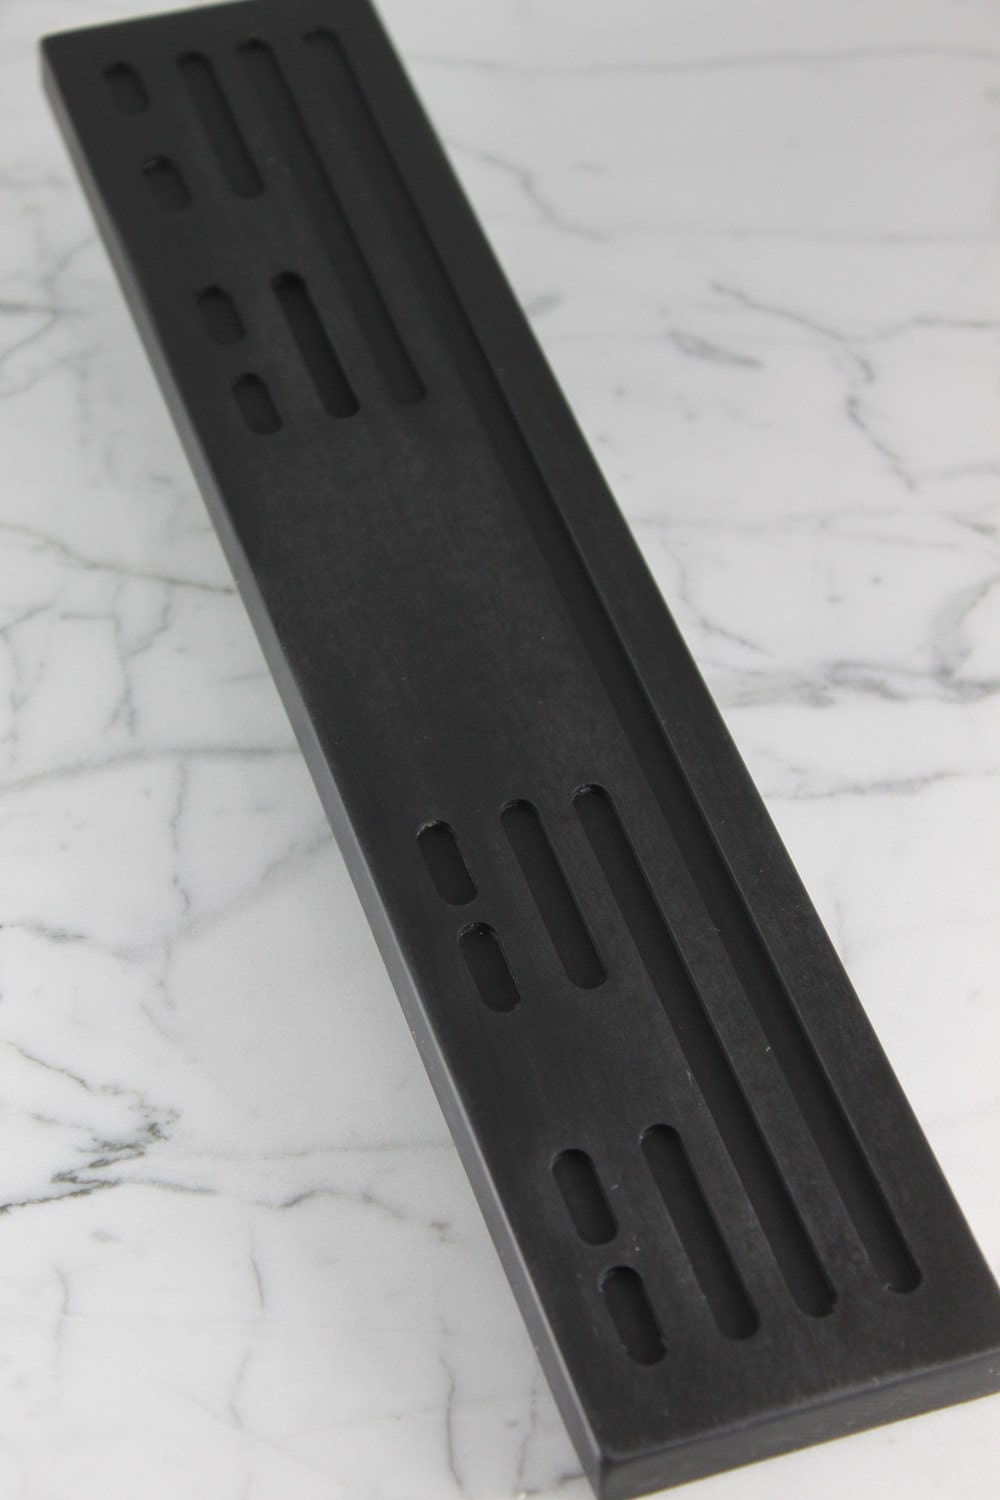
I love this black magnetic knife rack. It’s a little different, a little industrial and it’s made out of compressed paper. Tres cool.

Magnetic Knife Strip - Large

On a serious note, we have to talk about this people. There just isn’t enough food. There are solutions to this. The involve communities learning to feed themselves, not companies like Monsanto sending grains thousands of miles across the planet. 

On a happier note, I bought this print  (well okay it’s a tea towel but it’s so beautiful I’m calling it art) while I was in Toronto at Christmas and it’s finally up on my wall! In love.

Pop Up Dinner!

 I’m doubting I mentioned this, but a few months ago one of my favourite people in the world lost her brother. He took his own life. It was a devestating and unexpected, and heatbreaking time, it still is for his family. I’m not just friends with his sister but also with his cousin, Kelsi, and her boyfriend Sam,who lost his step dad this year also from suicide. What I’m saying here is that suicide has been on my mind, and it’s been on theirs even more. 

They have a friend who works for a suicide prevention and education non-for-profit called Need2 an organization that relied largely on the government for it’s funding and that funding has recently been cut off completely. If it goes under there would be no suicide support or hotline anywhere on Vancouver Island. Which is terrible, and hard to handle after the year we’ve had.  So they decided to do something about it.

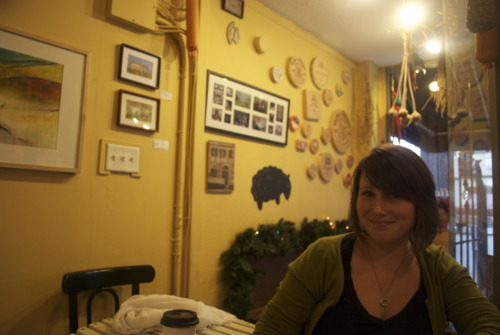
This is Kelsi. She is kind, organized and has a great laugh. 

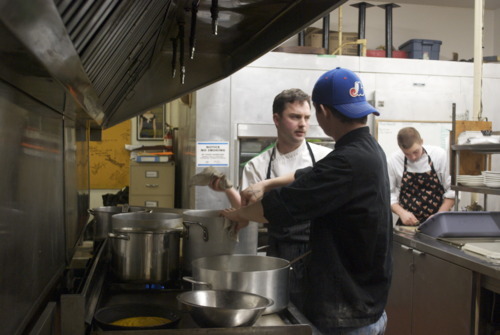
The dude with the mo is Sam, he is an incredibly talented chef and maker of cured meats. 

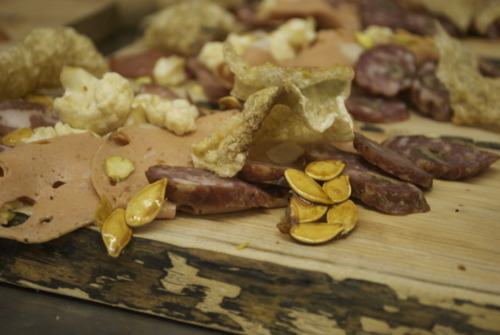
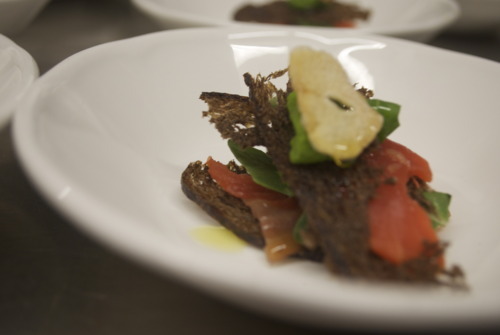
And together they put on a fundraiser dinner at the completely charming Cabin12 restaurant. It had things on the menu like smoked salmon with watercress mousse,

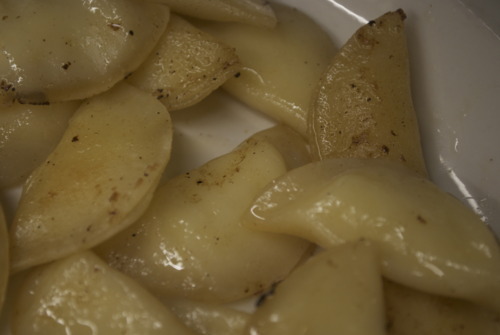
Duck confit perogies, 

Bacon wrapped venison loins, 

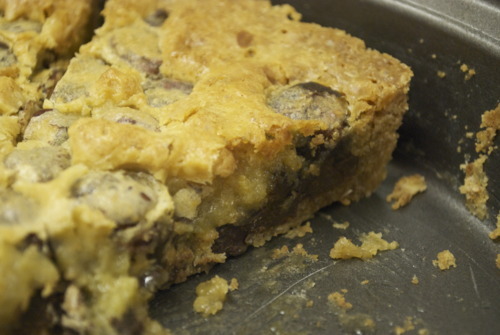
and momofukko style crack pie with local hazelnuts and chocolate 

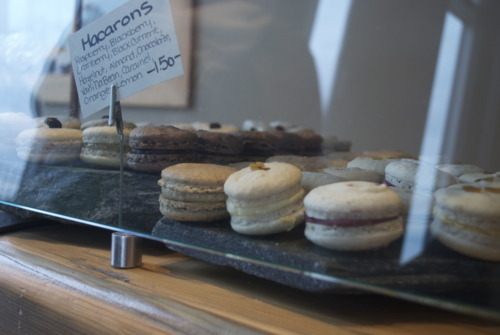
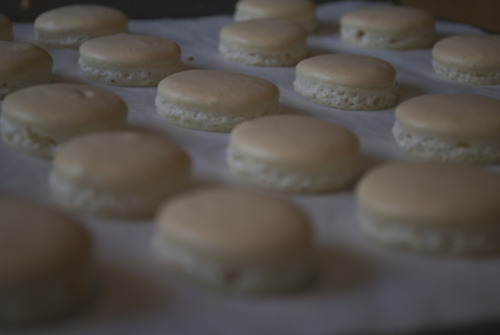
And macarons, of course. There were 15 volunteers all together, serving, pouring drinks, and dishing it all out in the kitchen. Some jobs (like bringing 60 macarons, the most delicate cookies on the planet, on a bus and a ferry ride from Vancouver to Victoria) were more fun than others, but it was a wonderful group of people.  

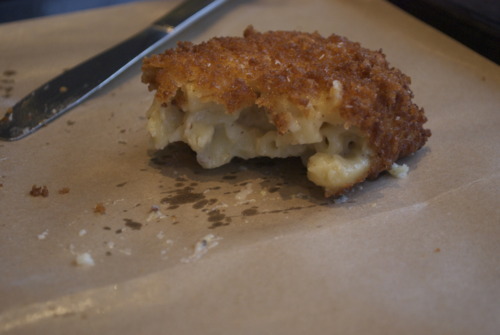
And then I spent the next day eating things like deep fried mac and cheese, because that exists. And it’s wonderful!

We also checked out Fol Epi, which is a glorious bakery, just glorious, and it makes wonderful croissants, gorgeous macarons, and the best baguette I’ve had in Canada. And I don’t say that lightly. 

I will have recipes up soon, I just thought in the meantime I would show you what I did this week, and let you all know about Need2, a great organization that needs help!

New Posts and a Broken Kitchen

Hello! 

Yes, I have been a terrible blogger the last couple weeks, my kitchen is many pieces right now unfortunately, my landlord is redoing out countertops and cabinets, which is great, but… I can’t even boil water right now. However, I have written something for Scout Magazine on baguettes http://scoutmagazine.ca/2011/11/11/on-a-mission-gone-hunting-for-the-most-authentic-parisian-baguette-in-vancouver/ which can (hopefully) fill you up for another day or two until things are back to normal around here.

xo Claire

Rosemary Shortbread with Fleur de Sel

I don’t have much of a story here, no charming childhood memory or anything, just a very good cookie. A cookie with rosemary, a hint of lemon, and a smattering of sea salt. The kind of cookie that’s not too sweet or too heavy. Something that is light and crumbly, and buttery and lovely. The kind of cookie that keeps for a few weeks in a sweet little vintage tin, and you can just pop them out when company comes over. Or you can eat them all in one sitting. Just saying.

Rosemary Lemon Shortbread with Fleur de Sel

(loosely adapted from the Tartine Bakery)

1 cup Butter, very soft

1/2 tsp Salt

2 scant cups AP Flour

1/3 cup Sugar

2 tsp Fresh Rosemary, finely chopped.

Zest of 1 lemon

1 tsp Fleur de Sel.

Preheat the oven to 325F

Butter an 8inch square pan or a fancy pants shortbread pan, whatever strikes your fancy.

Mix together the butter and sugar- the butter has to be very soft. If it’s not soft enough put microwave it of put the butter in a double boiler. It should have the consistency of mayonaise.

Add in the rosemary, lemon zest and salt.

Mix in the flour until barely combined.

Press the mixture into the prepared pan and bake for about 20 minutes or until it’s cooked through.

Take it out of the pan and immediately cut them. If you cut them while they’re cold they will crumble.

Sprinkle with the fleur de sel and eat eat eat!

Furniture Redo

I have been on a serious picking-things-up-on-the-side-of-the-road-kick, and no I don’t mean women of ill repute. I mean furniture. First it was a hutch, then it was a side table, and then it was the amazing 1930’s cabinet. I’m not sure if it’s just that I’m on a roll for finding them, or if I’m on a roll for seeing potential but either way I am on a roll.

It started innocently enough we were just driving to Jordan’s parents place for a BBQ but there it was, hiding behind a corner beckoning me, With waterfall edges, bakelite handles and something very sturdy about it, as though it might be real wood underneath. I had to have it.

I screamed at Jordan to stop the car, and we tried to get it into his little Mazda, then we tried to carry it (that’s when we discovered it was hardwood) and then finally the woman with the truck who was waiting for us to give up so she could take it decided to help us. I am eternally grateful.

This was an enormous task, much bigger then I was expecting.

Let me tell you all right now that if you need to strip a large piece of furniture do not, under any circumstances, do it inside a small apartment with very little ventilation. Just don’t. You will get a terrible headache, and it will take days if not weeks to get the smell out.
At least that was my experience, man that was one hell of a migraine.

Anyways here’s how it was done.

 The biggest problem in this was the doors. The doors with the lovely arches on them that were covered with laminate. Laminate that was falling off. Laminate that had to be painstakingly chipped off with a chisel, by hand. That took an unbelievable amount of time.

 Then there was a stripping the paint off the sides. Thick, heavy, chemical stripper was used, this was very easy. Just paint it on with an old brush you can throw out afterwards. Paint it on and immediately it should start to bubble up. After a minute or two take your trusty chisel and it will peel off. This is of course if it’s latex paint. The first layer of this was latex. The bottom I suspect was oil based, and it was much more time consuming to get off. It would have been a much better idea to get an electric sander. But I am much to stubborn for that.

This is of course if it’s latex paint. The first layer of this was latex. The bottom I suspect was oil based, and it was much more time consuming to get off. It would have been a much better idea to get an electric sander. But I am much to stubborn for that.

Then you sand and you sand and you sand and get it into shape.

And then you wash it down to get all the dust off, let it dry and stain and paint! To stain it I painted on with a brush and then right away wiped it off with a cloth. This has to be done quickly or it will stain unevenly. Any part you’re painting you’ll need to prime first. I am very sorry but I accidentally deleted these photos!!

Scout Magazine

Hey all, If you’ve been wondering anything about where I work when I’m not here, here’s a link to some information about it, that I wrote for Vancouver based online magazine Scout!

http://scoutmagazine.ca/2011/10/04/chambar-veterans-eleanor-chow-slavita-johnson-opening-cadeaux-on-the-dtes/

photoBlog posts on canned peaches, cauliflower soup, and plum cake all up very soon!

Baby Showers!

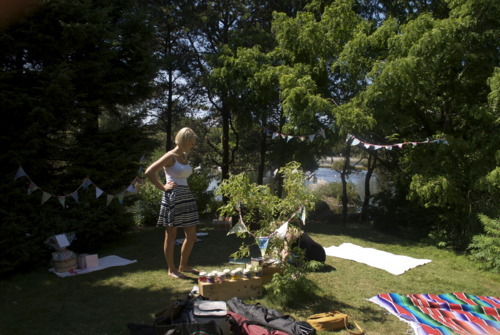
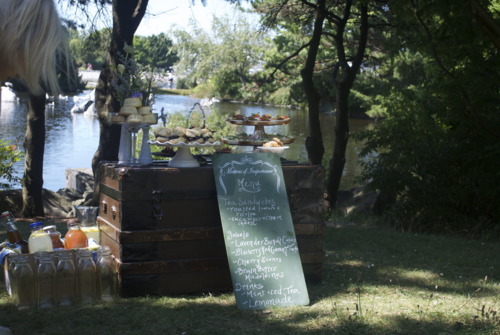
I have a very beautiful friend Laura who has a very beautiful 7 month old little girl in her belly. We are very excited. So this weekend I hosted a baby shower!

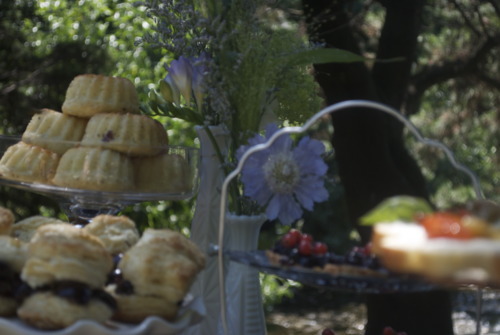
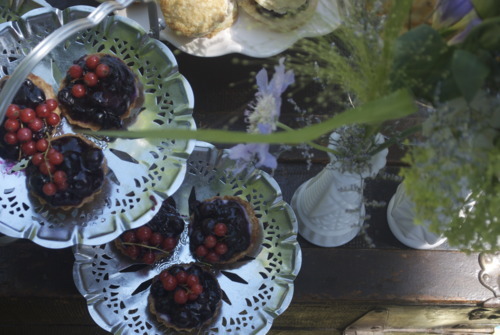
We ate lots of little goodies (lots more on that soon!) and made baby shoes, and hung out in the prettiest little park. So I thought I’d share some fun photos of our day, and I promise soon, there will be lots of recipes coming.

Isn’t this spot just the sweetest? Its deffinately got people around it’s pretty quiet considering how close it is to the seawall.

Laura in her prego glory!

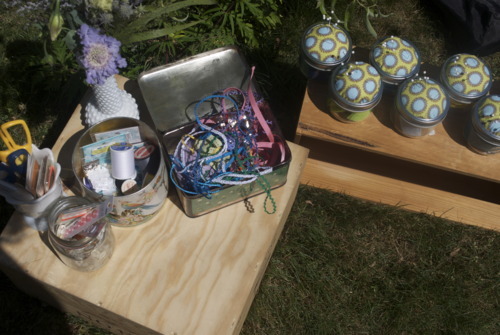
Because Laura has more shoes than anyone I have ever met, I thought it would be fun to make baby shoes! I made cut out the patterns in felt and put them in mason jars with pin cushion tops. Then brought tins full of ribbon, buttons, sparkles and more!

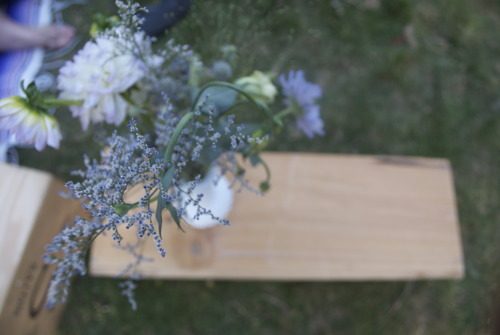
I always get my flowers from The Flower Box, it has the most beautiful selection and Sasha, the owner, makes the most amazing bouquets! She made a bunch of wildflower bouquets for me in my collection of milk glass vases. I think it really tied everything together.

And I just love how the bunting looks on the trees blowing in the wind. It was such a fun day, I just love hosting and planning.

Such a great day, I’ll be back soon with recipes! xo

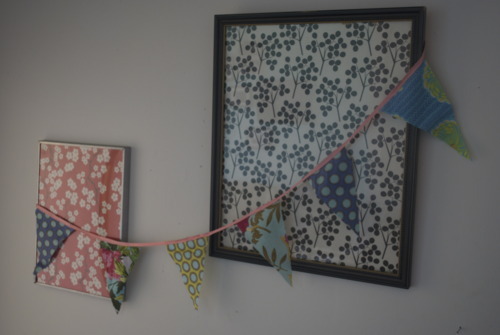
DIY- Cheaters Bunting

I would say I’m a pretty crafty person. I see things on Etsy and in fancy shops and think to myself “I could make that!” and I often do. I also often go and buy the stuff get half way through and then get excited about another project and leave the remnants on my desk for months. This happens all the time actually.

Anyways.

My hatred of buying things I know I can make is why I’ve been avoiding buying bunting, even though I think it’s the cutest thing ever. It just seems so easy, you cut out triangles sew them together, turn em inside out and sew them onto ribbon.

So I thought this would be a perfect crafty decoration for a baby shower I’m throwing next weekend. Until my sewing machine broke.

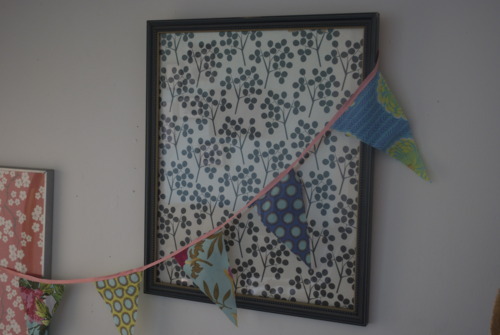
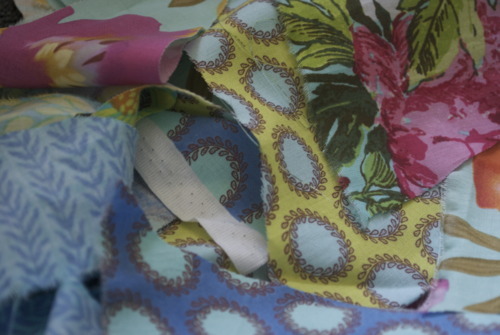
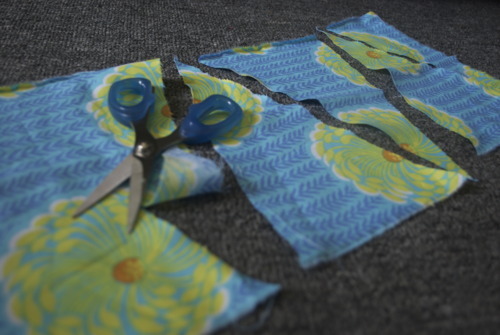
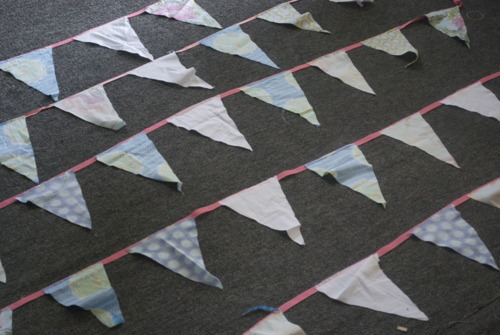
So I made things even easier. I cut out triangles and glued them onto ribbon. In fact it was so easy that it took my less then an hour to make 10 meters which I think is kind of amazing. I had loads of pretty fabric in my scrap bin so I just mix and matched it all but you could of course use any material and colour scheme you like.

Just cut out your trianges. I’d be lying if I said I measured any of them.

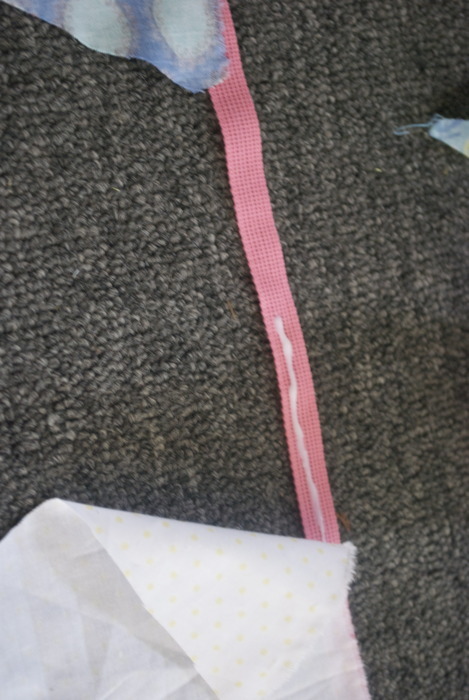
Lay out the ribbon and glue each triangle in place with the “right” side of the fabric face down.

And continue until you have all your desired length! As you can see, I made tons!

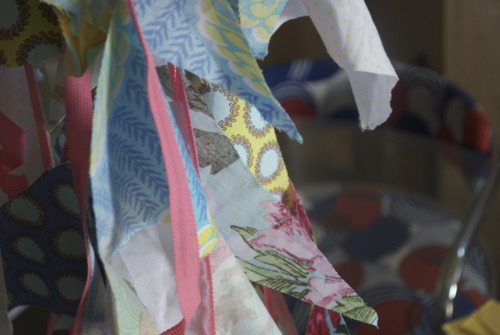
Let the glue dry and then hang it up or store until your ready to use it! It is actually that simple.

Finch's Cafe/ New Ideas

Last week I met up with a girlfriend at one of our favourite places to grab a bite to eat and have a long over due catch up.

We were eating a terrific meal at one of the cutest ever cafes, and I thought to myself, I should put this on my blog. I have my camera, I have a great back drop, and this is a restaurant I really want to succeed. So this is the first post in a new section, not where I review restaurants, but where I talk about places that I love. Places, that are sometimes off the radar, but sometimes they’ll be ones people talk about too. But they’ll be places with great food, lovely decor, and something about them that makes me want to revisit over and over again.

The place that inspired all this was Finch’s. Finch’s is a beautiful cafe.

It is below a dodgy looking hostel, which made me for a long time disregard it, but a couple years ago when a friend asked me to meet her there, I fell in love.

The space is amazing it’s not a large space, but its on the corner and it has huge windows which are adorned with vintage lace curtains. There are pretty details liek an old type tray hanging on the wall with little trinkets in it, and an old china cabinet over flowing with pretty mismatched dishes.

The menu, which is features baguette sandwiches like prosciutto with backed blue brie and toasted walnuts, is all written up on gold framed chalkboards. I had the avacado baguette sandwich which is full of avacado, cucumber, lettuce, walnuts, and edam (although i don’t like edam so i had applewood smoked cheddar in mine!)

Francesca had the gypsy salami, which is what i usually get actually, which is just super stuffed with salami, lettuce, dijon, and mayo. But its perfect that way.

The service is nearly always very friendly, although do expect to wait at least 5 minutes for a coffee. I drink tea though, and they have a great selection. They also have a few baked goods, always a chocolate chip cookie and an oatmeal cookie, and sometimes a cake or two.

For me Finch’s is very close to the perfect lunch place, it’s good simple food, very affordable, and in a beautiful space.

Finches Cafe

353 West Pender (at Homer)

If I Had a Million Dollars...

Words do not begin to describe the beauty of Cannell et Vanille. Shes a food stylist, an incredible photographer and clearly, a beautiful cook. Her blog is hands down the biggest inspiration for what I do here and, though I don’t think I’ll ever be anywhere close to as good as she is, she is absolutely what I aspire to.

If you are going to be in France in October or have some money kicking around and your wanting to plan a trip, she is doing a workshop that I desperately want to attend, but you know, I don’t have $2000.00 extra these days.

And if not, just go and check out this beautiful site, it will blow you away.

Health Food

Sometimes, when you write a food blog, work at both a bakery and a restaurant called Meat and Bread, and have dinner at your Italian friends houses regularly you end up eating cake for breakfast, BBQ beef sandwiches for lunch, pasta for dinner and ice cream for desert regularly. And when that happens you feel dreadful, not only right after but for a few days. And when that happens sometimes you need a big bowl of veggies, lovingly cooked without butter, with some toasted nuts on top. You know, I’m just sympathizing here, that certainly isn’t me. I do not eat cake for breakfast. Not this health concious angel. Never.

But in case you have that problem here is a bowl of local veggies, lovingly fried in olive oil, full of iron, protien, and vitamin B. In case you write a food blog, work at a restaurant and a bakery and have a lot of Italian friends. Just in case.

Swiss Chard Hash

1 big handful of nugget potatoes, quartered, or a few yukon gold potatoes diced.

4-5 big stalks of Swiss Chard, cut into strips, keeping the stems and leaves seperate.

1 clove of Garlic, sliced

1 tbsp Capers.

Zest of half a Lemon

2 tbsp Toasted Hazelnuts

Olive Oil

Salt

Some fresh herbs if you have any kicking around, I used basil and mint, because thats all thats big enough to pick in my “garden”.

Put the potatoes in a pot covered by an inch or two of cold water. Put it on high heat and bring to a boil.

Let it simmer for about 5 minutes, until the potatoes are nearly cooked.

Drain the potatoes and in a frying pan (or in the same pot if you don’t want to wash two dishes!) put a good glug of olive oil and theme dump the potatoes back in. Add in a good pinch of salt.

Fry them until they are nicely browned and happy looking.

Add in the swiss chard stalks and fry them for a few minutes until they are soft and starting to brown around the edges.

Add in the garlic and cook for a minute or two. Add some more salt here.

Toss in the leaves of swiss chard and cook until wilted and delicious.

Add in the capers, lemon zest and herbs. Mix to combine.

Put it all in a couple bowls and finish with the hazelnuts. I was thinking while I was eating this that some shaved parm would have really completed it, but of course, that was an unhealthy thought.

Recipe Index Updates

I have never been able to wrap my head around  hanging my coat up and putting away my shoes when I first walk through the door. Or doing dishes as I go (although I’m way better when I’m working and have a real dishwasher!) And so predictably I have to do big clean ups all the time, even though all logic is telling me I should just do little bits all the time.

BUT, I’m hoping to keep it up on my recipe index now that I have updated (I think!) all the recipes. So in case you were looking for something, it’s now there, and I promise I will do my best to update as I go. Pinkie swear/