Lasting Lemons

While I am definately looking forward to sunshine, fresh berries and days on the beach, the one thing from winter I will miss are the beautiful citrus fruits. Limes aren’t as juicy, lemons aren’t as sweet and grapefruits are so much more bitter in the middle of july. Which is mostly okay, I’ll happily take beaches and peaches, but of course I say that now and in a few months I’ll be waxing poetic about the beauty of key limes.

Which is all to say that in preparation for my citrus withdrawal symptoms I made lemon curd this week.

I love lemon curd.

Spread on toast in the morning? Iced onto cakes? Sandwiched inside a fresh scone? Check, check and check.

Lemon curd is also one of those things thats incredibly simple to make and yet costs an absolute fortune to buy in shops. So save yourself some money and make it at home. It only takes a few ingredients and 20 minutes (seriously, thats a generous estimate, it takes me 10 minutes!) and it also makes an amazing hostess gift.

Lemon Curd

(adapted from the Tartine Bakery Cookbook)

1/2 cup Lemon Juice

5 Egg Yolks

1/4 cup Sugar

1 cup Butter, softened.

Mix together the yolks and the sugar.

Add in the lemon juice and pour it into a pot and cook at a medium heat, stirring constantly until it comes to a boil.

Strain it into a bowl.

Stir in the butter, piece by piece, into the curd until it is all emulsified in.

Pour it into a sterilized jar and seal, or it will last for up to 2 weeks in your fridge!

Flowers and Sunshine!

Yesterday Jordan and I went to a wonderful market way out in the burbs on our way to his parents place to pick up some produce, in hopes that they would have something, anything, local. Apparently even in the middle of farm land they are still getting everything in from Mexico. BUT they did have some beautiful flowers, and it was just so nice to be out and about in the sunshine. So here are a few pictures from my field trip out of the city.


Fresh Herbs Baking

This past week, after realizing how much money we spend on fresh basil, parsley and rosemary, we planted an herb garden. Our window in the living room is now ful lof cute pots and mason jars turned into holders for the basics like rosemary and mint but also hard to find herbs like chervil, lemon thyme, and lavender. I am thrilled.

So imagine my joy when I open my Martha Stewart and there’s a whole article on cooking with fresh herbs! Oh Martha, you always know whats best for me.

There were some good looking recipes, like the Vietnamese pork with mint, but the one I was dying to try was the rosemary pound cake. Simple and not over complicated it’s the perfect cake with tea or maybe a spoon of creme fraiche if your the sort to keep that around.

I did make some changes, I didn’t add the egg white in, mostly because I forgot but I think it turned out beautifully without, I added in some lemon zest and more vanilla, and then changed the glaze around a bit. But it was delicious.

I made it yesterday morning and brought in half of it to work and then came home and pondered what to do with the rest (for the sake of my arteries keeping it at home seems like a bad option) and then our amazing friends called us up last minute for dinner and I felt like a 50’s housewife “Oh perfect! We can bring this cake I just happened to bake this morning” And that friends, is ridiculous.


Rosemary Pound Cake

1cup Butter

2 1/4cup Sugar

2tbsp Chopped Rosemary

Zest of one lemon

1tbsp Vanilla

3 Eggs

3 3/4 cup Pastry Flour

1tbsp Baking Powder

1 cup Milk

Rosemary Honey Glaze

1/2 cup Honey

2 Springs Rosemary

1/2 Lemon

1 cup Icing Sugar

To bake cake:

Preheat oven to 325F

Butter and flour a bundt pan or 2 leaf pans

Cream butter and sugar together until light and fluffy.

Add in rosemary and zest until completey combined.

With your mixer on medium high speed add in the eggs one at a time beating well between each addition.

Bring the mixer down to low speed and pour in 1 third of the dry ingredients. Then add half the milk and vanilla. Continue alternating until all the ingredients are mixed ending with the dry. Do not overmix.

Spoon into pan and bake until an inserted skewer comes out with only a few moist crumbs, about 45 minutes.

Turn out of the pan and cool

Meanwhile For the Glaze:

Put rosemary and honey in a pot and let simmer for about 10 minutes

 Allow to cool.

Take out rosemary and add in lemon. Sift in icing sugar and stir.

Add more lemon or milk if nescassary until a good runny consistency happens.

Pour over cooled cake and eat right away.

Judging a Book by its Cover

I’ve been meaning to post about these since I saw them on design*sponge about a week ago but how beautiful are these book covers? The inimitable Coralie Bickford-Smith designed these inpired by plating patterns from the eras in which each book was originally written. And even though I have never read most of these books I think I want all of them on my kitchen bookshelf!

Inspired

Live What You Love Letterpress Print in Red

I’ve deffinatly been feeling inspired lately to do what really makes me happy. And this blog has made me feel so great about building my own brand and not putting all my heart and soul into someone elses. So I saw these on etsy and went “yes! thats exactly how I feel right now!” And at $12.00 a pop, it’s not such a stretch to maybe see one in my apartment in the not to distant future. Until then I’m going to keep living what i love!

Let's Do This Letterpress Print 11x14 Black

Eat Cake

So I did my mini photoshoot for my cakes this weekend and my apartment, with all white walls, didn’t seem overly inviting for it. Fortunately I live on top of the cutest florist ever and I was completely inspired by their Valentines Day window. They had steams of pretty pink ribbon hanging from a dowel cut at all different lengths.

So thats what I did as well as pin letters to spell out “Eat Cake”. Of course you could spell anything on this, be it Congratulations, Happy Birthday, Newly Wed, or Marry Me.

Whatever your decision on the wording this is a really easy project. I went to my local fabric store and bought about 60 meters of ribbon. I wanted to amp up the girly so I went with pink. I bought every pink ribbon under 50 cents a meter. A couple were only 19cents! I was so pleased! I also used a couple red ones to make it a not to cutesy. I made sure to find lots of ribbons with different thicknesses and different textures. I bought a few thick “rick-racks” which I ended up loving the look of.

I was going to use a dowel but then I woke up with way to much enthusiasm way before any stores opened so I simply un-wound a wire hanger and used that.

I tied a piece of thread to each end and tacked it to the wall at the height I wanted it at. The I used a tape measure to see long long I wanted the longest strand. After I took that measurement I took the wire down and hung it on the back of a chair because that was closer to the ground which is where I tend to work because my desk is so teeny tiny.

Then I cut the first piece of ribbon and tied it on. I folded the ribbon so that the 2 ends were at different lengths. Once I had ribbon at the length I wanted I did a sort of knot where I held the folded part at the center to the wire and then looped the ends through it. Then I did the next one and the next one. I tried to have the thick ones pretty spaced out but the thin pieces we’re scattered every where. I wanted it to look random.

And then I cut out the letters. I just drew the letters but you could print them out in any font you want and cut them out that way to. I used an exacto knife and cut it out on thick watercolour paper so that the paper wouldn’t bend or wrinkle.

Then I pinned them up with sewing pins.

r

And then I hung it up and it looked awesome!

Cheesecake Cheesecake Cheesecake

Here`s the thing, I love cheesecake. I love the creamy, I love the tangy, I love the zesty. I love it all, I just straight up love cheesecake. Here’s the other thing, I’ve made some bad cheesecakes. Like really bad. Sometimes I blame my oven that ranges from 25-75 degrees hotter all the time but you never quite know how much hotter. Sometimes I blame the weather (even though I’m pretty sure the Vancouver humidity doesn’t effect something that is supposed to be super moist) but most of the time I blame recipes. Why all the bad cheesecake recipes? I don’t understand. But I didn’t give up. I have been relentlessly trying cheesecake recipes for years, and I’ve made a few conclusions.

1. My oven is terrible and I shouldn’t fight it. I make no bake cheesecakes now.

2. I like citrus with or in my cheesecakes.

3. I like it when there is more then one kind of cheese in the cakes, like ricotta or mascrapone.

 So I think I’ve done well here friends. Its no bake, its ricotta and it has a blood orange glaze on top that makes you look like an all star baker. Seriously. Its a variation on a Martha Stewart but I found her recipe to be too firm, so i took out some gelatin, added in more vanilla, and used candied kumquats instead of the blood orange in the centre mostly because I had kumquats but also because I thought that it would be really had to cut the blood orange one. So here we go, I won”t say its perfect but its as close as I’ve come to it in the world of cheesecakes.

 4 tbsp Butter, melted

 7 graham crackers crushed

3 quarters cup sugar

 4 large egg yolks

2 tsp Gelatin

 2 cups Ricotta Cheese

 3 tbsp Lemon Juice

Zest of 1 Lemon

Zest of 1 Orange

2 tsp Vanilla

half cup Milk

 4 oz Cream Cheese

half cup heavy cream, whipped

 Preheat oven to 350F

Mix half the butter with the graham crackers

 and press into the bottom of a 6 inch spring form pan

 Bake for 10 minutes

 Sprinkle gelatin over lemon juice and let soften In a small saucepan stir sugar into egg yolks, add in milk and zest.

Cook over low heat until it is thick enough to coat the back of a spoon. It should not boil at any point.

 Add in the gelatin lemon mixture and stir until it has dissolved completely.

Add Vanilla.

In a food processor pulse ricotta until smooth.

 Add cream cheese and combine again. Add the custard until it has just combined. Fold in the whip cream. Pour into your pan and allow to set in the fridge, at least an hour.

Candied Kumquats

 10 Kumquats, sliced, seeds removed

1 cup and a half of Sugar

1 cup and a half water

Put it all in a pot and simmer for about 30 minutes or until the kumquats are pretty and translucent

Blood Orange Glaze

.75 tsp Gelatin

7 tbsp Blood Orange Juice, strained

2 tbsp Sugar

.25 tsp Cornstarch 

Soften Gelatin in 2 tbsp of Juice

Mix cornstarch and 1 tbsp of juice together

Bring 4 tbsp juice and sugar to a boil until sugar dissolves

Add in the cornstarch, and then the add the gelatin.

Pour over cake.

Put the slices of kumquats in and your done! And your cake rocks!

A Lot of Cake

“I have yet to attend a party where the chef has sewn together a string of delicious steaks into a golf club or fedora I have never seen (and hope to never see) a baby rattle composed of salmon fillers. But cake abuse has no limits” writes Matt Lewis in the introduction to cakes in his wonderful book Baked Explorations. It’s true isn’t it. The form over function in the world of cakes is very strange. If you want a red race car make it out of cardboard, or styrophoam. Why make it out of cake? Cake that will, inevitably once all the parts are assembled, be dried out and boring. If no one wants to eat it whats the point?

Which is why I make a big effort to make cakes that are wonderful, delicious, and if I do it properly, something beautiful too. I, like Matt Lewis, am a cake pusher.

I making love cake. I like making simple cakes with a dusting of icing sugar, I like making pound cakes with a lemon glaze on top, and sometimes, I like making elaborate pretty cakes, because it’s a little challenging but mostly because I like proving that a cake can be both delicious and pretty. I’m stubborn like that.

I made such a cake this weekend for my amasing friend Kate’s birthday. It was a dark chocolate cake that has espresso instead of milk in the batter so it’s not overly sweet, which lends itself beautifully to frostings. I did it up with a salted caramel buttercream and I’m not going to lie friends, I’m pretty pleased.

Salted Caramel Buttercream

1 3/4 cup + 2 tbsp Sugar

1/2 cup Cream

9 Egg Whites

1 tbsp Vanilla Extract

1.5 lb Unsalted Butter, soft

Dark Chocolate Cake

1 1/2 cup butter, room temp

3 cup sugar

2 Eggs

2 Egg Whites

1 1/2 cup Dutched Cocoa Powder

4 cups All Purpose Flour

1tbsp Baking Powder

1 1/2 tsp Baking Soda

1 tsp Salt

1tbsp Vanilla Extract

2 2/3cup Hot Strong Coffee

Make Frosting

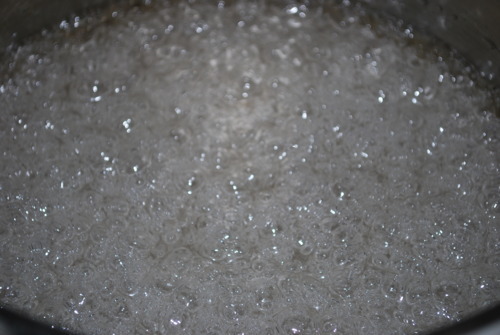
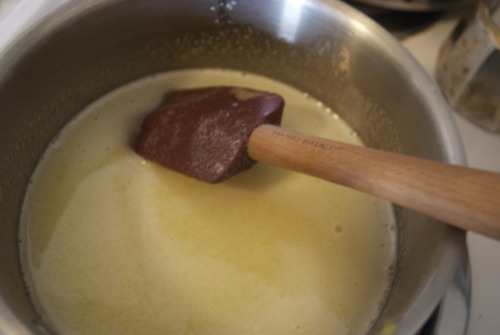
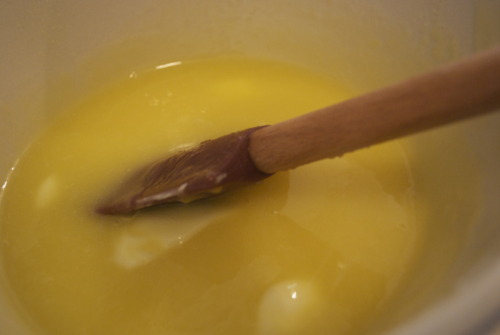
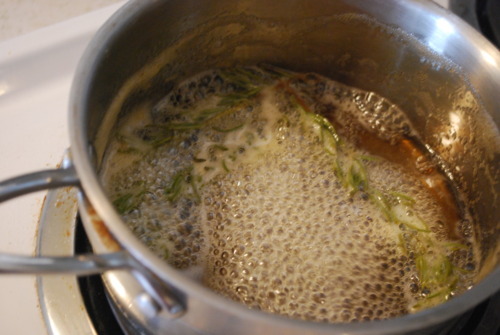
Combine 1 cup sugar and 1/4 cup water in a pot. Cook on medium heat until sugar is disolved. Remove spoon and Bring heat up to high. It will start to thicken a little.

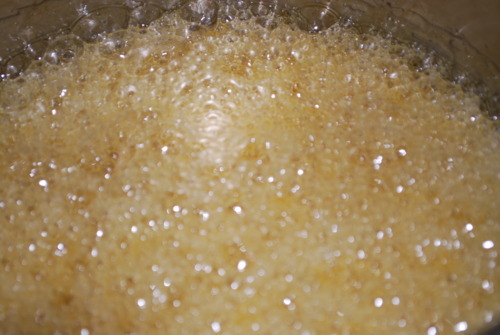
Then It will start to brown slightly. It will turn quickly so keep a close eye on it.

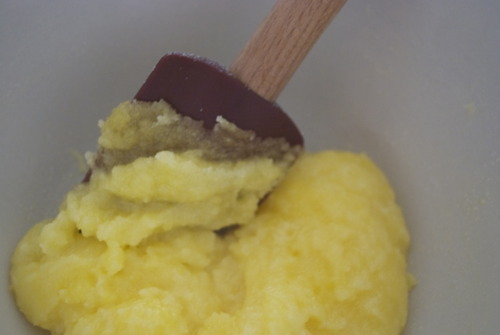
Then it will get a pretty auburn colour. And then your in business

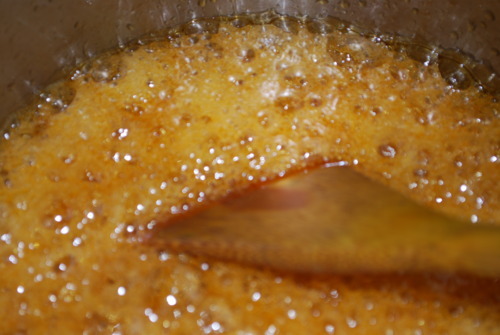
Now, act fast. Take it off the heat, pour in the cream and stir. It will bubble up like crazy, don’t panic, but be careful. I  don’t have any pictures of this part because it was bubbling and I was stirring.

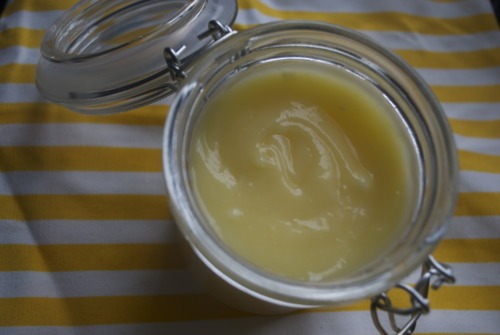
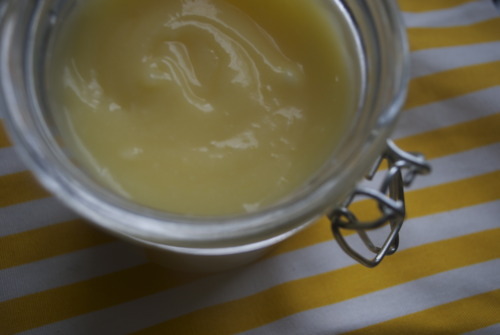
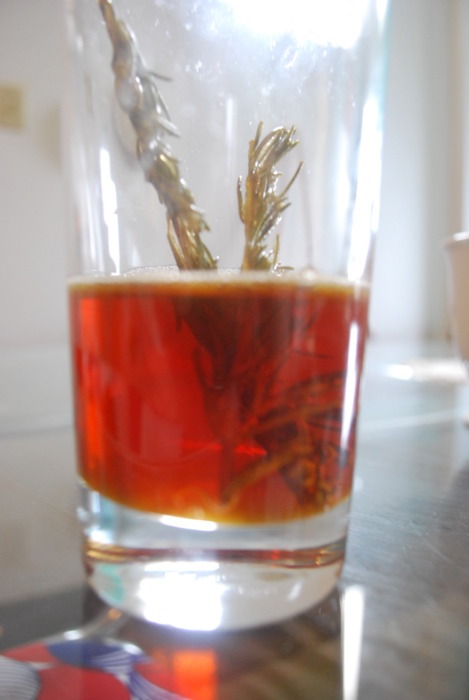
Pour that into a heat safe container and let cool.

Get a small pot with an inch or two of water on the stove and bring it to a simmer. I usually use the caramel pot because it’s easier to clean after it’s had boiling water in it.

Put the egg whites, salt, and remaining sugar into the the bowl for your mixer and whisk vigorously over the pot.

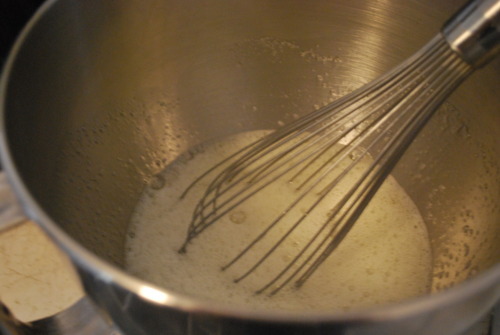
Kepp whisking until its quite frothy and it’s hot to touch.

Take off the heat, and attach bowl to your mixer. Whisk on high until stiff peaks form.

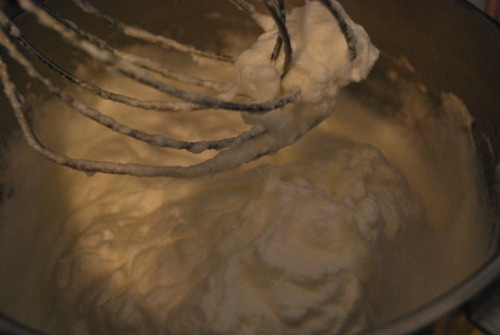
Slowly add in the butter, tablespoon by tablespoon until it’s all combined. If you notice yours doesn’t thicken up nicely and is beginning to look split slow down the mixer and add in a big piece of butter, that should thicken it up nicely.

Slowly add in the caramel and there you have your caramel buttercream.

Make Chocolate Cake

Preheat oven to 350F

Butter, flour, and line with parchment 4 cake pans, 2x 8 inch round, and 2x 5inch.

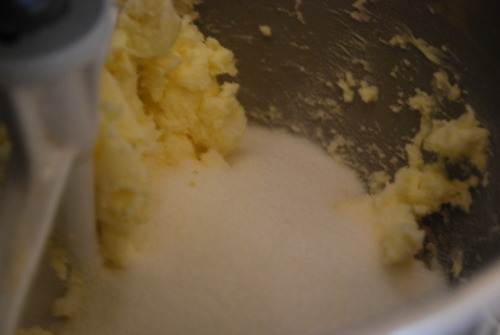
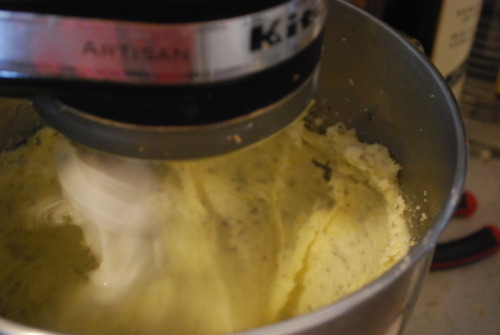
Cream butter and sugar until it’s very fluffy, about 5 minutes

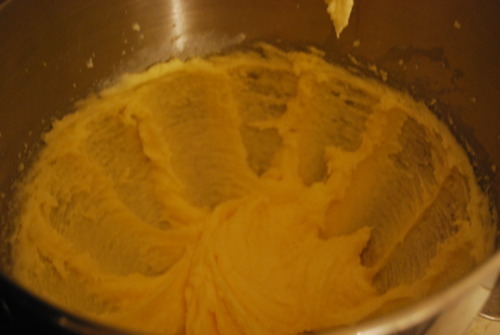
Add in the eggs and whites and beat again until light, about 3 minutes

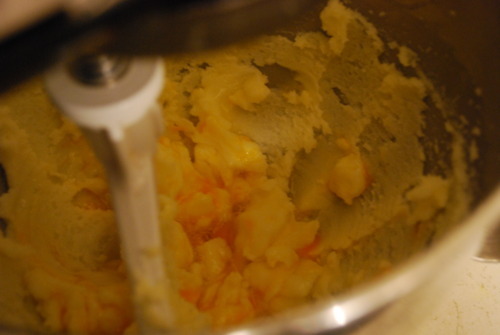
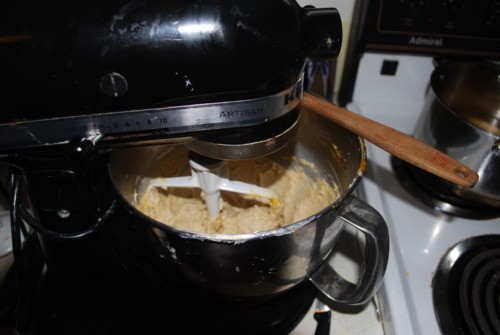
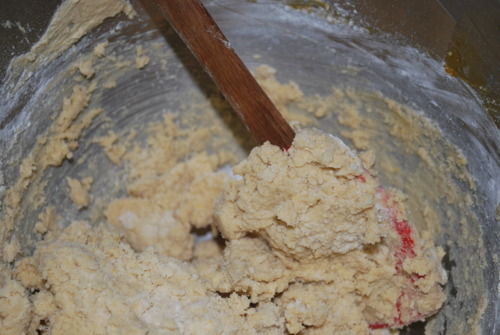
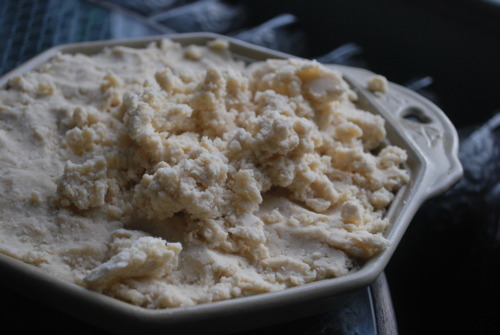
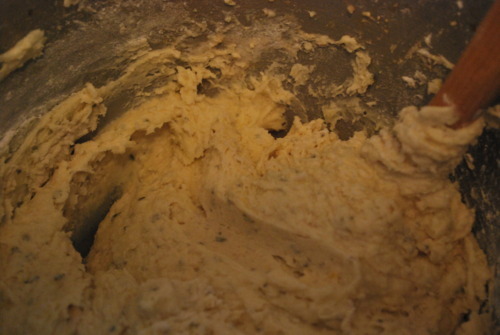
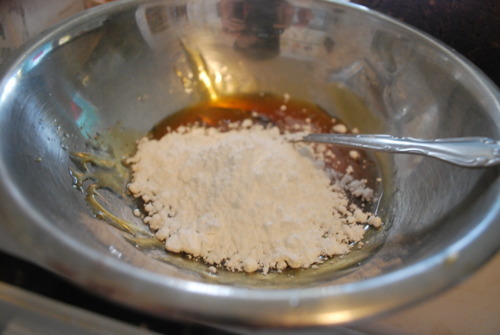
Alternate in dry ingredients starting and finishing with dry. It will look like a big hot mess

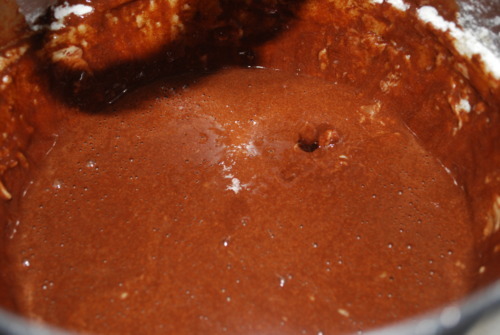
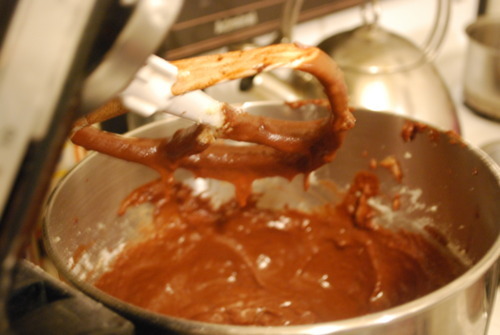
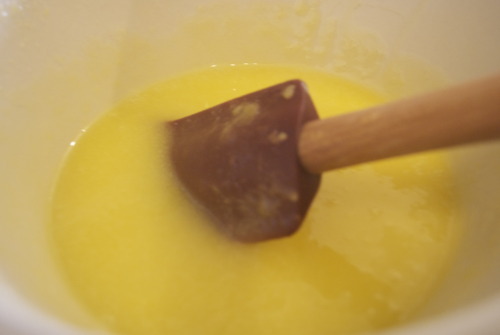
Don’t panic. Just whisk it for about 15 seconds until it starts to look smooth. Don’t do this for very long, and a few lumps are absolutly okay. See how much nicer this looks?

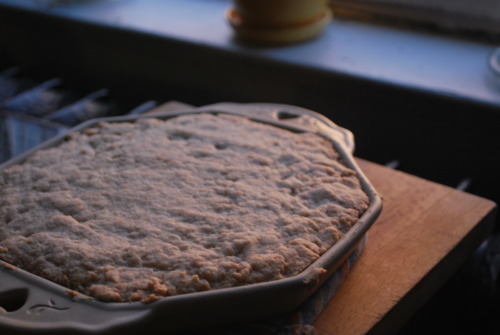
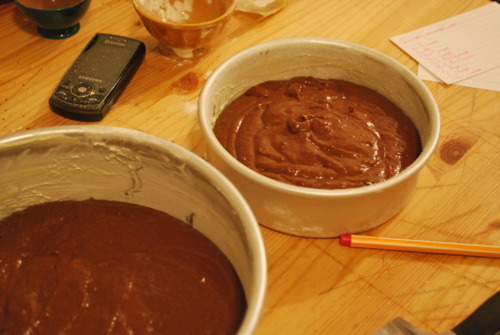
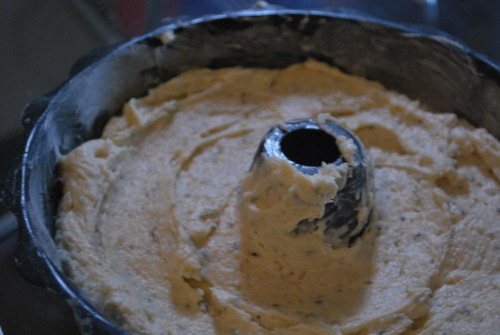
Pour into your prepared pans and bake until an inserted skewer comes out clean, about 30 minutes. Let cool.

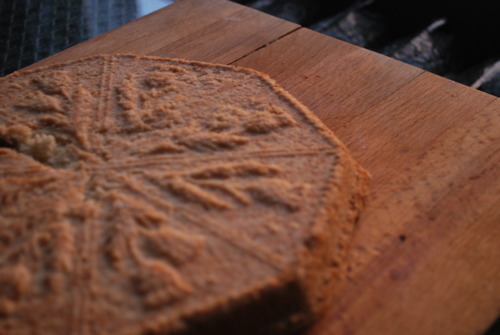
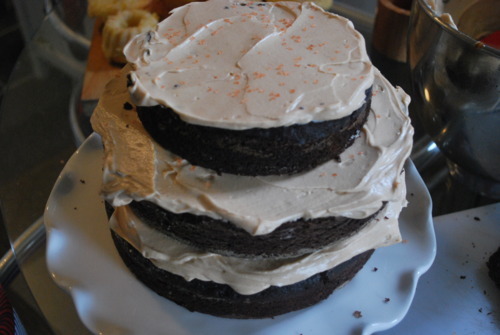
Trim off the top of the cakes with a serrated knife to flatten them out. Put a dollop of icing on the cake stand and then put down the first layer of cake. Spread liberally with icing. Sprinkle with salt.

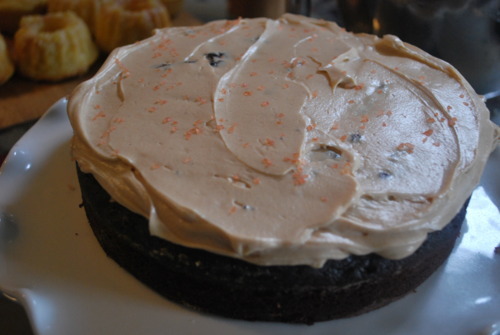
Repeat with remaining layers

Ice the outside loosely.

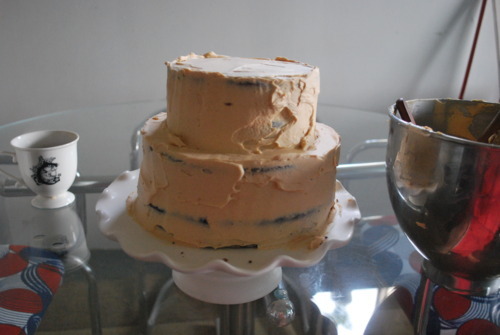
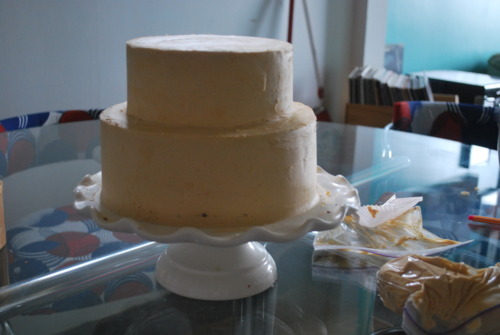
Smooth it out and refridgerate for at least an hour. The ice again to cover the crumbs and the dark cake inside. This always takes me a while, and if I’m really struggling then I put it back in the fridge, let it set up again and then use my inverted spatula on the cold frosting. Sometimes I find this easier. If your icing looks a little split at any point just put it back into your mixer and it will come back in seconds.

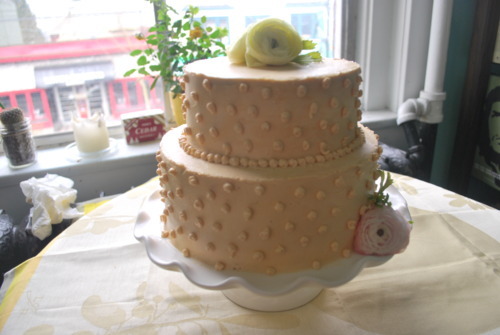
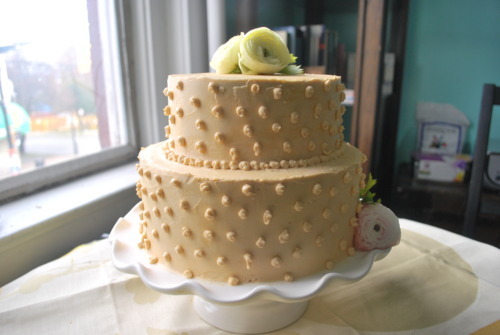
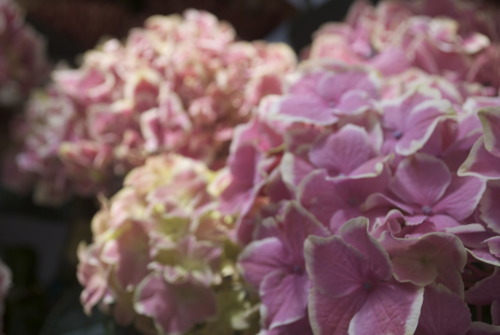
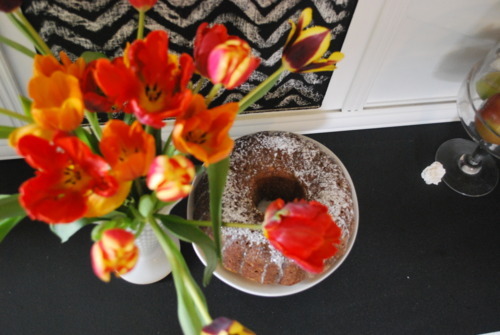
Then do whatever you want with your decordations. Tie a ribbon on it, dot it with pocka dots, which is what I did here. I just put some frosting in a piping bag, pressed it against the cake and dabbed the icing on. It was very easy. I also did a line of dots, done the exact same way, along the line between the layers because it was a little messy there. And then I put flowers on top because I like flowers. Et Voila! Pretty and delicious cake!

There are two main benefits of having a doctor for a father. Number one is that you rarely have to go the doctor, your dad’s skill sets range from checking fevers and the likes, to giving stitches, to small surgical procedures like the time I got a sliver lodged about an inch under the surface of my big toe. (I thought I was so cool, sitting on my parents holding my favourite stuffed lion while my dad froze my foot. Oh the good old days…) The other great thing is Christmas gift baskets.

I love me a gift basket.

My sister and I would rummage through them, bargaining over chocolates, and caramel sauce, and out all time favourite, LU cookies, the wafer like cookies with chocolate molded in the shape of Louis the 8th on top. They were tres cool.

The one thing I don’t remember fighting about is shortbread cookies. Meh. They were dry, they weren’t sweet enough, they made your mouth almost pucker as it sucked away so much moisture you couldn’t whistle afterwards. Oh no, you can have the shortbreads Nina, really, they’re all yours.

Then this summer I had to make some for work, and I tried an edge piece, just to make sure they were okay. I had an epiphany. Homemade shortbread cookies are amazing. They are dry, but they’re so rich and crispy and wonderful. Store bought shortbreads are a travesty! Imagine my shock. But now that I know the potential I’ve been eating them lots and I realize I went in with a bang, the recipe from Tartine Bakery in San Fransisco is incredible. Wonderful! A head and shoulders above the rest. I have tried sevral other recipes since and none come close. So here is my favourite ever shortbread recipe, that is moist and crispy and sandy all at the same time. Oh, and delicious.

1 cup plus 2 tbsp unsalted butter, very soft (9 oz)
1/2 tsp salt
1 3/4 cups plus 2 tbsp all-purpose flour (9 0z)
1/2 cup plus 2 tbsp cornstarch (2 2/3 oz)
1/3 cup granulated sugar (2 1/2 oz)
1/4 cup superfine or granulated sugar for topping (2 oz)

Preheat oven to 325F

Butter a 8inch square pan, or if you have a fancy pants shortbread tin like me, use one of those. I buttered mine and then popped it into the oven for a minute to make sure the butter melted into all the crevices.
Cream together butter and sugar 

whisk together the flour and corn starch and add to the butter mixture until it is just barely combined

Press the dough into your prepared pan

Bake for about 20 minutes-ish. I keep mine on the less cooked side of things.

carefully put a plate or cutting board onto of the shortbread and flip it over.

Beautiful no? Now slice it while it’s still hot, eat lots and drink tea and stay out of the cold!